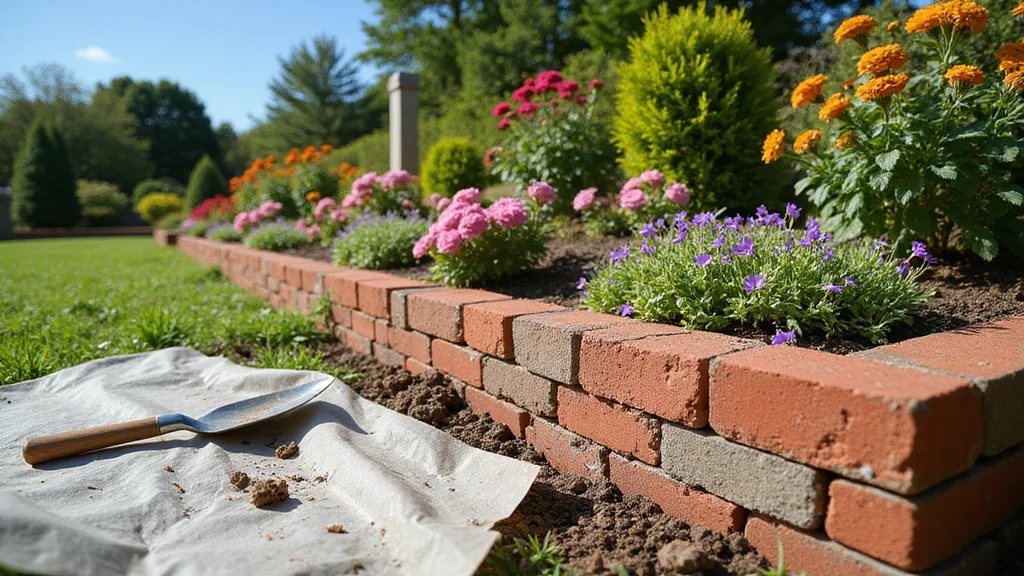
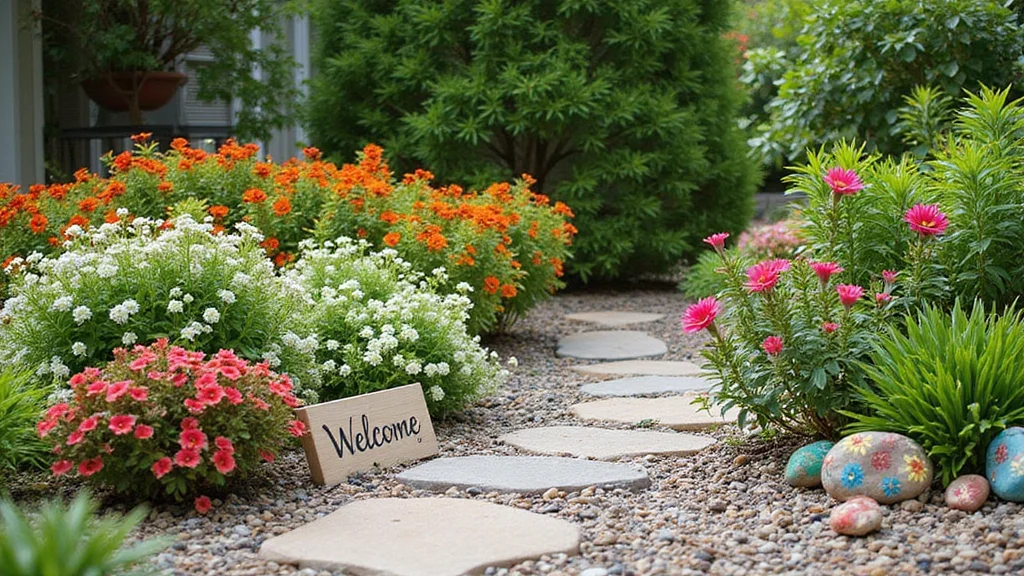
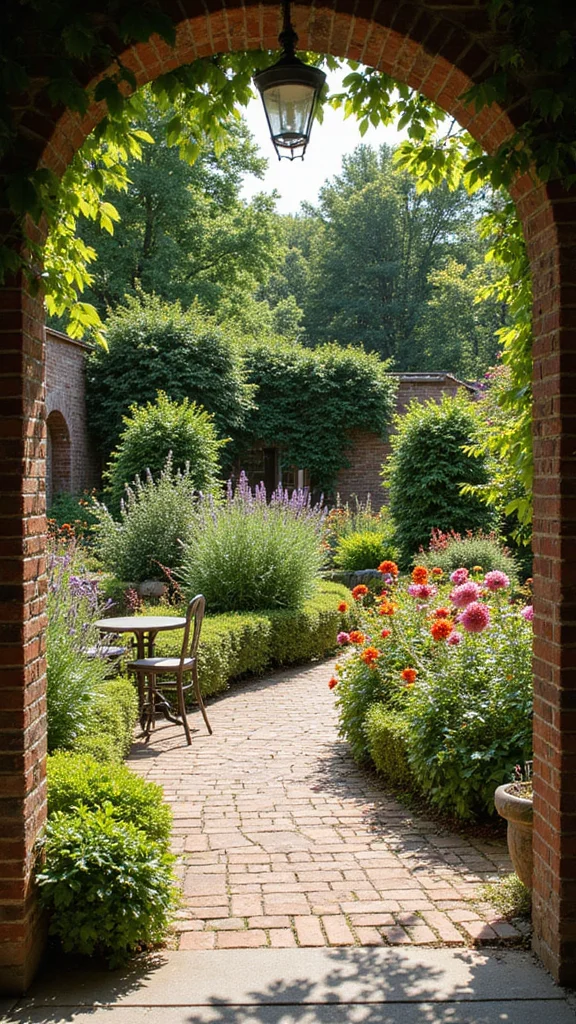
Creating a stunning garden can be a fulfilling experience, but keeping flower beds neat and defined is often a challenge. That’s why I decided to share a guide on how to edge flower beds with bricks for a clean, permanent border. There’s something about the timeless elegance of brick that can elevate your garden’s whole vibe, making it look more polished and inviting. Plus, it’s a great way to keep mulch and soil in place while also providing a clear boundary for your plants.
If you’re a gardening enthusiast or a homeowner looking to spruce up your outdoor space, this post is crafted just for you. Whether you have a green thumb or are a complete beginner, edging with bricks is a straightforward project that can enhance your garden’s appeal. You’ll find practical tips and easy installation methods that will help you achieve a professional look without the hassle.
By the end of this guide, you’ll have all the tools and insights you need to create those beautiful brick flower bed borders. You’ll learn about choosing the right bricks, planning your design, and maintaining your creation so it looks fantastic for years to come. Let’s get started on transforming your flower beds into something special!
Key Takeaways
– Learn how to choose the right bricks for your flower bed borders, ensuring durability and aesthetic appeal.
– Discover tips on planning your design to create an eye-catching layout that complements your garden style.
– Find out what materials you need to gather before starting your project for a smooth installation process.
– Get step-by-step guidance on preparing the ground and laying the bricks to ensure they stay in place.
– Understand how to maintain your brick border over time, keeping it neat and beautiful throughout the seasons.
Choosing the Right Bricks

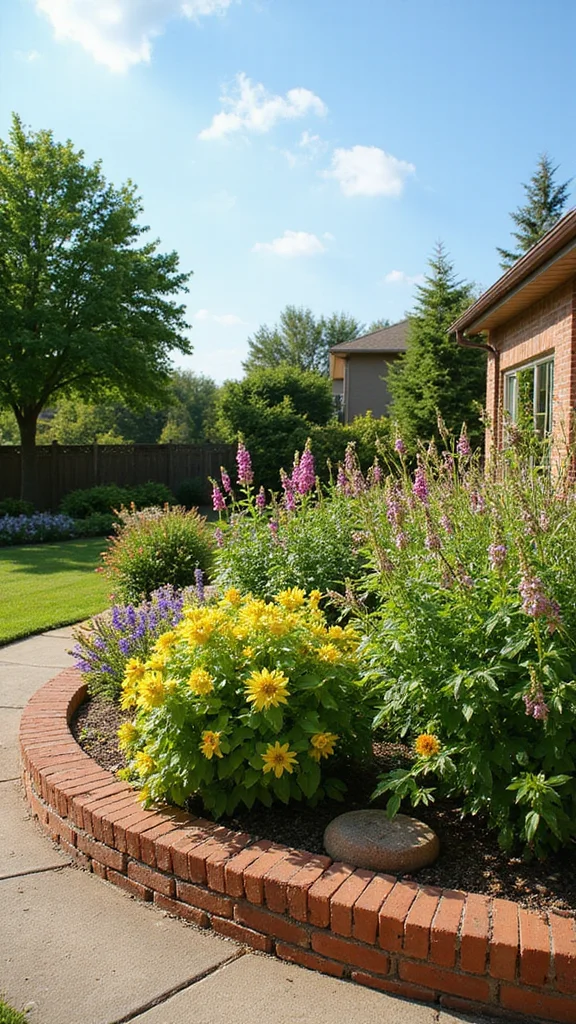
Selecting the perfect bricks is essential for crafting a beautiful flower bed border. With a variety of textures and colors available, you can easily find bricks that complement your garden style. Consider options like warm red clay bricks, which blend seamlessly into natural settings, or sleek gray concrete bricks that offer a modern contrast against colorful blooms.
Choosing the right size and shape of bricks also matters. Smaller bricks can create detailed patterns, while larger ones provide a bold, defined edge. A smooth finish delivers a contemporary vibe, while rougher textures add rustic charm. Your brick selection will greatly influence the overall look of your garden, so take your time to find the perfect match.
Planning Your Design
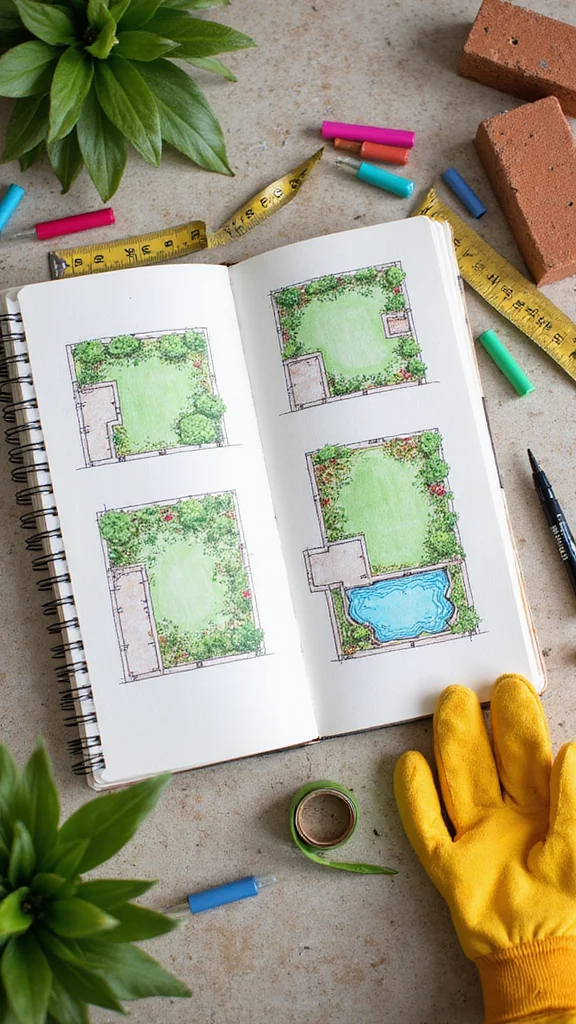
Before laying down bricks, planning your design is crucial. Decide on the shape of your flower bed—straight lines give a formal appearance, while curves add a natural touch.
Sketch your ideas on paper, even if it’s a simple outline. Measure the area to calculate how many bricks you’ll need, ensuring an efficient execution. Keep plant heights in mind too; taller plants should go at the back for visual depth, while shorter ones can fill the front. This thoughtful planning will create a harmonious look, enhancing the beauty of your garden.
Gathering Your Materials
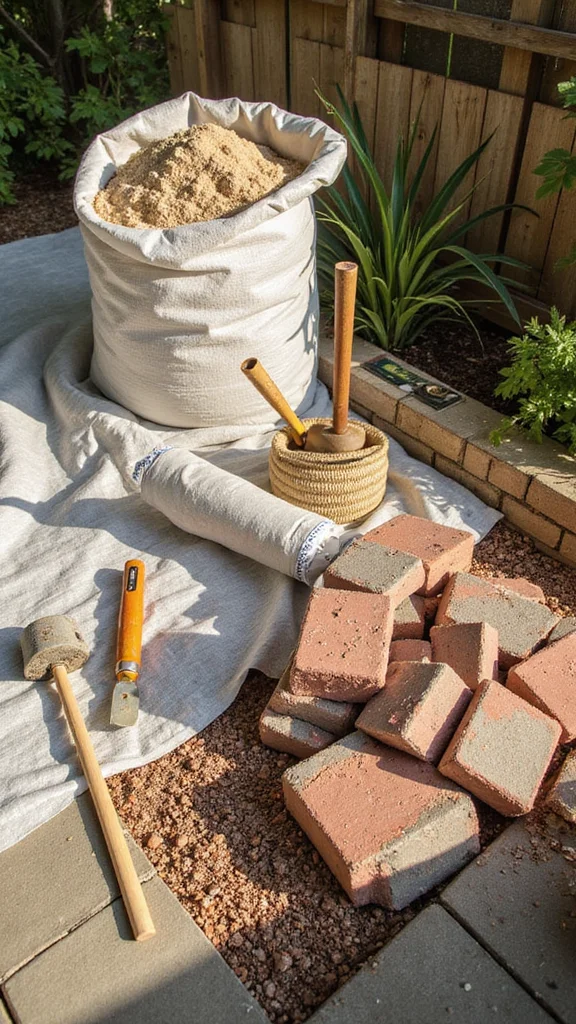
Once your design is set, it’s time to gather materials for your project. In addition to bricks, you’ll need several tools for a smooth installation:
– Sand: Essential for leveling and drainage.
– Landscape Fabric: Prevents weeds from growing through the cracks.
– Garden Trowel: Ideal for digging and placing bricks accurately.
– Level: Ensures your bricks stay even and aligned.
– Rubber Mallet: Helps secure bricks without causing damage.
Having everything ready before you start will streamline the process and make your work easier. Don’t forget to wear sturdy shoes and gloves for protection!
Preparing the Ground
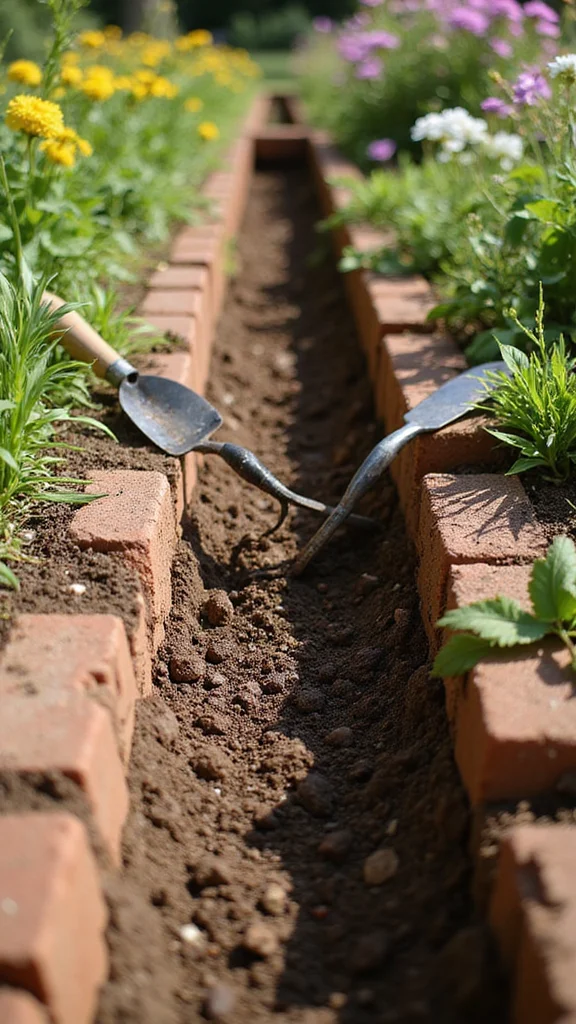
Preparation is vital for a successful brick installation. Begin by clearing the area of grass, weeds, and debris for a clean start.
Level the soil with a rake to avoid uneven surfaces that could compromise the structure. Dig a shallow trench about 4-6 inches deep and slightly wider than your bricks. Using a level ensures you maintain a straight depth, providing a solid foundation for your bricks. This preparation not only enhances the appearance of your flower bed but also improves drainage and stability.
You might also like

Laying the Bricks
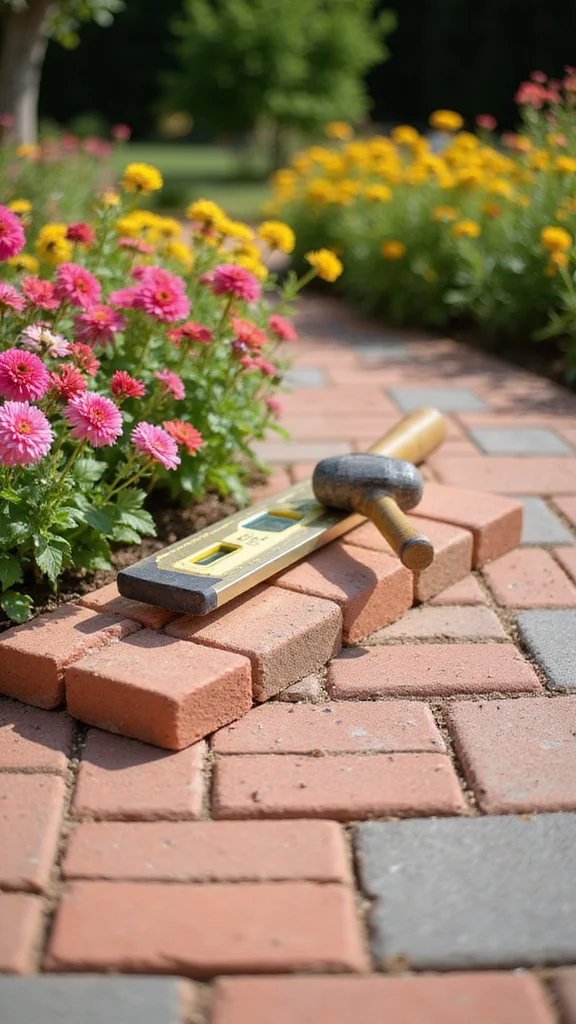
Now comes the exciting part—laying the bricks! Start at one end of your trench, placing the first brick firmly in position.
If your design allows, sprinkle a layer of sand in the trench before laying the bricks; this aids in leveling and drainage. After placing each brick, check alignment with a level and make adjustments as necessary to keep everything straight. Gently tap each brick into place with your rubber mallet for a sturdy finish. Continue this process until your border is complete, and then step back to admire your hard work!
Filling Gaps and Finishing Touches
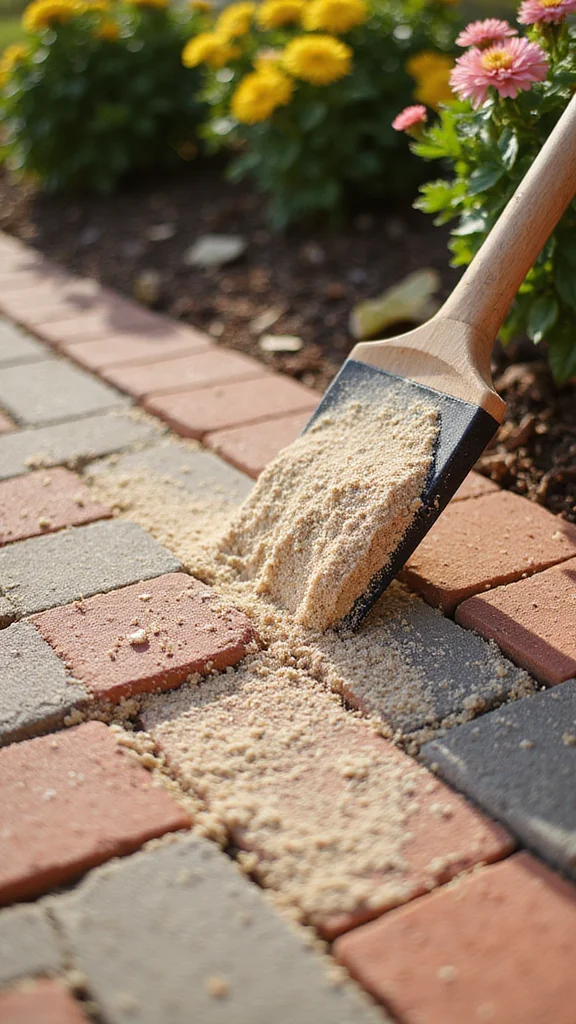
After laying your bricks, it’s time to fill any gaps and make those final adjustments.
Sweep sand into the spaces between the bricks to prevent weeds and give a polished look. If you used landscape fabric, trim any excess for a neat appearance. Lightly water the area to help settle the sand and secure the bricks in place. Lastly, clean up any leftover soil or debris to keep your garden tidy. Paying attention to these details will elevate the overall charm of your flower bed border.
Maintaining Your Brick Border
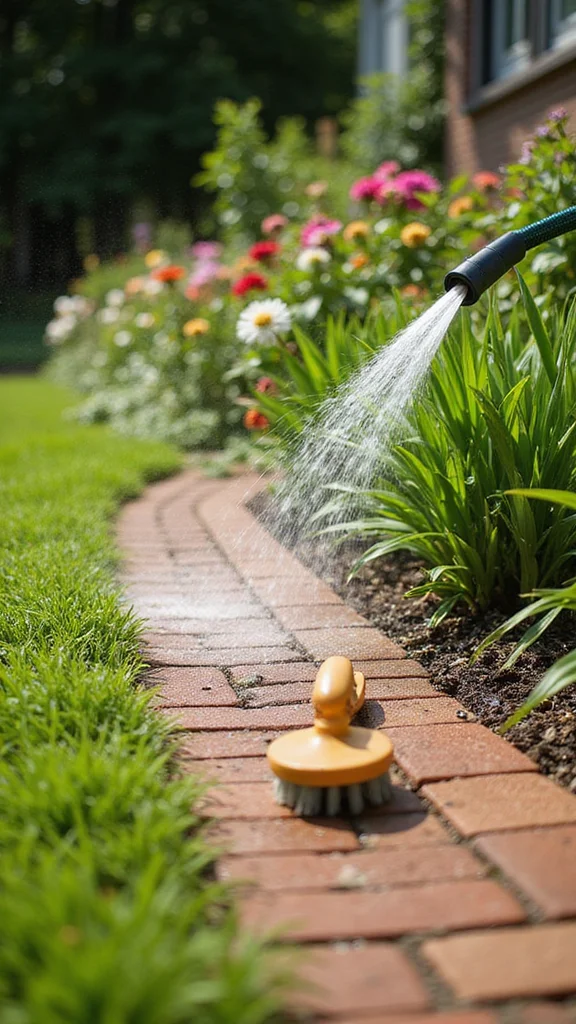
To keep your brick flower bed border looking its best, some maintenance is necessary.
Regularly check for weeds that may sprout in the cracks; a quick pull can keep your border neat. Occasionally wash down the bricks to remove dirt and moss, preserving their vibrant colors. If gaps appear, add more sand to maintain stability. These simple steps will ensure your brick border remains a lovely, lasting feature in your garden.
You Might Also Like
Enjoying Your Creation
After all your hard work, it’s time to relax and enjoy your beautiful brick flower bed border!
Consider hosting a small gathering to showcase your garden and share your gardening experiences with friends. Don’t forget to capture the beauty of your hard work with photos! Your brick border is not just functional; it’s a delightful enhancement to your outdoor space. Enjoy every moment spent in your vibrant, blooming garden!
Difficulty Rating & Requirements
Overall Difficulty Rating: Medium
Creating brick flower bed borders is moderately challenging. You should have some basic skills in gardening and a bit of physical endurance for the manual work involved. This project is suitable for homeowners who enjoy DIY tasks and have a knack for hands-on projects. If you’re a beginner but willing to learn, this project is also approachable with proper guidance.
Time Estimate:
⏱ Estimated time: 4-6 hours
– Planning Your Design: 1 hour to sketch and decide on the layout.
– Gathering Your Materials: 1-2 hours, depending on how quickly you can source bricks and tools.
– Preparing the Ground: 1-2 hours, depending on your garden’s current state.
– Laying the Bricks: 1-2 hours, depending on the complexity of your design.
Skill Requirements:
– Required skills: Basic gardening knowledge, ability to use simple tools, physical stamina for lifting and digging.
– Beginner-friendly: Yes, with some explanations provided, you can learn essential skills as you go.
– Skills that can be learned: Measuring, leveling, and brick laying techniques.
– Skills requiring experience: Advanced landscaping or intricate designs may need prior knowledge.
Tools & Materials Needed:
🧰 Essential items checklist:
– Bricks – Required (choose durable ones for lasting results)
– Shovel – Required (for digging and leveling ground)
– Garden rake – Required (to smooth out soil)
– Rubber mallet – Required (for tapping bricks into place)
– Measuring tape – Required (to ensure accurate brick placement)
– Level – Optional (to check if bricks are even)
– Landscape fabric – Optional (to prevent weeds from growing through)
– Sand or gravel – Optional (to create a stable base for bricks)
Step-by-Step Overview:
1. Planning Your Design: Spend about 1 hour sketching your desired layout. Decide how high and wide you want your border.
2. Gathering Your Materials: Allocate 1-2 hours to buy all the necessary materials. Make a checklist to ensure you don’t miss anything.
3. Preparing the Ground: Use a shovel to clear the area where your bricks will go. This might take 1-2 hours depending on your garden’s condition.
4. Laying the Bricks: Follow your design and carefully place your bricks in the prepared area. Use the rubber mallet for adjustments. Expect this to take 1-2 hours.
5. Filling Gaps and Finishing Touches: Once your bricks are in place, fill any gaps with soil or sand, and smooth the surface for a tidy finish. This may require an additional 30 minutes to 1 hour.
Professional vs DIY:
The cost of hiring a professional for brick flower bed borders can range from $500 to $1,500, depending on complexity and materials used. In contrast, a DIY approach could cost you between $100 and $300 for materials alone. Consider your budget, time availability, and comfort level with DIY tasks when deciding whether to tackle this project yourself or hire a professional.
Conclusion
Creating a brick flower bed border is a rewarding project that adds both beauty and functionality to your garden. With the right materials, planning, and maintenance, you can achieve a stunning, permanent feature that enhances your outdoor space for years to come. Embrace the process, and don’t hesitate to experiment with different styles and designs to make it uniquely yours!
So, roll up your sleeves, gather your supplies, and let your creativity flourish in your flower garden.
Frequently Asked Questions
What tools and materials do I need for brick flower bed borders and how can I ensure easy installation?
Here’s a practical starter kit for brick flower bed borders with easy installation in mind. You’ll need bricks, sharp sand (or fine gravel), landscape fabric, edging stakes, a spirit level, a chalk line, tape measure, rubber mallet, masonry chisel or brick saw, a trowel, and a wheelbarrow.
Plan your line by snapping a string along the bed edge. Dig a neat trench about 2–4 cm below soil level. Line the trench with landscape fabric to suppress weeds. Pour a thin bed of sharp sand (about 2 cm) and level it. Place bricks end to end, tapping with the rubber mallet and checking with the level. Leave tiny gaps for drainage if you’re not mortaring, or skip the gaps if you are mortaring. Backfill gently and rake soil back to cover the edge. Tips: keep a consistent height, use a straight edge for straight runs, and cut bricks as needed with a brick cutter or angle grinder for curves.
How can I plan the layout and trench for a clean, permanent brick border along a flower bed?
Start with a crisp plan before you lay a single brick. Measure the length of the border and decide on brick orientation (face-up, laid flat, or end-to-end). Use a string line or a flexible garden hose to mark curves or straight segments, and mark corners with stakes. Dig a neat trench that’s deep enough to sink the bricks so the top sits level with the surrounding soil. Place a compacted sand bed and a weed barrier to keep maintenance low. Test-fit bricks first, then adjust for tight corners and even gaps. Tips for easy installation: stagger joints, keep a consistent line, and cut bricks only as needed for curves.
Mortar or dry, mortarless edging: which is best for a durable brick border and what are the trade-offs?
For a truly durable, permanent edge, mortared bricks are the go-to choice. They resist movement and weeds better and look neat for years. If you prefer a quicker, adjustable option, a mortarless or dry-laid edge with a tight sand bed can work, but it may shift over time.
Tips: use a standard exterior mortar (Type N) or a strong masonry mix for exterior walls, mix about 1 part cement, 1 part lime, 6 parts sand, and keep joints tight and clean. If you go mortarless, keep a continuous sand bed and ensure bricks are snugly pressed and level. Always check local frost depth and climate when deciding.
What bricks and mortar mix work best for a long-lasting brick flower bed border, and how should I choose color and size?
Choose hard-fired bricks rated for exterior use; reclaimed bricks can add character but ensure stability. For a clean, permanent border, use standard facing bricks in a color that complements your garden. For the mortar, exterior-grade Type N is common, using a cement-lime-sand mix (roughly 1:1:6). Size matters: thicker bricks give a sturdier edge; longer bricks reduce joints and speed installation.
Tips: keep a consistent brick size along the border, test color matches in shade, and seal or waterproof the joints if you live in a wet area.
What maintenance steps and common mistakes should I know to keep brick borders tidy and secure over time?
Regular inspection is key. Check for loose bricks, cracked mortar, and gaps that invite weeds. Repoint any eroded joints and brush away debris after heavy rains. If frost heave has shifted bricks, reset them and relevel. Maintain proper drainage behind the border and avoid piling soil against the bricks to prevent moisture damage.
Tips: re-sand or re-point as needed, clean and reseal the surface if you want extra protection, and use a weed barrier during installation to minimize future maintenance.

John Smith is the founder and CEO of Karaoke Machines Guru. He is a karaoke tutor and karaoke enthusiast and has been passionate about karaoke since he was a child. He also writes about karaoke-related tips, guides, and product reviews on this website.
He overlooks the whole website and makes sure that everything is running smoothly. Learn more!