Summer heat waves turn potted gardens into ticking time bombs. When the afternoon sun beats down on plastic, ceramic, or terra-cotta pots, your first instinct is to grab the garden hose and drench everything in sight. This panic-watering routine creates a hidden trap: muddy, oxygen-deprived soil that suffocates roots, leading to root rot that looks identical to drought wilt.
To keep your container flowers and vegetables thriving when temperatures clear 90 degrees Fahrenheit, you must change how you check, pour, and manage moisture. This guide walks you through fifteen concrete actions to keep your pots perfectly hydrated without drowning them.
Summer Watering Blueprint
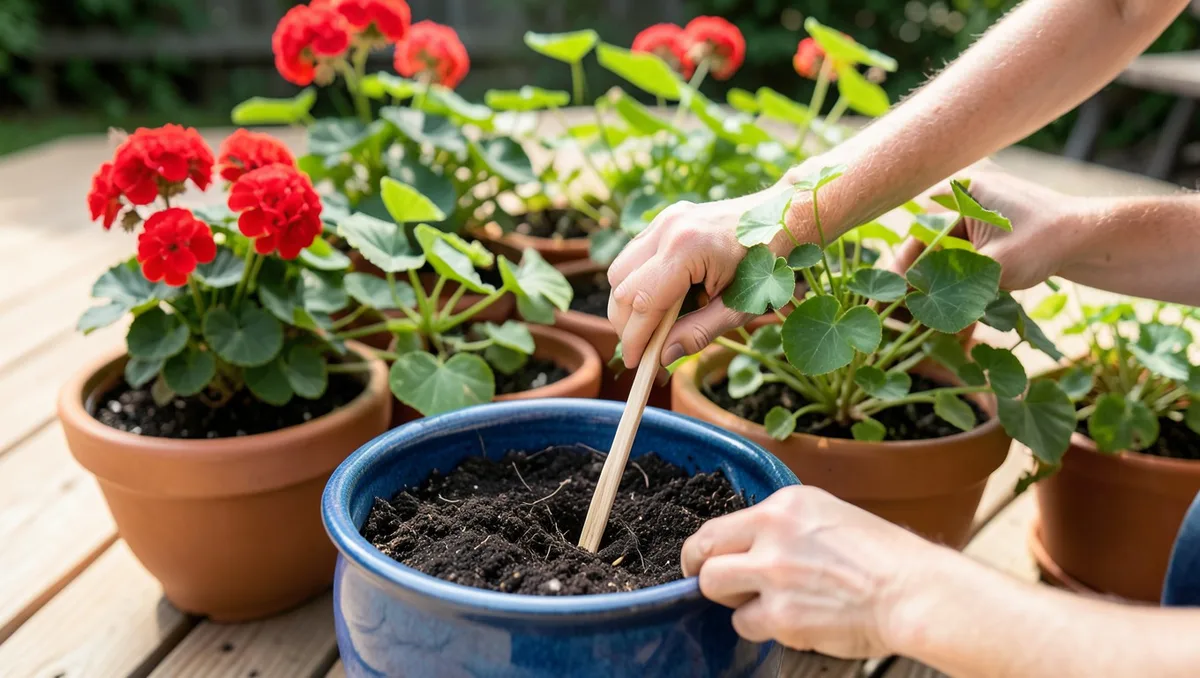
1. Poke the Soil with a Wooden Chopstick
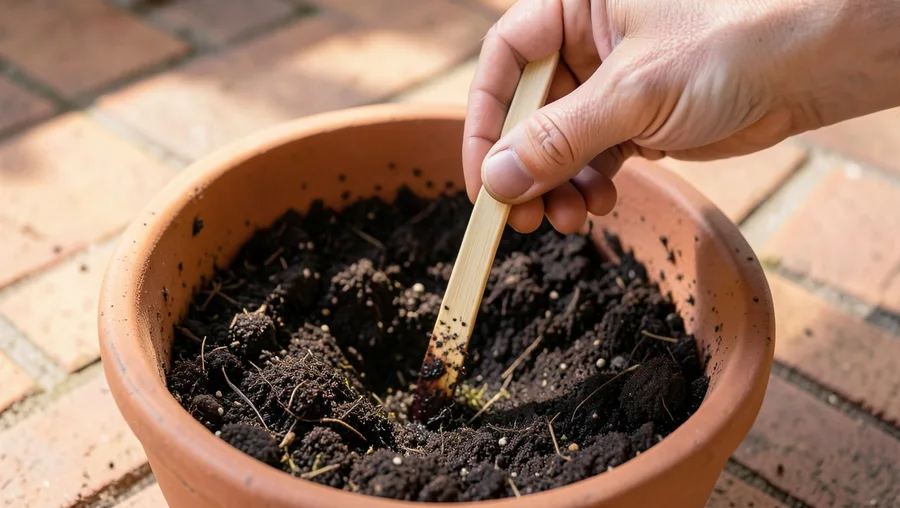
Push a plain wooden kitchen chopstick down three to four inches into the center of the pot, avoiding the main root ball. Leave it in the soil for ten seconds before pulling it straight up.
Look at the wood texture. If damp soil clings to the chopstick or the wood darkens with moisture, step away from the hose. Only water if the chopstick comes out completely dry and clean, just like checking a cake with a toothpick. This physical test is far more reliable than cheap metal moisture meters, which often give false readings in soils with high fertilizer salt content.
💡 Tip: Keep a dedicated chopstick tucked directly into the soil of your largest 'canary' plant for instant checks.
2. Lift Your Pots to Gauge Weight
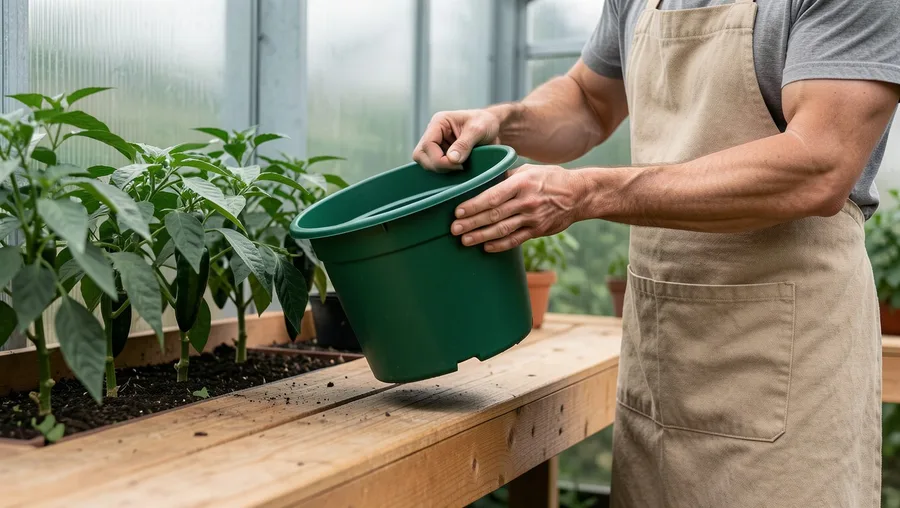
Tilt or lift your containers every morning before you pull out the hose. Get used to the specific weight of a fully saturated pot versus one that is bone dry.
Pick up a 10-inch plastic nursery pot after a heavy soaking; it will feel heavy and solid. Lift it when dry, and it will feel surprisingly light, almost hollow. If the pot feels heavy, the sub-surface soil is still holding water, even if the top layer looks dry and crusty from the intense midday sun. Do not add water until the pot loses its heavy anchor feeling.
3. Water Heavily Before Nine in the Morning
Run your watering routine between six and nine in the morning. Early watering gives leaves time to dry off before the sun gets intense, preventing fungal spores from moving in.
Soak the soil while the air is cool so the roots can drink without losing half the water to immediate evaporation. Avoid evening watering sessions whenever possible; damp soil sitting in warm, stagnant nighttime air creates the exact environment that root-rotting pythium fungi need to destroy your plants.
Morning Inspection Checklist
-
Check pot weight by tilting Skip watering if the container feels heavy and anchored
-
Insert wooden chopstick Test deep moisture levels near the middle of the pot
-
Inspect bottom drainage holes Clear away dead leaves or root debris blocking water exit
-
Look for leaf wilt Verify if wilt is from dry soil or afternoon heat stress
4. Apply Water Directly to the Soil Surface
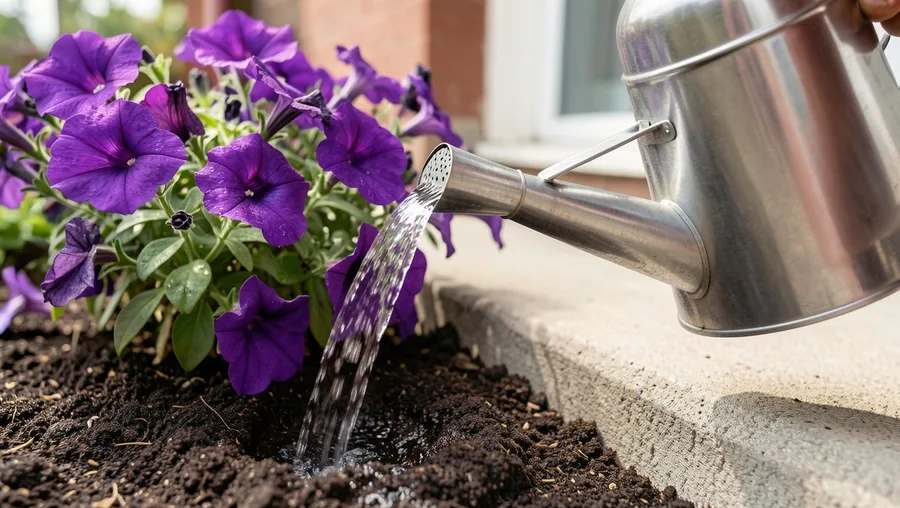
Point your watering wand or can spout directly at the base of the plant, right above the dirt. Keep the water stream low and slow.
Avoid overhead spraying completely. Wetting the dense canopy of a potted petunia or tomato creates a humid microclimate that breeds powdery mildew, while doing nothing to hydrate the root zone below. Direct, ground-level application ensures every drop goes toward the roots instead of getting trapped on the foliage.
5. Saturate Until Water Runs Out the Bottom
Pour water until you see it streaming freely from the drainage holes at the base of the container. This visual sign tells you that the entire root ball is wet.
Shallow watering only wets the top inch of soil, coaxing roots to grow upward toward the surface where they will bake and die during hot afternoons. Deep watering encourages roots to grow downward, creating a resilient, deep root system that handles summer heat fluctuations much better.
6. Ditch the Water Catchment Saucers
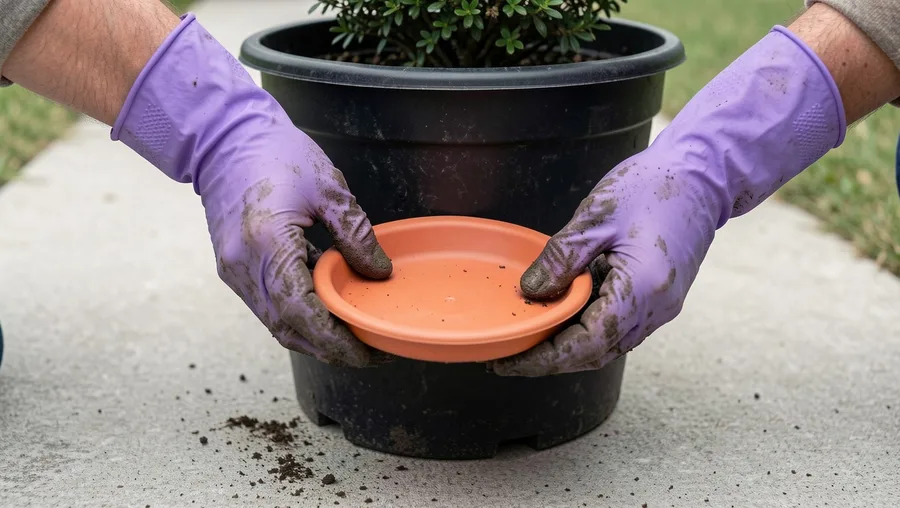
Remove all plastic and ceramic saucers from beneath your outdoor containers during July and August, or flip them upside down to act as pot risers.
Saucers trap drained water, forcing the bottom inches of potting soil to sit in a stagnant pool. This waterlogging starves roots of oxygen, triggering rot within forty-eight hours. Let your pots drain completely onto the ground, deck, or patio surface so air can freely enter the drainage holes.
⚠️ COMMON MISTAKE
The Stagnant Pool Mistake
Leaving pots sitting directly in filled saucers acts like a straw, pulling water back up into the soil and rotting the lower roots. Always elevate pots or dump saucers twenty minutes after watering.
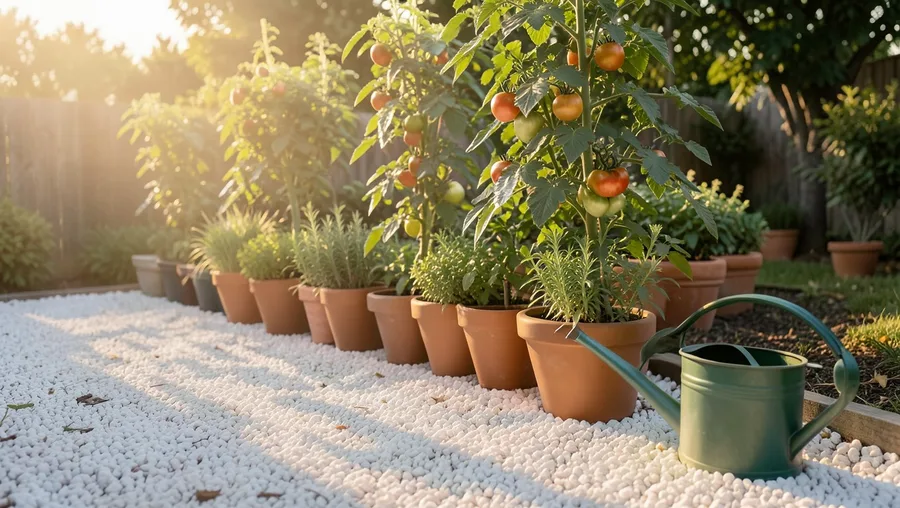
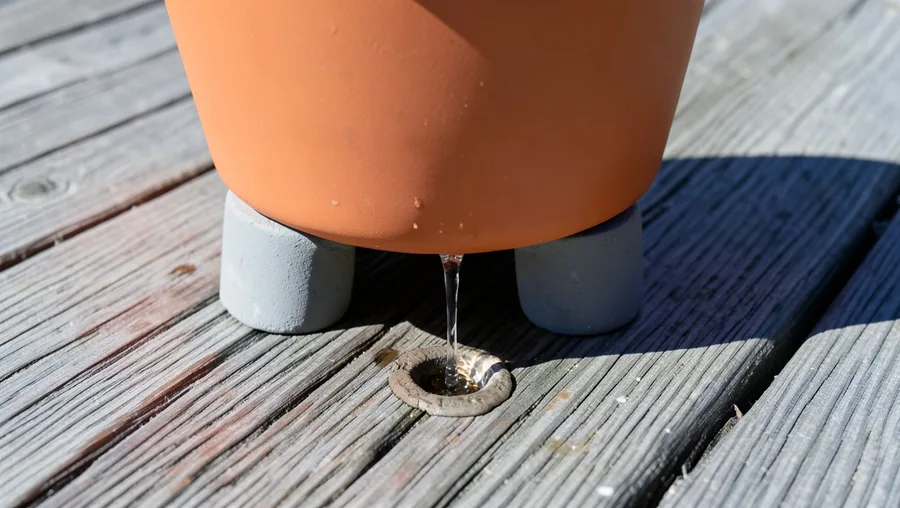
7. Prop Containers up on Pot Feet
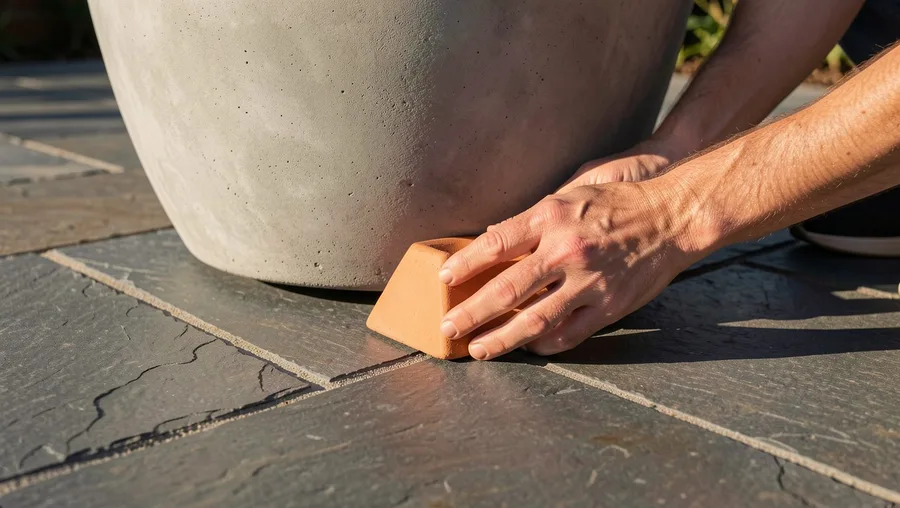
Place three clay pot feet, bricks, or flat stones under every container to raise them one inch off hot patio surfaces.
Elevating pots breaks the direct heat transfer from baking concrete or wood decks, lowering the temperature inside the root zone. It also prevents the drainage holes from getting sealed against the floor, ensuring water can escape without restriction when you soak the soil.
8. Fix Hydrophobic Soil with Bottom Watering
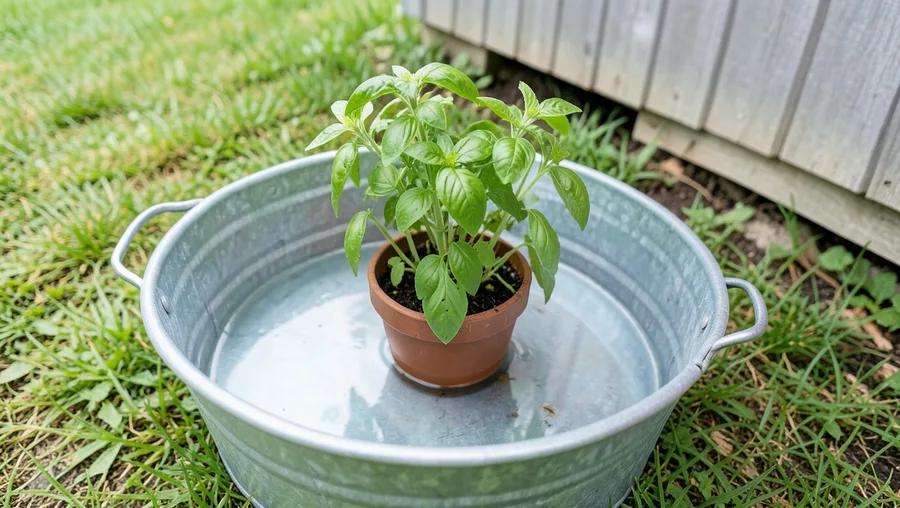
Set bone-dry, shrunken pots inside a large tub filled with three inches of lukewarm water if you notice water running down the inside edges of the pot without soaking the middle.
When potting mix dries out completely, the peat moss turns hydrophobic, repelling water and shrinking away from the pot walls. Pouring water from the top just runs down the gaps. Let the container sit in the tub for thirty minutes to draw moisture upward through capillary action until the top soil feels damp, then pull it out to drain.
9. Spread a Thick Layer of Mulch
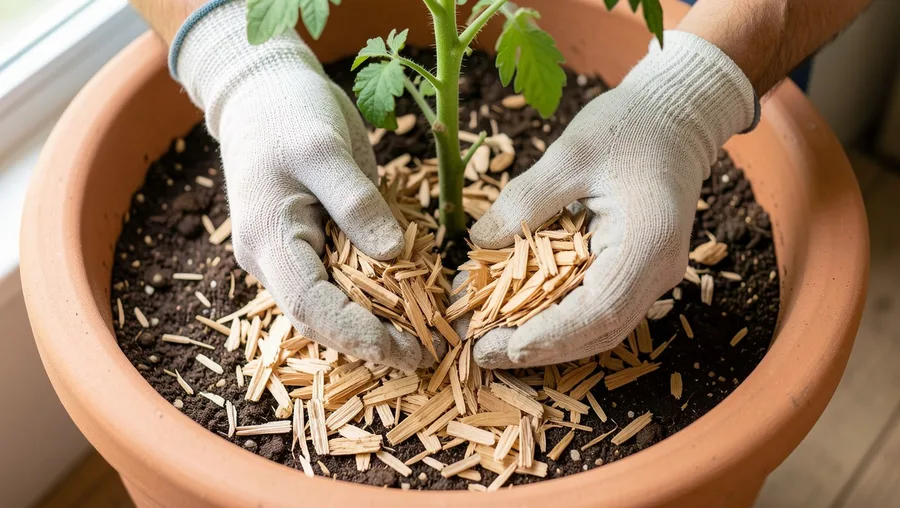
Add a clean one-inch layer of shredded cedar mulch, pine bark mini-nuggets, or clean straw across the top of the soil in your pots.
Keep the mulch a half-inch away from the main plant stems to avoid moisture rot on the bark. This organic blanket shades the soil surface, cutting evaporation losses by half and preventing the top layer of soil from forming a hard, impermeable crust that blocks water entry.
🌱 GROWING TIP
Shredded Bark Beats Nuggets
For small containers, use finely shredded hardwood or cedar bark instead of large nuggets. The fine texture weaves together, creating a tighter seal against drying summer winds.
10. Group Your Pots Close Together
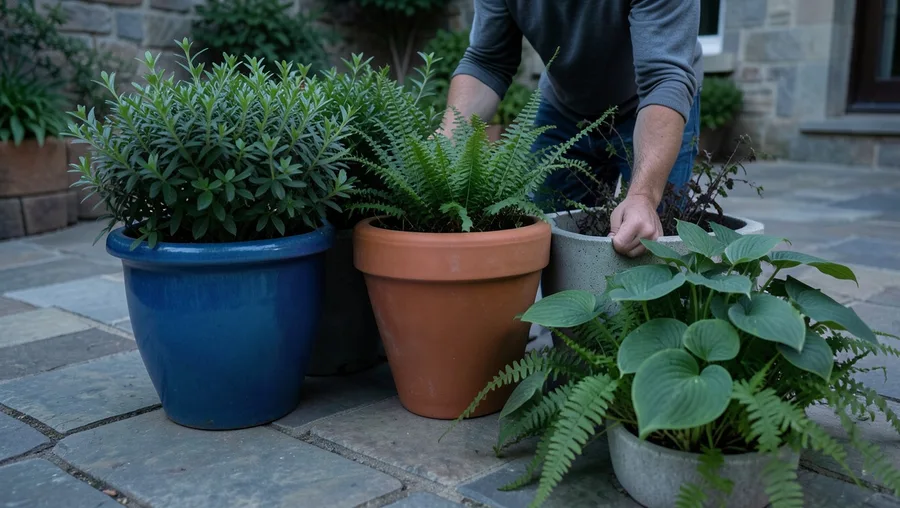
Cluster your individual containers together on your deck or patio so their leaves touch, creating a shared microclimate.
Grouping pots lets the plants shade each other's containers, keeping soil temperatures down. The moisture evaporating from the leaves creates a localized pocket of higher humidity, reducing overall water loss and shielding sensitive plants from drying wind gusts.
11. Switch to Low-Pressure Watering Tools
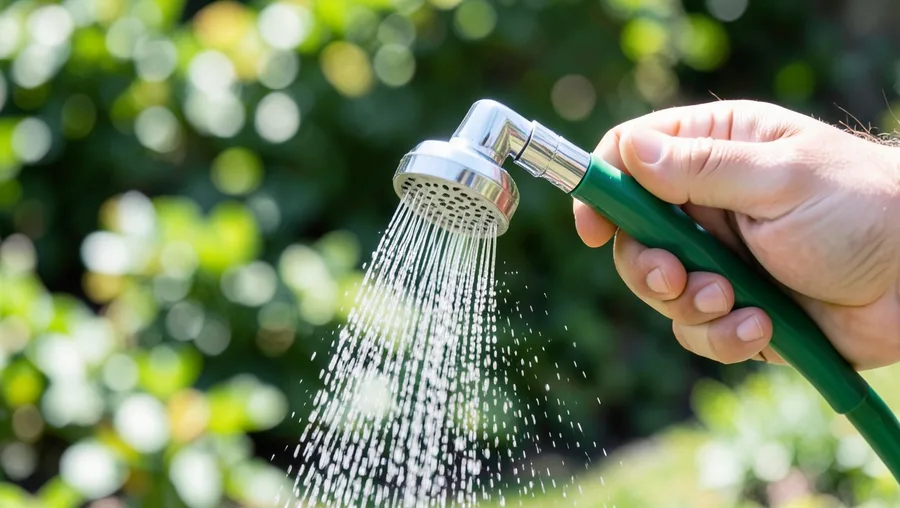
Attach a multi-pattern hose nozzle set to the 'shower' or 'soaker' setting, or use a long watering wand with a fine-mesh breaker head.
Never blast potted plants with a high-pressure jet stream. Strong water pressure carves deep holes in the soil, exposing delicate roots to the hot air and blowing away your mulch layer. A soft, high-volume shower delivery soaks the dirt evenly without disrupting the soil structure.
12. Differentiate Heat Wilt from Dry Wilt
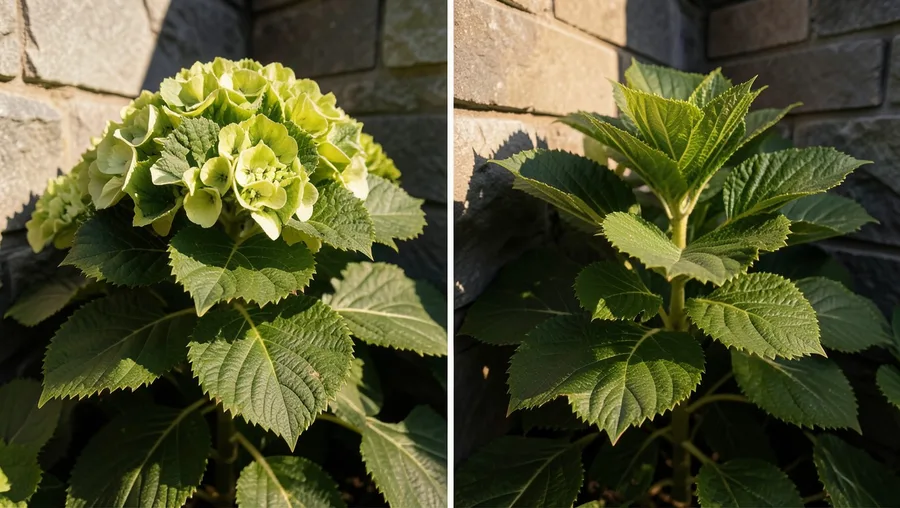
Look closely at wilted leaves at two in the afternoon. Before reaching for the hose, use your chopstick to check deep soil moisture.
Many broad-leafed plants like hydrangeas and squash wilt during hot afternoons as a defense mechanism to preserve moisture, even when their roots are sitting in damp soil. If the soil is wet, do not add more water; adding water to an already wet pot causes root rot. The leaves will perk up naturally by eight in the evening once the air cools down.
Is My Plant Wilting From Heat or Drought?
13. Provide Temporary Afternoon Shade
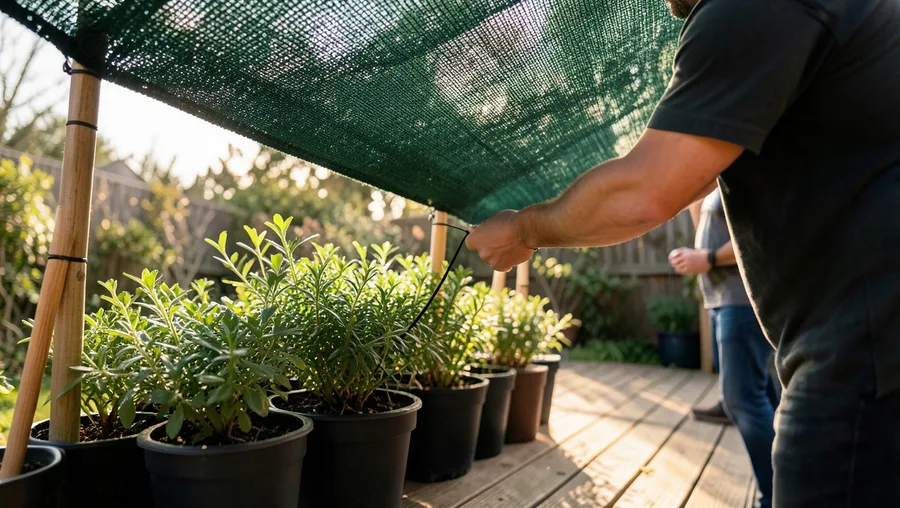
Set up a lightweight pop-up umbrella or drape a forty-percent shade cloth over delicate potted plants during extreme heat spikes over ninety-five degrees.
Blocking the intense afternoon sun from one to four in the afternoon lowers the plant's internal temperature and reduces its water consumption. This shade break prevents the pot walls from overheating, keeping the soil cool and lowering the risk of water stress without requiring extra watering sessions.
14. Stop Fertilizing During Heat Waves
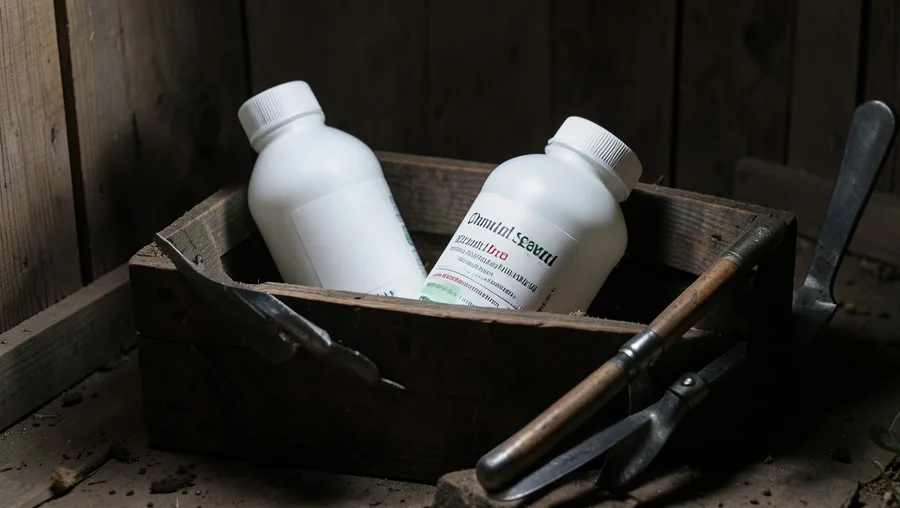
Lock away your liquid and water-soluble fertilizers whenever consecutive days of ninety-degree weather are in the weather forecast.
When plants are stressed by extreme summer heat, they slow down their growth and drink water rapidly to stay cool. If the soil is full of fertilizer salts, those minerals become concentrated as the water drops, burning the roots and causing leaf margins to crisp up. Wait for a cool week to feed your plants again.
15. Check Porous Pots Twice as Often
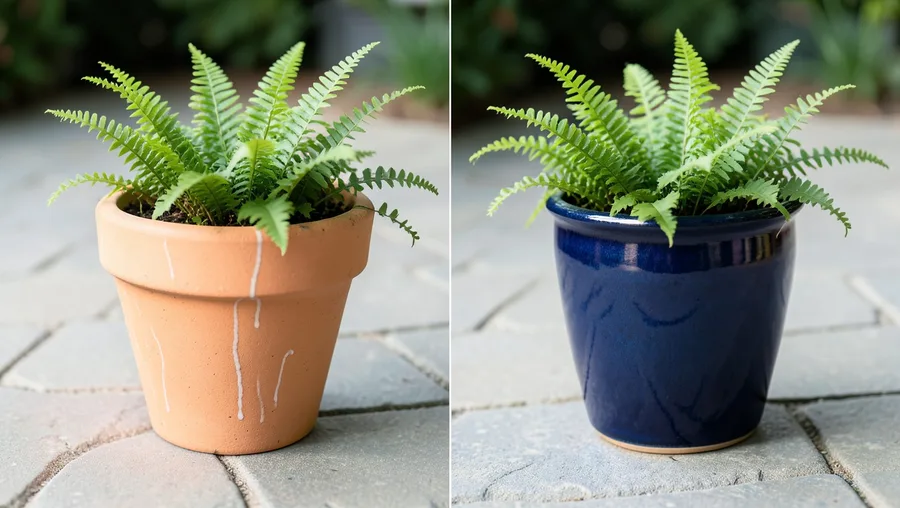
Inspect unglazed terra-cotta, fabric grow bags, and pulp pots twice a day, while checking plastic or glazed ceramic containers just once.
Porous materials let air pass through their walls, which keeps roots cool but causes the soil to dry out significantly faster than non-porous alternatives. Treat each container type based on its material; never water your plastic pots on the same rigid schedule as your terra-cotta ones.
Summer Watering Traps to Avoid
Frequently Asked Questions
Why is my potted soil pulling away from the inside edges of the container?
The potting mix has become completely dried out and hydrophobic. When peat moss dries out fully, it shrinks and forms a tight, water-repellent cake. Fix this by bottom-watering the pot in a shallow tub of water for thirty minutes to rehydrate the soil core.
Can I water my patio containers with an overhead lawn sprinkler?
Avoid this whenever possible. Sprinklers wet the dense plant foliage without delivering enough deep water to the container soil, while creating a damp canopy that encourages fungal diseases. Use a watering wand aimed directly at the dirt instead.
How can I tell if yellow leaves mean too much or too little water?
Check the texture of the yellowing leaves. Overwatered leaves feel soft, limp, and slightly mushy, and the lower stems may look dark. Dehydrated leaves feel dry, crispy, and paper-thin, often dropping off the plant entirely starting from the bottom up.
Is it safe to use self-watering pots during hot summer months?
Yes, but check them carefully. In extreme summer heat waves, plants can empty a built-in reservoir within a single afternoon. Clean the reservoir every two weeks to prevent stagnant water from breeding disease or attracting insect pests.
Final Thoughts
Your summer container garden should stay crisp, green, and properly hydrated once you replace guesswork with weight checks and deep soaking methods. Stop by your patio tomorrow morning at seven to lift your main pots, run a quick chopstick test on your thirstiest plants, and adjust your routine based on the real soil data you collect.

John Smith is the founder and CEO of Karaoke Machines Guru. He is a karaoke tutor and karaoke enthusiast and has been passionate about karaoke since he was a child. He also writes about karaoke-related tips, guides, and product reviews on this website.
He overlooks the whole website and makes sure that everything is running smoothly. Learn more!