
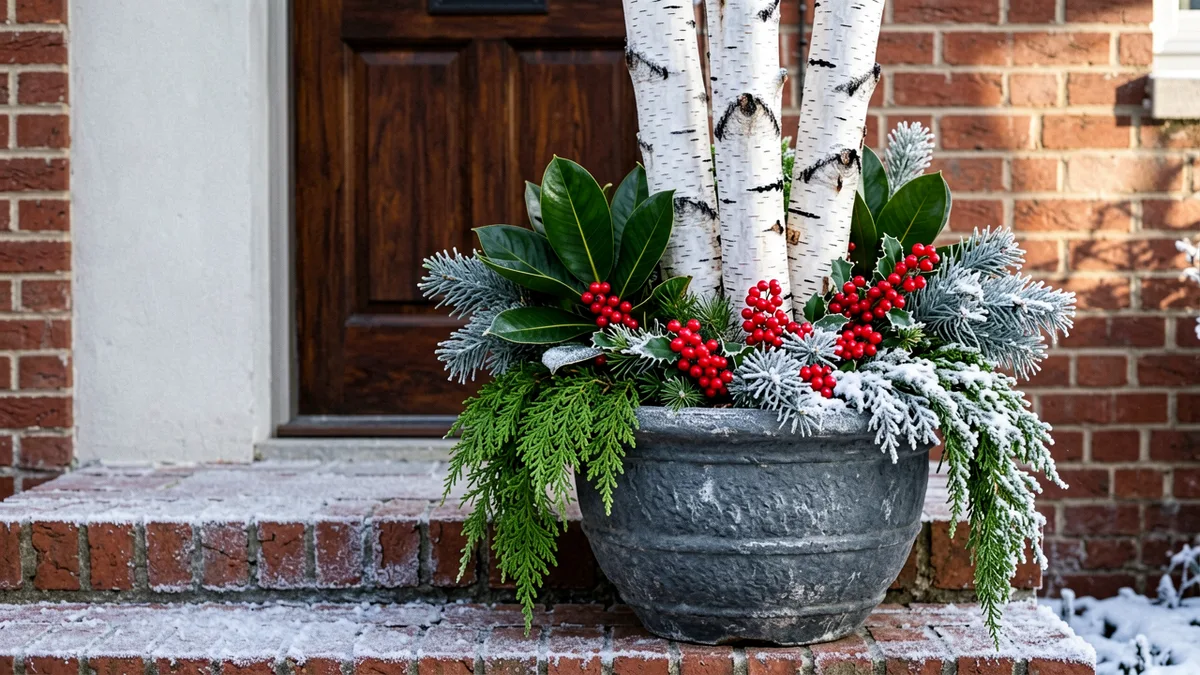
When the final frost claims your autumn chrysanthemums, your front porch containers do not have to sit empty until spring. Empty pots look bleak against freezing weather, but a winter porch arrangement brings immediate warmth to your entryway. By shifting your strategy from living root systems to structured arrangements of cut evergreen boughs, hardier architectural stems, and weatherproof natural elements, you can build a display that thrives in sub-zero temperatures.
You do not need a professional florist or an expensive greenhouse kit to master this. This guide shows you exactly how to select, arrange, and preserve a stunning winter display using real materials like cedar, pinecones, and birch logs. With the right anchoring techniques and winterizing steps, your containers will withstand heavy snow and biting winds while looking fresh until the first daffodils bloom.
Project Overview
Quick Tips Before You Start
1. Choose Heavy Weatherproof Resin or Stone Containers
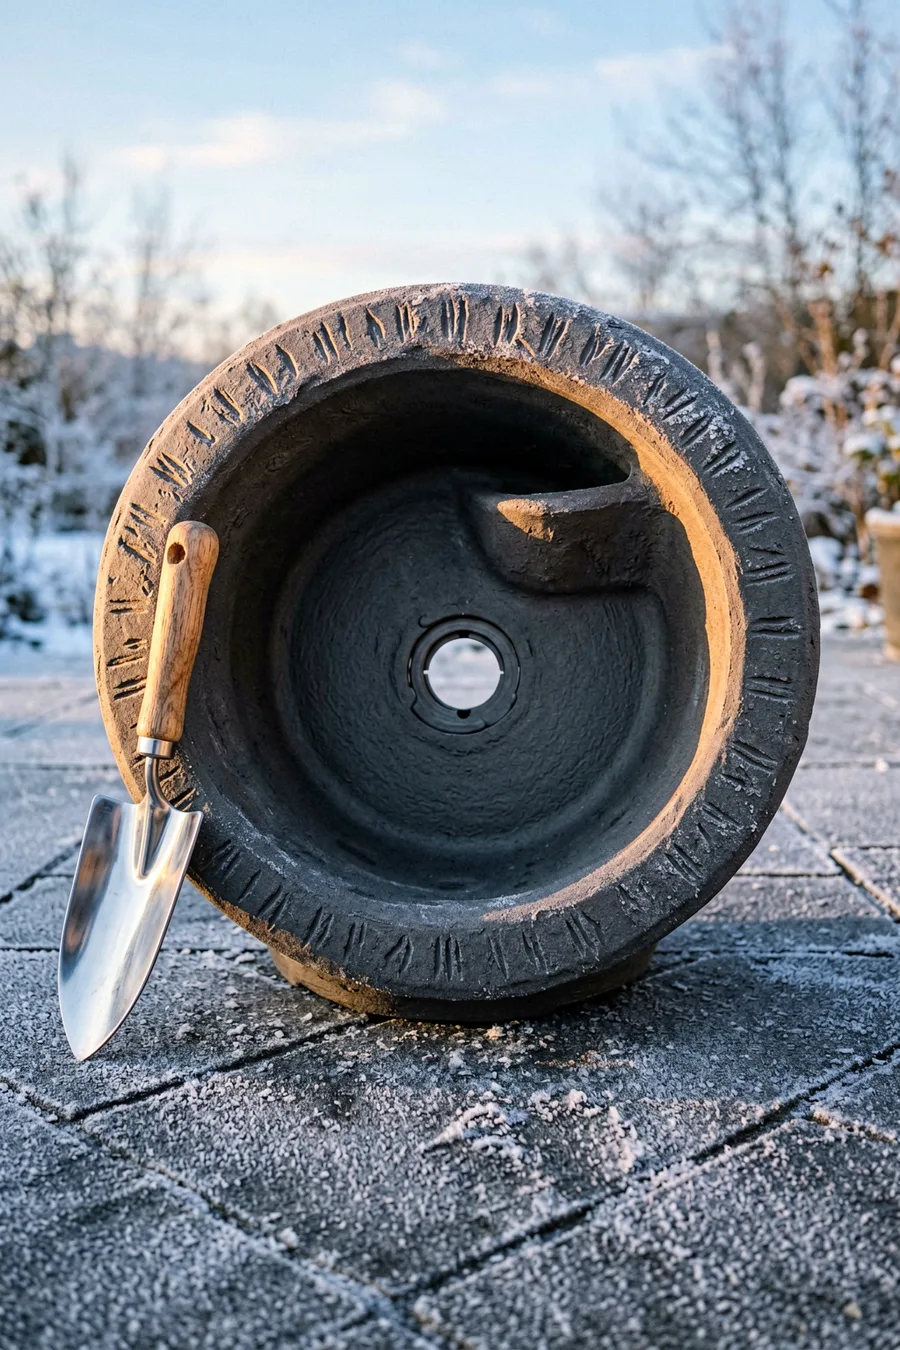
Your lightweight plastic summer pots will crack and tip over when freezing winter winds hit your porch. Swap them out for heavy-duty cast stone, thick concrete, or double-walled frost-resistant resin planters that feature a minimum 14-inch diameter opening. These materials expand slightly without fractures when the damp soil inside freezes solid, and their weight acts as a literal anchor against January storms.
Ensure your chosen container has a functional drainage hole at the bottom. If water pools inside and freezes into a solid block of ice, it will split your pot apart from the inside out and push your structural stems right out of the arrangement.
2. Pack the Pot with Heavy Density Potting Soil
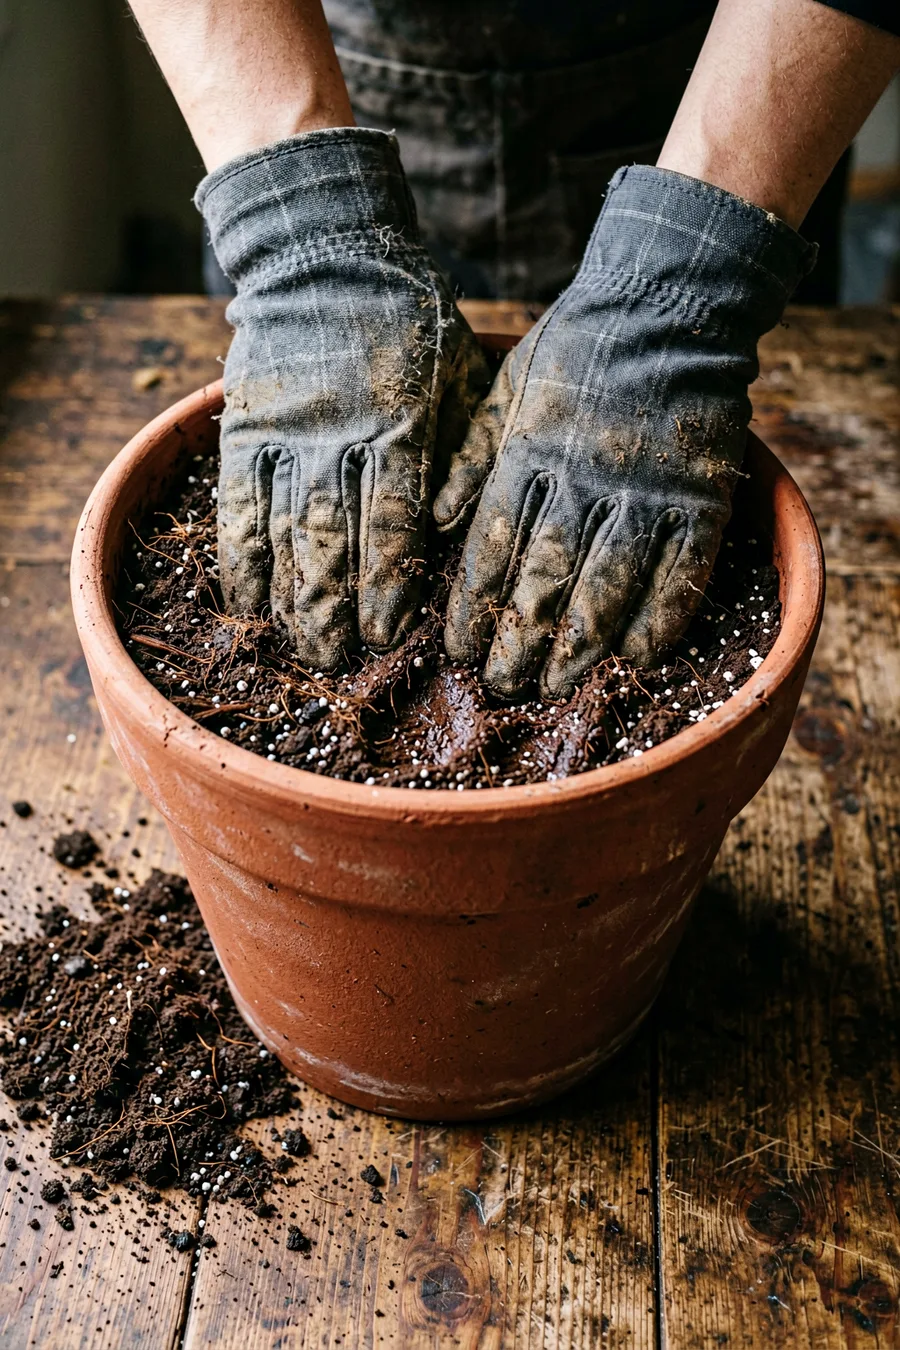
Do not empty your pots of old summer soil; instead, reuse it or pack the container tightly with fresh, heavy potting mix up to three inches below the rim. Avoid using lightweight peat-based potting fills or packing peanuts at the bottom of the container, as they do not provide enough resistance to hold top-heavy branches in place.
Compress the soil down firmly with your fists to eliminate large air pockets. This dense soil base acts like floral foam for your heavy branches, gripping them tightly before the entire container freezes into a solid, unmoving block.
Readiness Checklist Before Arranging
-
Check pot drainage holes Clear away any dried root mats or old debris covering the opening.
-
Pre-moisten the potting soil Pour water into the packed soil until it feels damp like a wrung-out sponge.
-
Sort your greenery bundles Group your thriller branches, filler boughs, and spiller elements on the ground.
3. Anchor Large Birch Logs as the Central Thriller
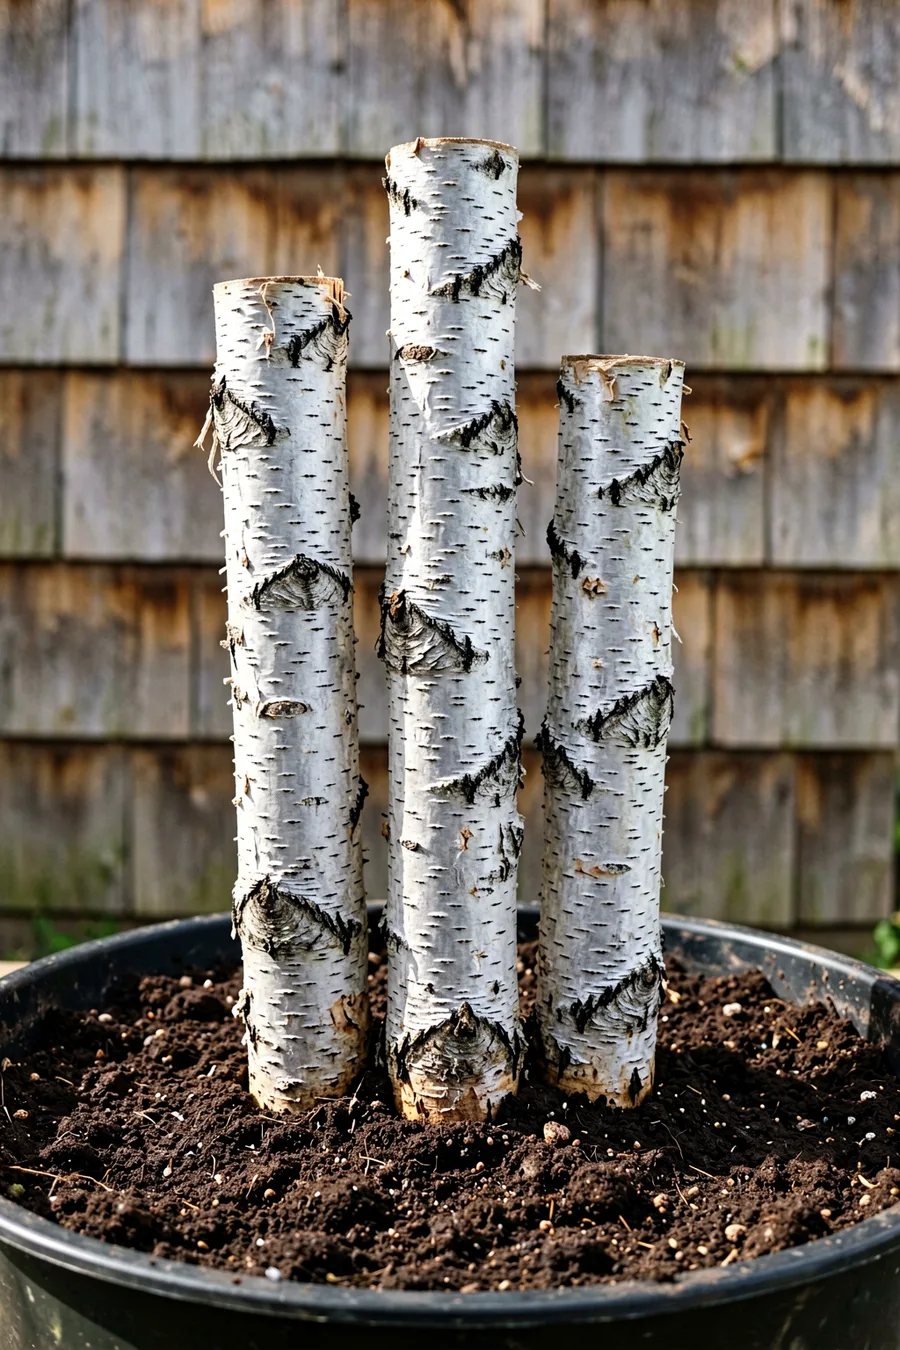
Insert a cluster of three natural white birch logs directly into the center of your soil base to create instant vertical interest. Select logs of varying heights, such as 18-inch, 24-inch, and 30-inch lengths with a diameter of two to three inches, to form a more visually appealing asymmetrical cluster.
Drive the bottom six inches of each log deep into the compressed soil, pushing firmly until they do not wobble. This central core sets the height boundary for your entire porch pot and provides a rugged, rustic focal point that stays bright against dark winter siding.
4. Incorporate Rigid Fraser Fir for Structure and Height
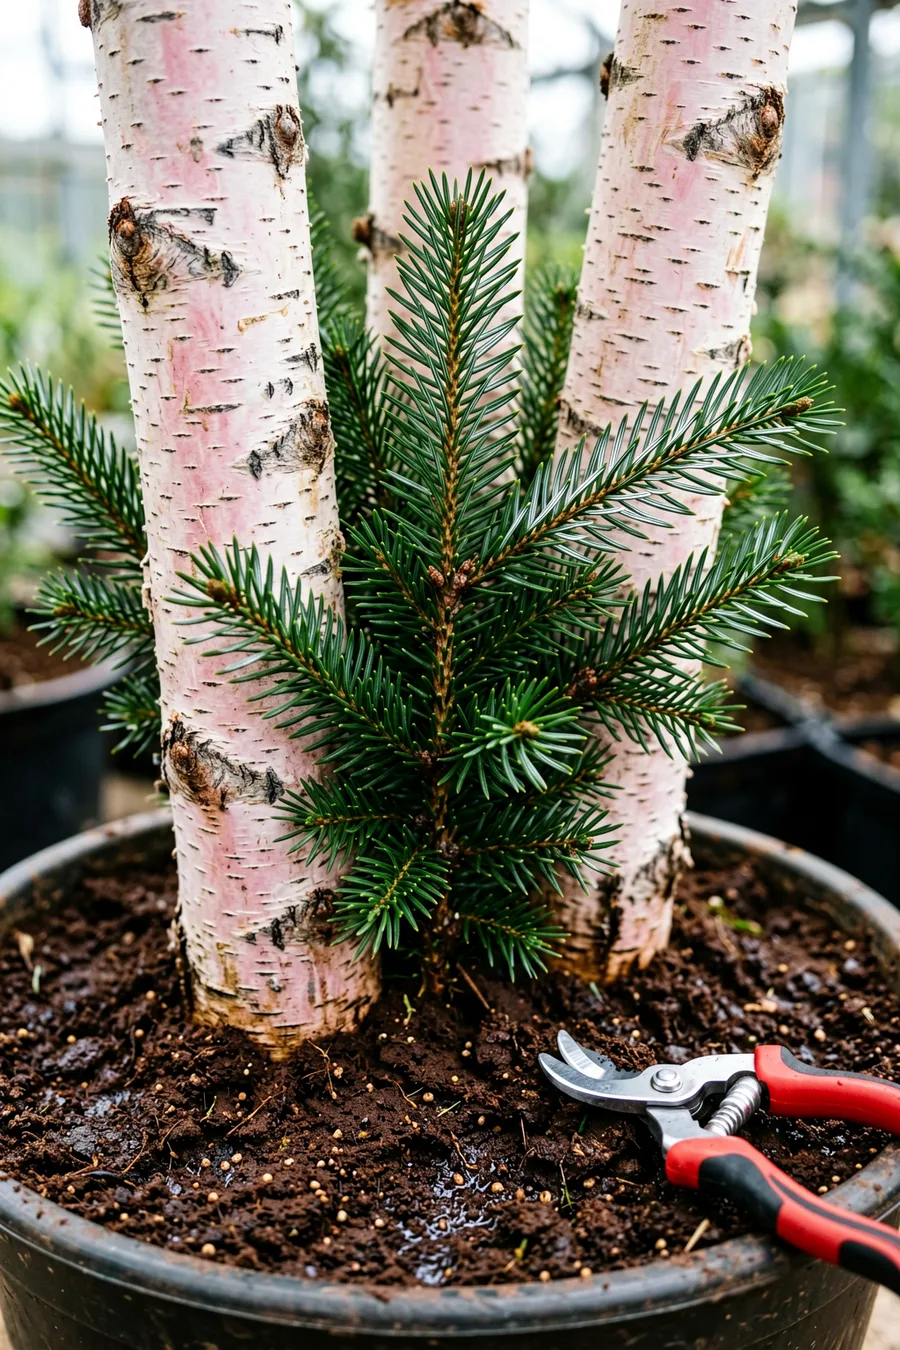
Surround your central birch logs with upright branches of Fraser fir or Noble fir. Cut the stems to approximately two-thirds the height of your tallest birch log, stripping the needles off the bottom four inches of the stem before pushing them into the soil.
Fraser fir branches are incredibly rigid, meaning they will not droop or sag under the weight of wet snow. Their deep green needles feature silvery undersides, which catch the low winter light beautifully when the wind moves through your porch.
🌱 GROWING TIP
The Golden Thriller Rule
Always place your tallest, stiffest elements first. If your central logs and fir branches are loose, the entire arrangement will lean when the soil undergoes its first hard freeze.
5. Layer Long Pine Boughs for Mid-Level Volume
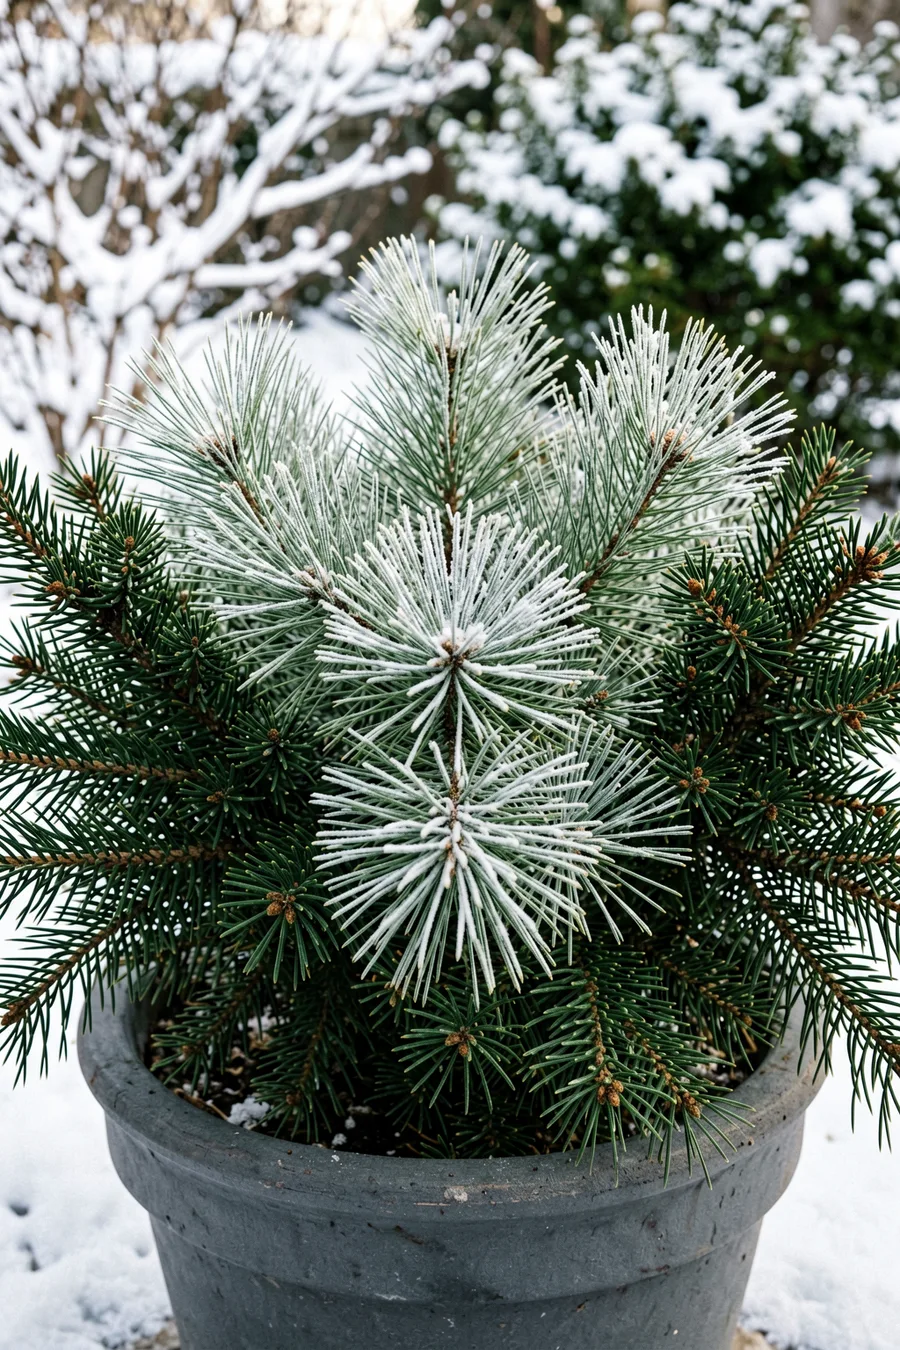
Weave long, flexible branches of White Pine around your structural fir base to build out the mid-level volume of the pot. Cut these branches so they extend outwards horizontally, expanding the visual footprint of your container arrangement.
White pine needles are long, soft, and feathery, providing a distinct texture contrast against the stiff needles of the fir. They fill up empty spaces quickly, ensuring your pot looks lush and full from every viewing angle.
6. Weave Cascading Incense Cedar Around the Rim
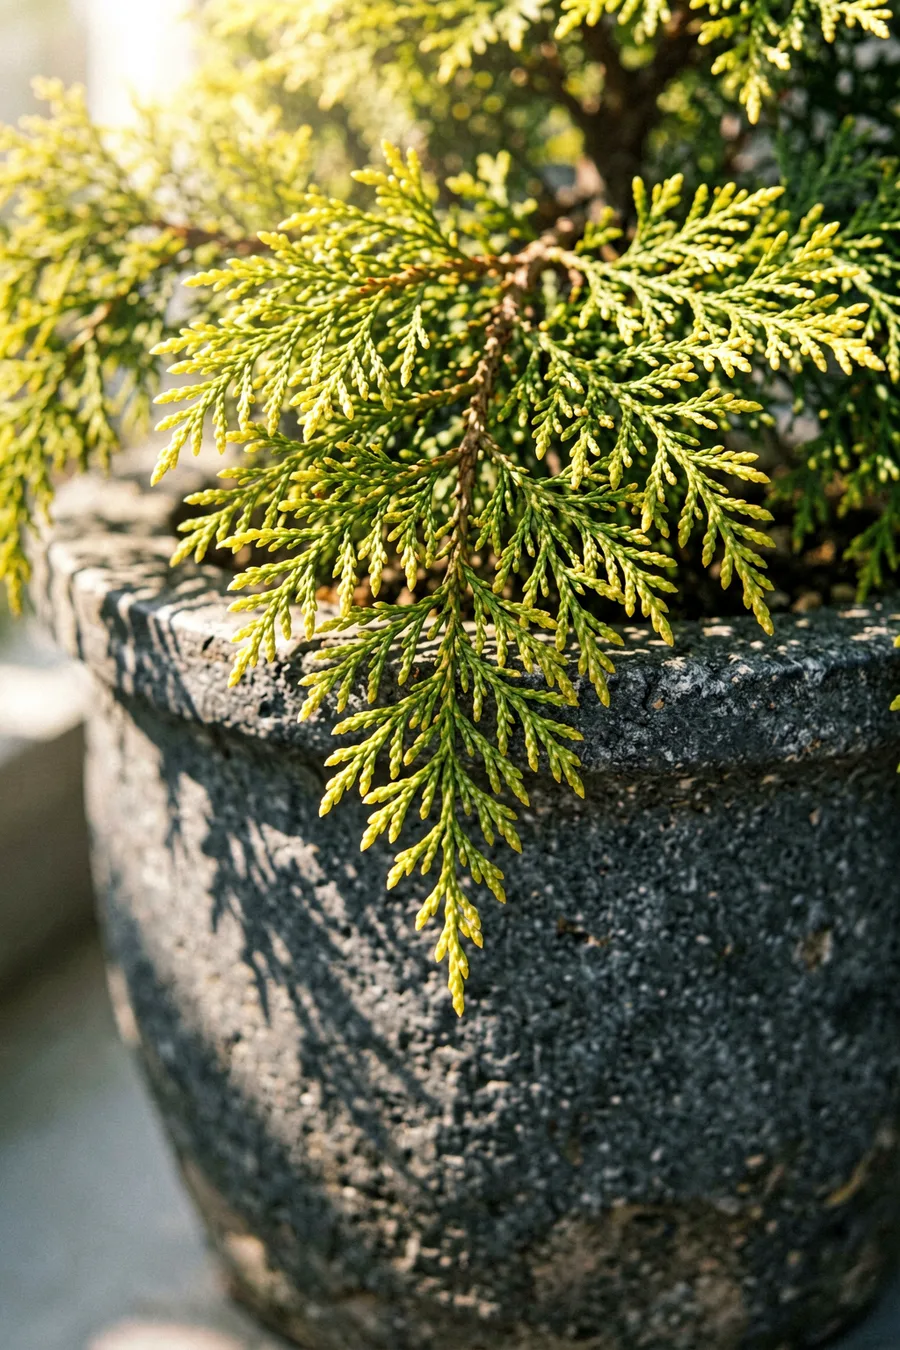
Insert stems of Incense cedar along the inside perimeter of the pot rim, angling them downward at a 45-degree angle. Let the flat, lacy yellow-green fronds drape naturally over the edges of the container to soften the hard lines of the stone or resin.
This trailing action creates a beautiful spilling effect that grounds the top-heavy arrangement. Incense cedar also releases a fragrant, crisp scent whenever guests brush past it on your front walkway.
Greenery Guide — At a Glance
🌲 Fraser Fir
Stiff Structure
🌿 White Pine
Soft Volume
🍃 Incense Cedar
Trailing Spiller
Proportional Ratio
Aim for 40% structure, 40% volume, and 20% trailing elements for a balanced look.
7. Add Glossy Broadleaf Magnolia Leaves for Texture Variety
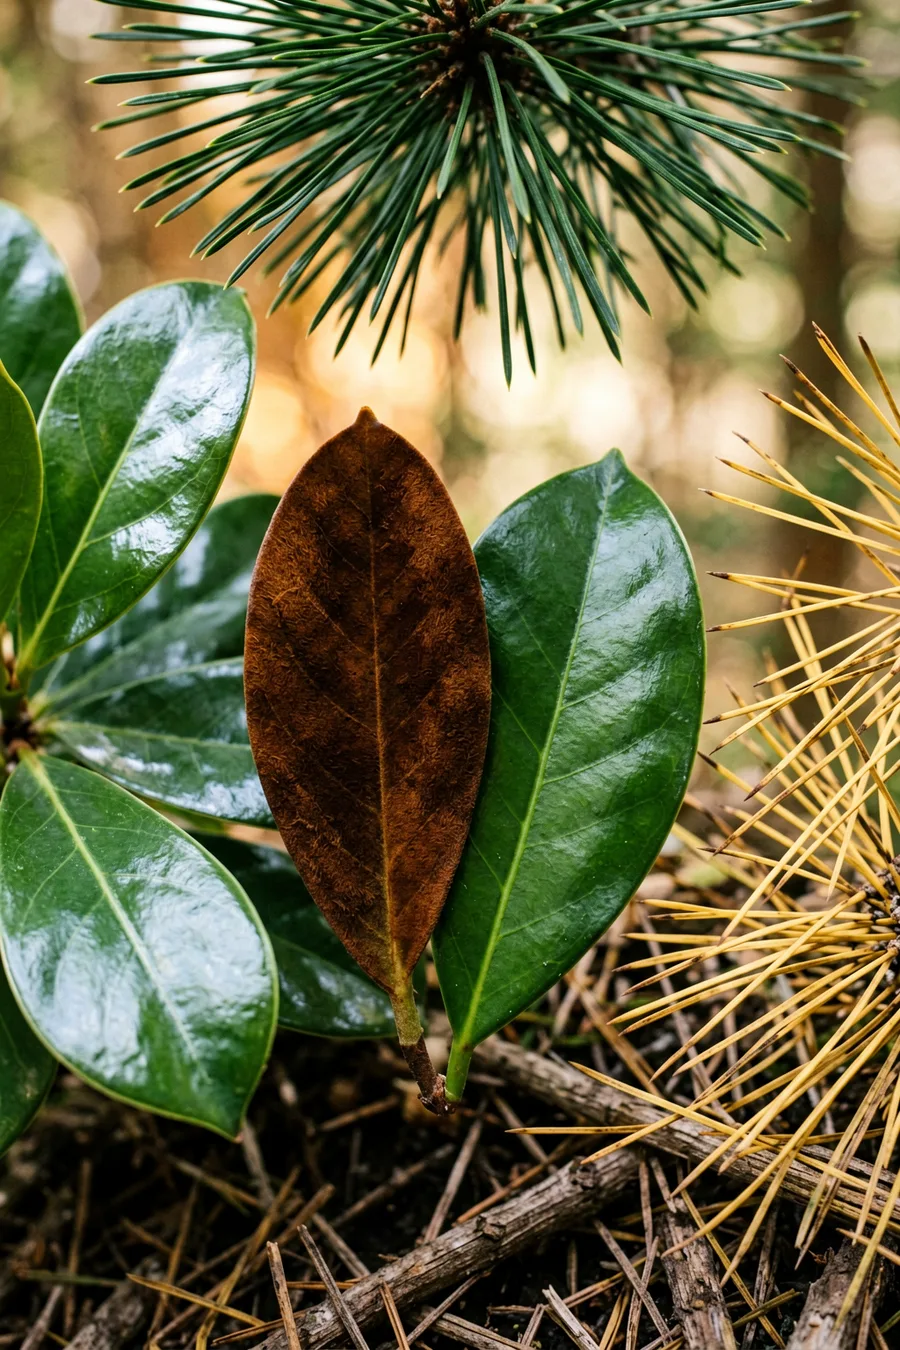
Tuck clusters of real southern magnolia stems into the gaps between your needle evergreens. Magnolia leaves offer a striking visual contrast because their tops are a glossy, deep emerald green while their undersides feature a velvety, warm cinnamon-brown fuzz.
Position some leaves face-up and others slightly turned to show off both colors. This broadleaf element breaks up the monotony of evergreen needles, making your porch container look like a custom floral design.
8. Insert Natural Red Winterberry Stems for Color Pops
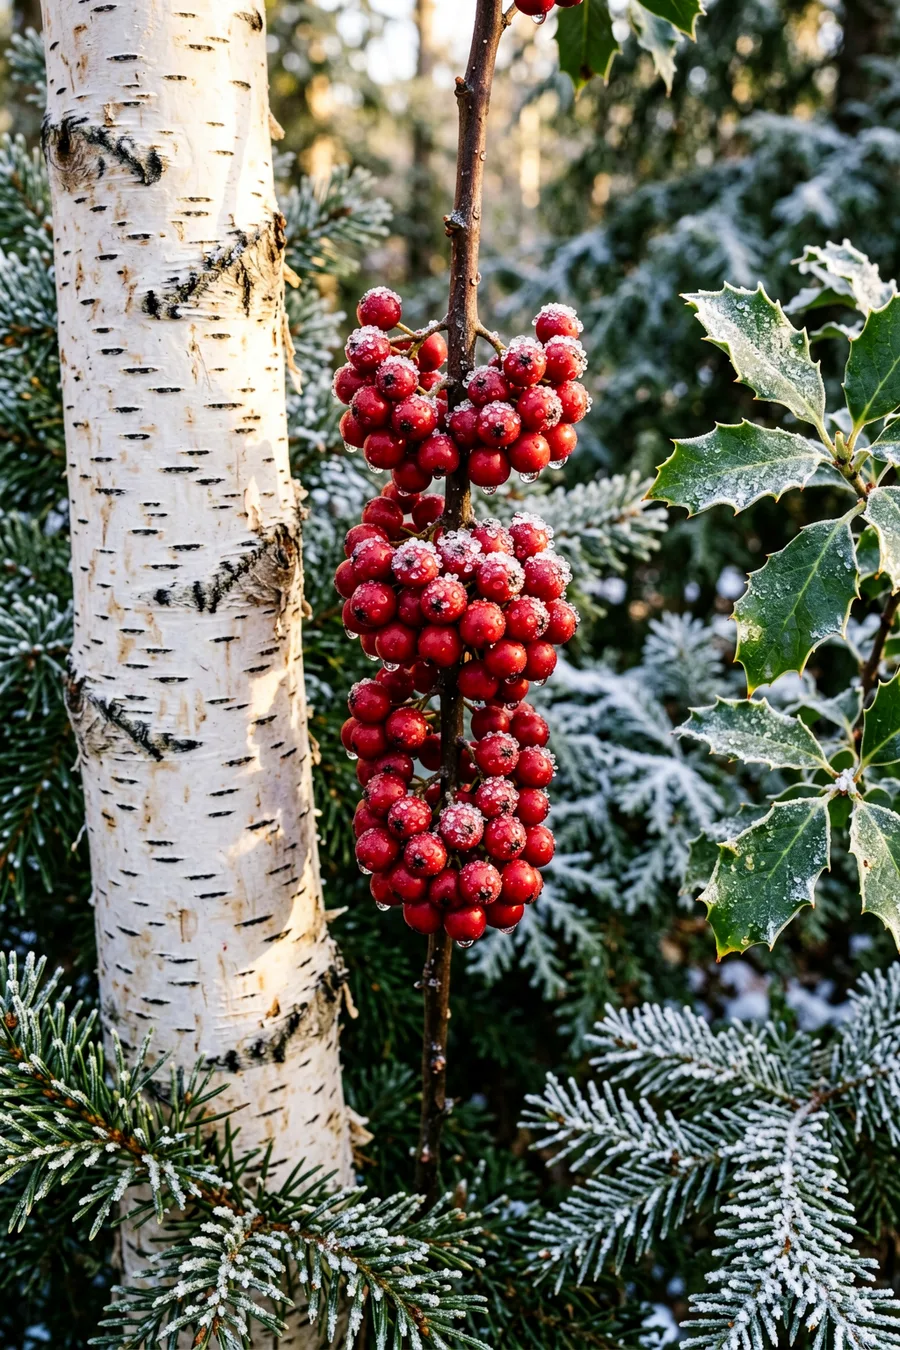
Push clusters of vibrant red winterberry (Ilex verticillata) stems deep into the soil alongside your central birch logs. Use branches packed tightly with bright berries, cutting them so they sit just below the tips of your tallest evergreen structure.
Avoid using plastic or styrofoam faux berries, which turn brittle, fade, and flake apart after exposure to freezing rain. Real winterberries hold their brilliant crimson shade throughout the cold months, providing a striking contrast against white snow.
⚠️ COMMON MISTAKE
Avoid Cheap Faux Berries
Styrofoam berries split open and bleach white within three weeks of sun exposure. Stick to real dried or cut winterberries, or use high-grade UV-resistant outdoor floral picks.
9. Wire Oversized Sugar Pinecones to Structural Branches
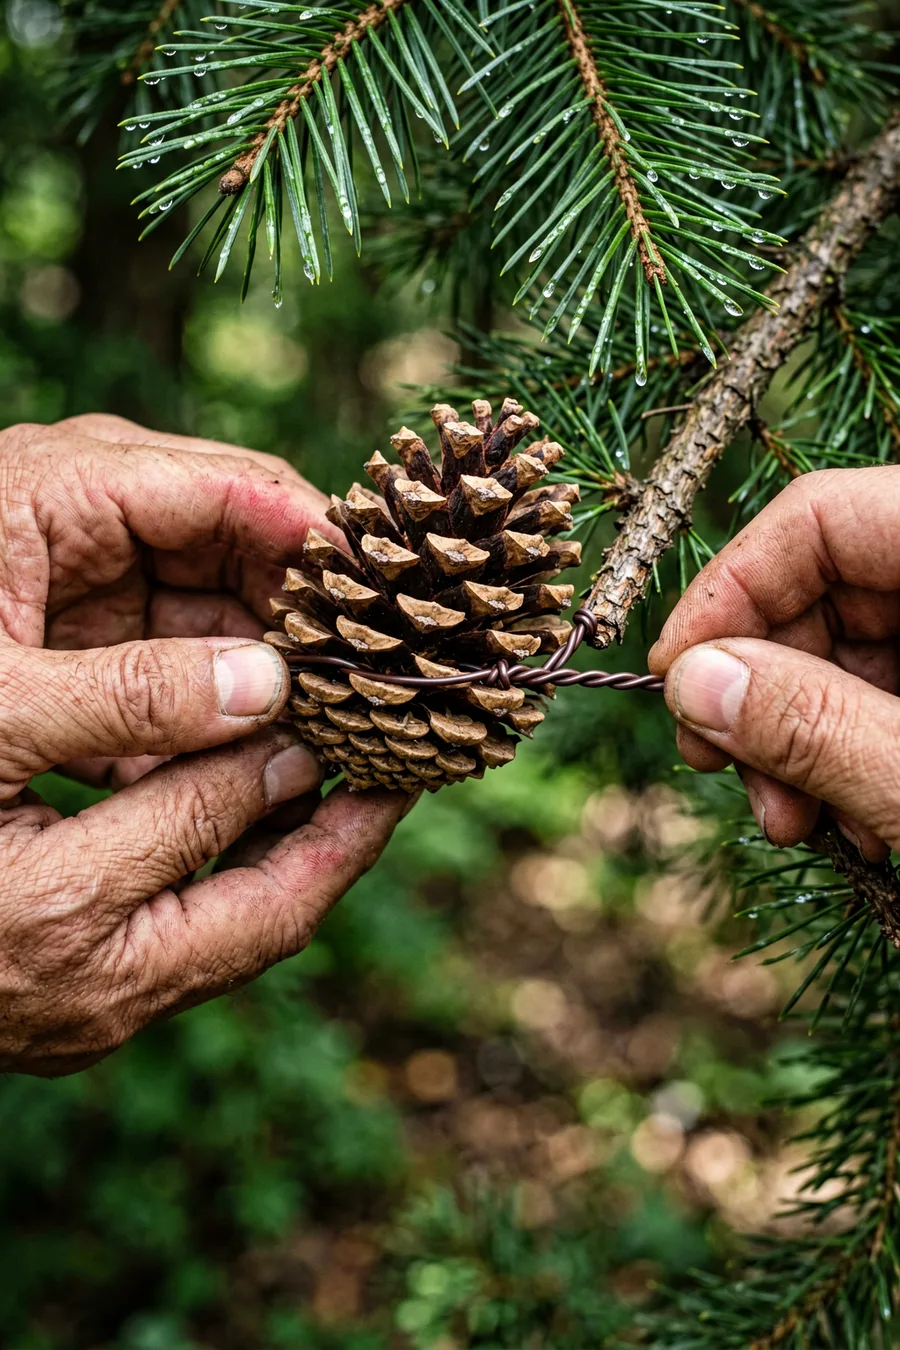
Do not simply rest pinecones on top of your greenery, or they will be blown away by winter winds. Wrap an 8-inch piece of 22-gauge brown floral wire tightly around the bottom scales of large sugar pinecones, leaving a long wire tail.
Twist this wire tail firmly around your inner structural fir branches to lock the pinecones in place. Cluster them in groups of two or three near the rim of the pot to create natural focal nodes that look intentional and secure.
10. Spray the Foliage with an Anti-Desiccant Layer
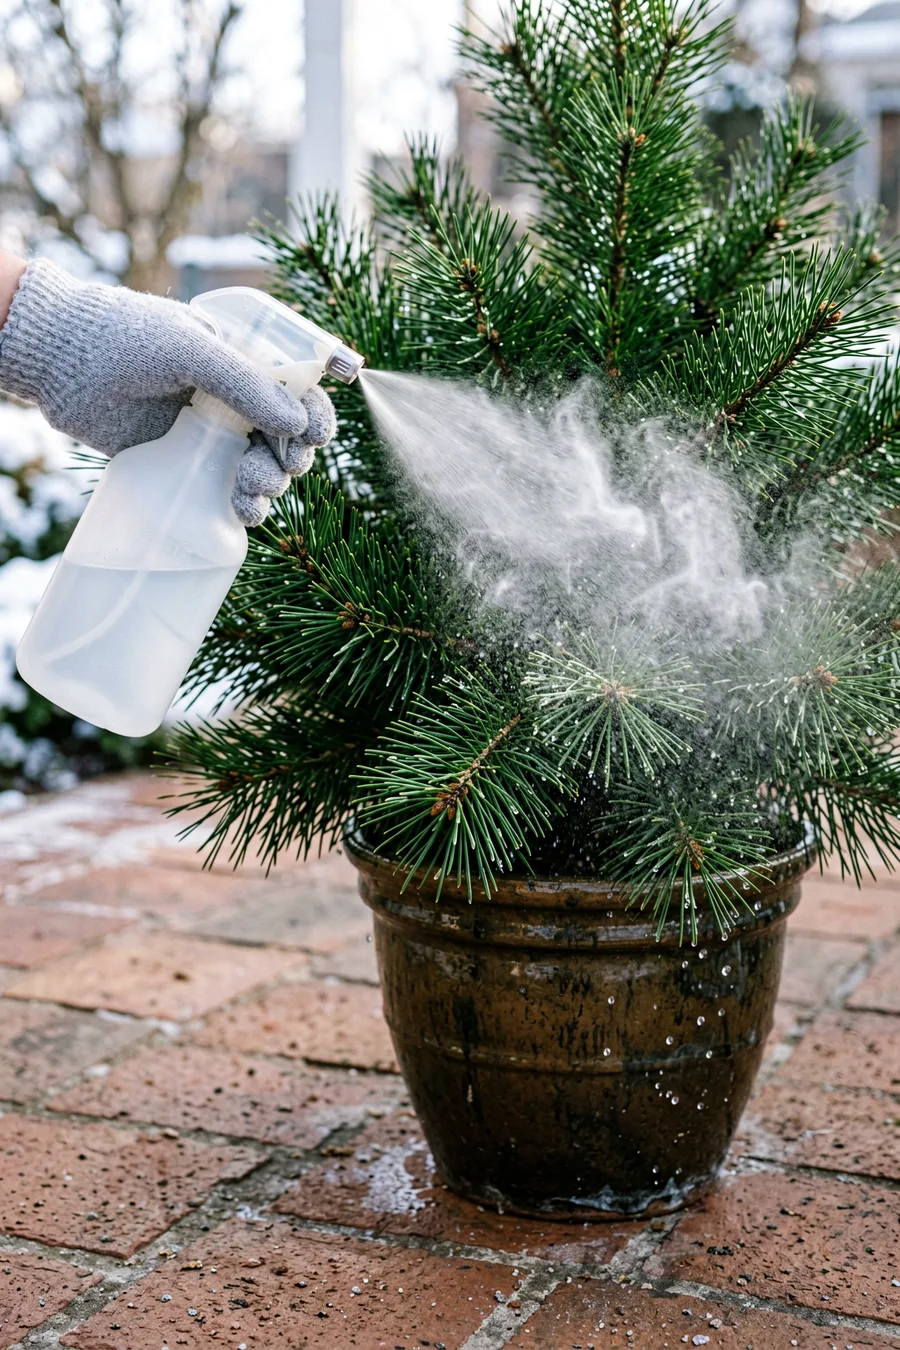
Coat your completed arrangement thoroughly with a clear anti-desiccant spray, such as Wilt-Pruf, before temperatures drop below freezing. Spray all sides of the needles on a dry day when the temperature is above 40 degrees Fahrenheit.
This specialized natural pine resin spray forms a thin, protective coating over the foliage. It locks moisture inside the cut stems, preventing dry winter winds from turning your beautiful green boughs into brittle, brown tinder by mid-January.
11. Tuck in Hardy Faux Boxwood Spheres for Symmetry
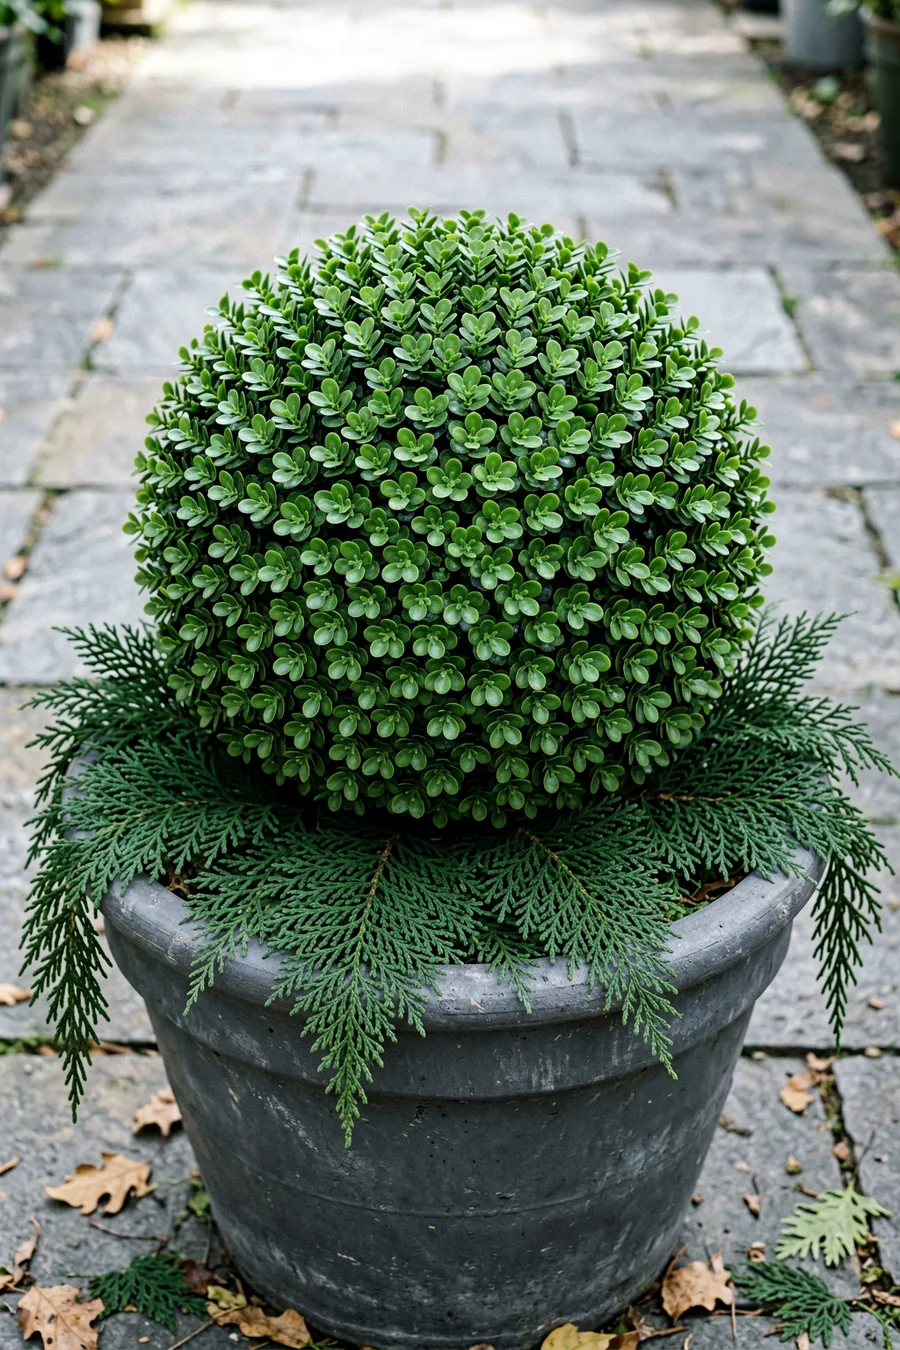
Mix in high-quality, UV-protected faux boxwood or cypress picks into your lower layers if you want perfectly uniform mounds of green. Use heavy plastic varieties that feature realistic color variations from light to dark olive green.
Tuck these faux elements deep into the base of the pot, allowing the natural cut cedar and pine to drape over them. The structural faux spheres maintain their shape perfectly, preventing your arrangement from flattening out over time.
Best Foliage Additions For
12. Add Metallic Painted Eucalyptus for Subtle Shimmer
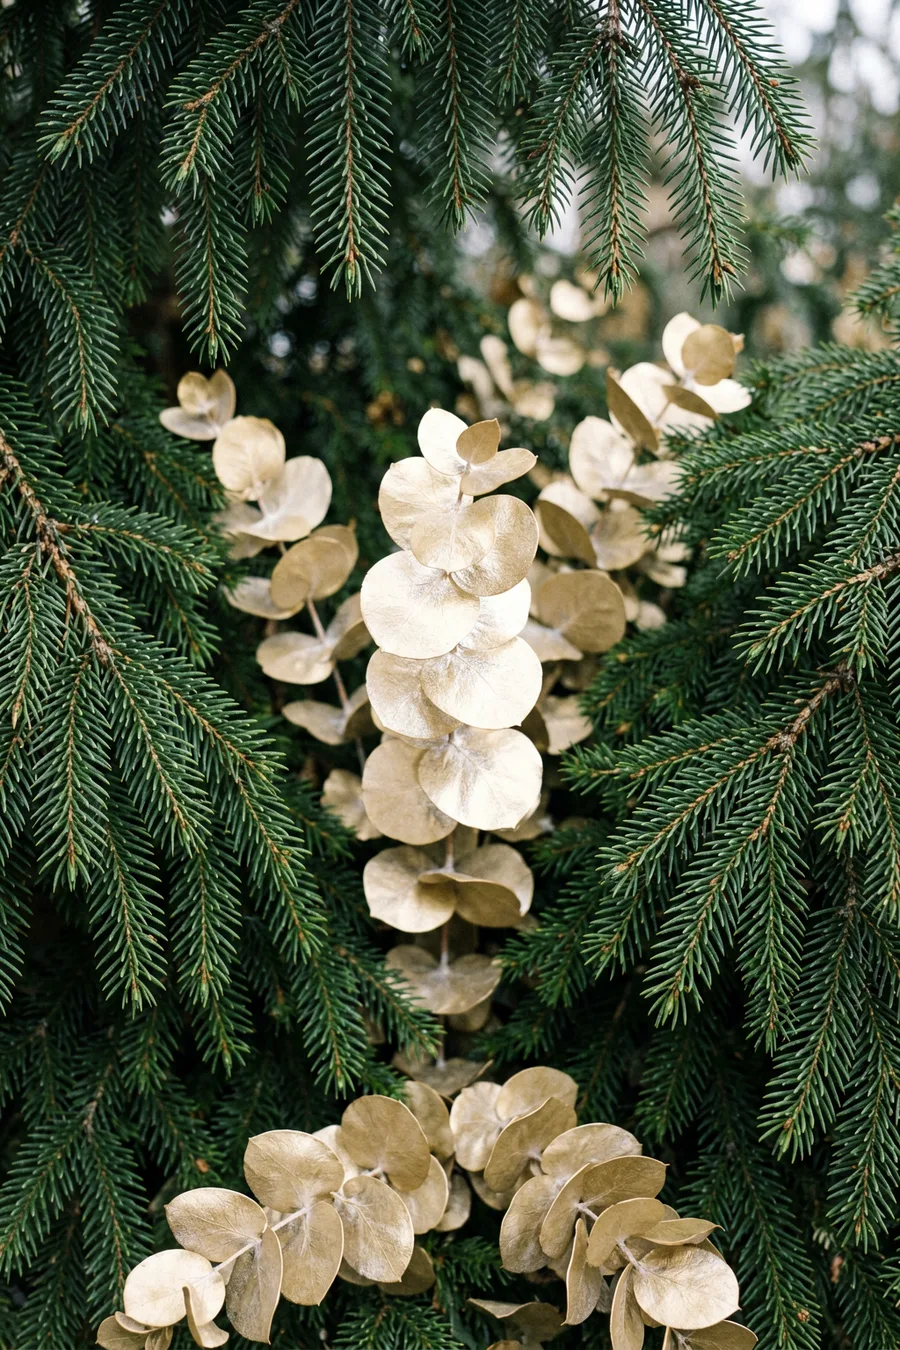
Introduce dried silver dollar eucalyptus stems sprayed with a soft matte metallic gold or silver paint. Insert them at an angle throughout the mid-section of your container, letting their rounded leaves break up the pointed texture of your evergreen needles.
The metallic coating protects the dried leaves from damp weather while adding a clean touch of reflection that catches your entryway porch lights during dark winter evenings.
13. Saturate the Soil Before the First Hard Freeze
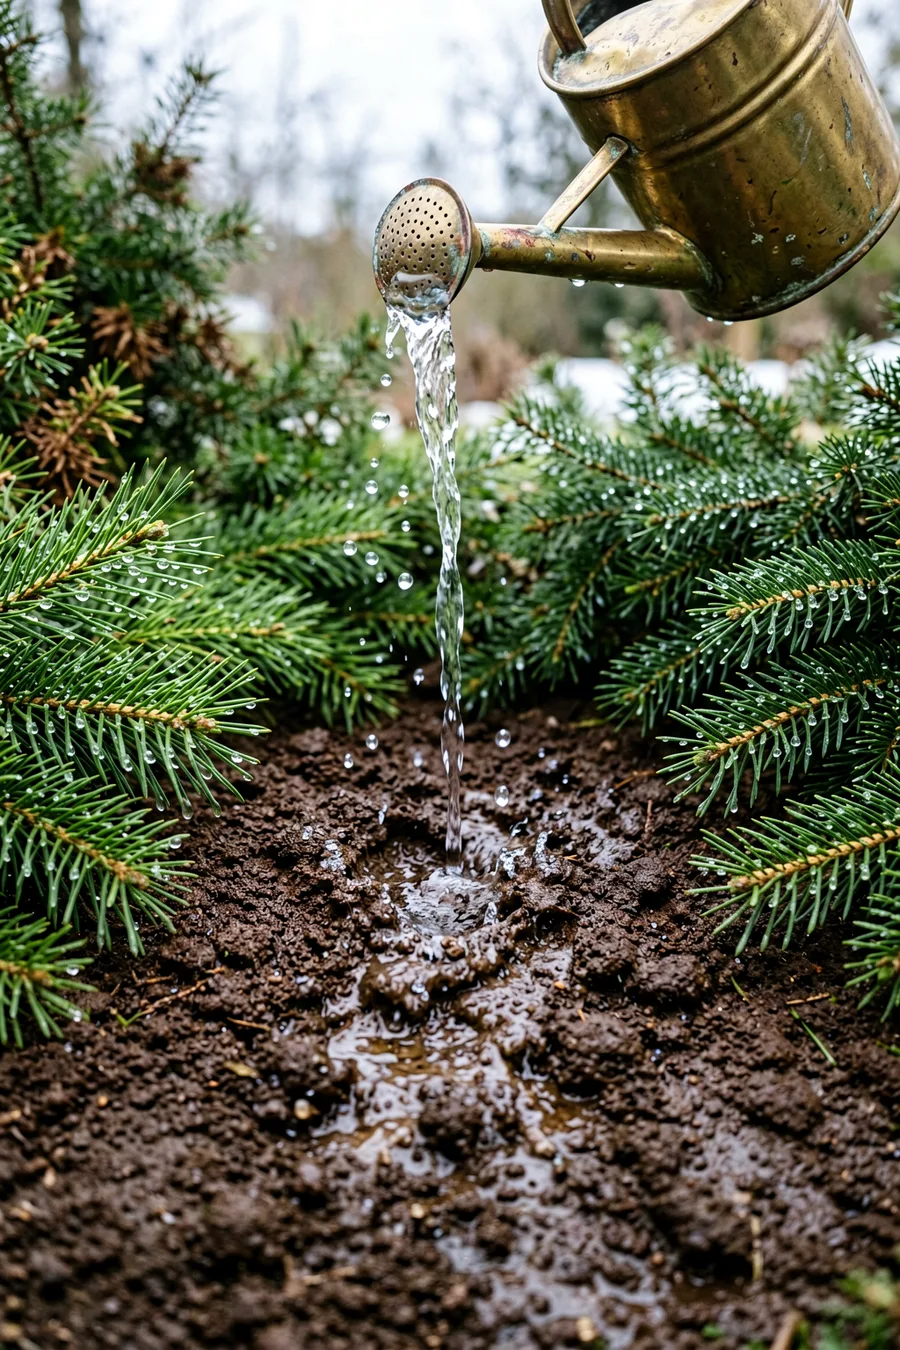
Pour water into your completed porch pots until the soil is thoroughly saturated and water runs out of the bottom drainage hole. Do this right before your local forecast predicts a drop into sustained freezing temperatures.
When this water turns to ice inside the soil mix, it locks your arrangement in place and preserves the cut ends of your evergreen boughs in a block of frozen hydration. This natural preservation system keeps the greens vibrant for months.
💡 PRO TIP
The Frozen Hydration Trick
Saturating your soil right before a hard freeze creates a natural ice reservoir that keeps the stems hydrated every time the sun warms the pot up slightly.
14. Top Dress Exposed Soil with Real Moss or Bark
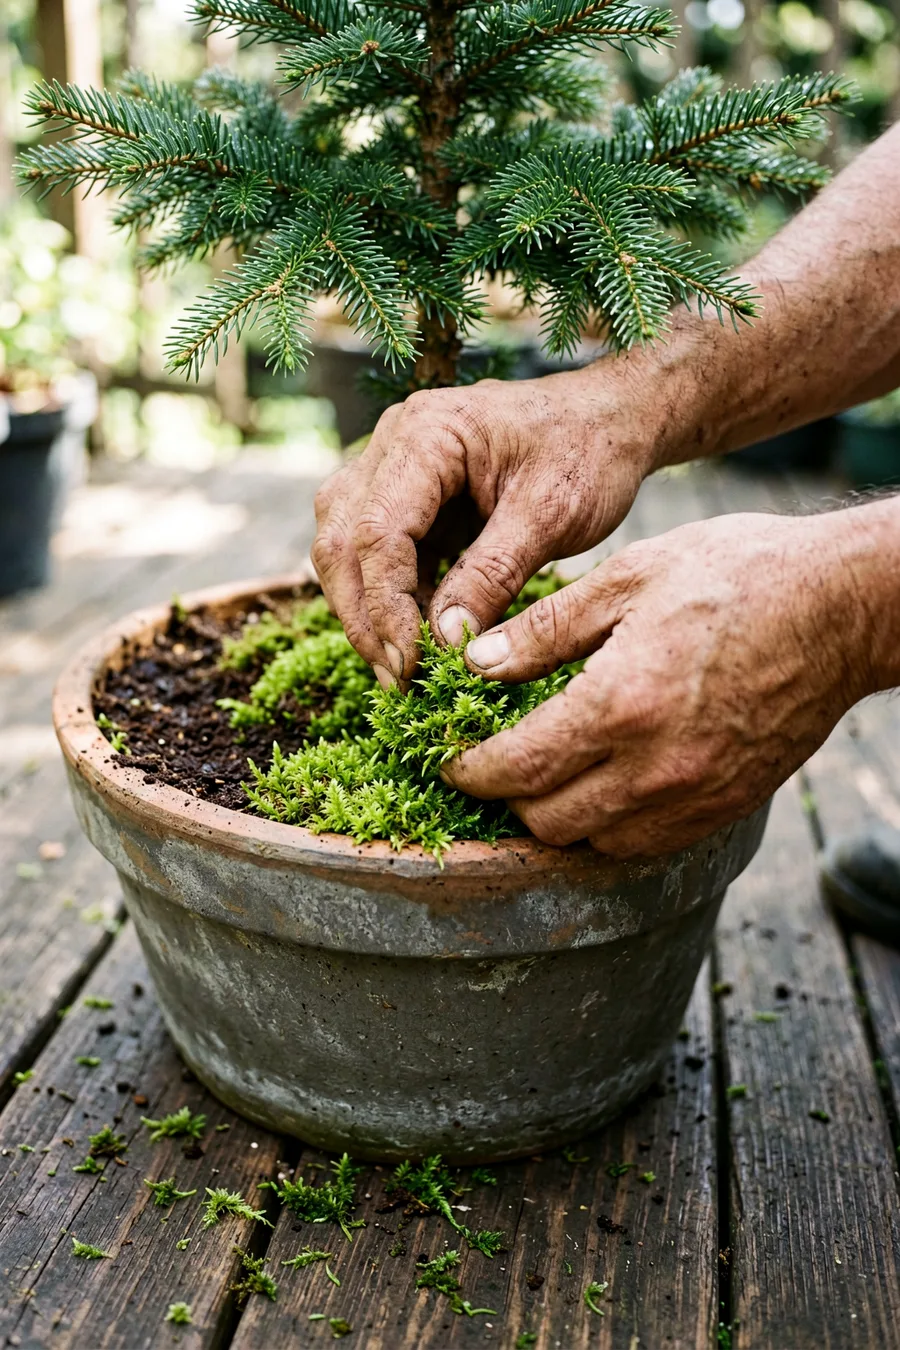
Cover any visible patches of potting soil at the base of your stems with a layer of natural sheet moss or dark wood bark mulch. Pack a two-inch layer tightly over the top of the frozen soil surface.
This top dressing finishes the look of the pot, hiding the mechanics of your wires and stem placements. It also prevents loose soil particles from splashing up onto your clean porch floor or container rim during heavy, muddy winter downpours.
15. Monitor and Top Off Water During Mid-Winter Thaws
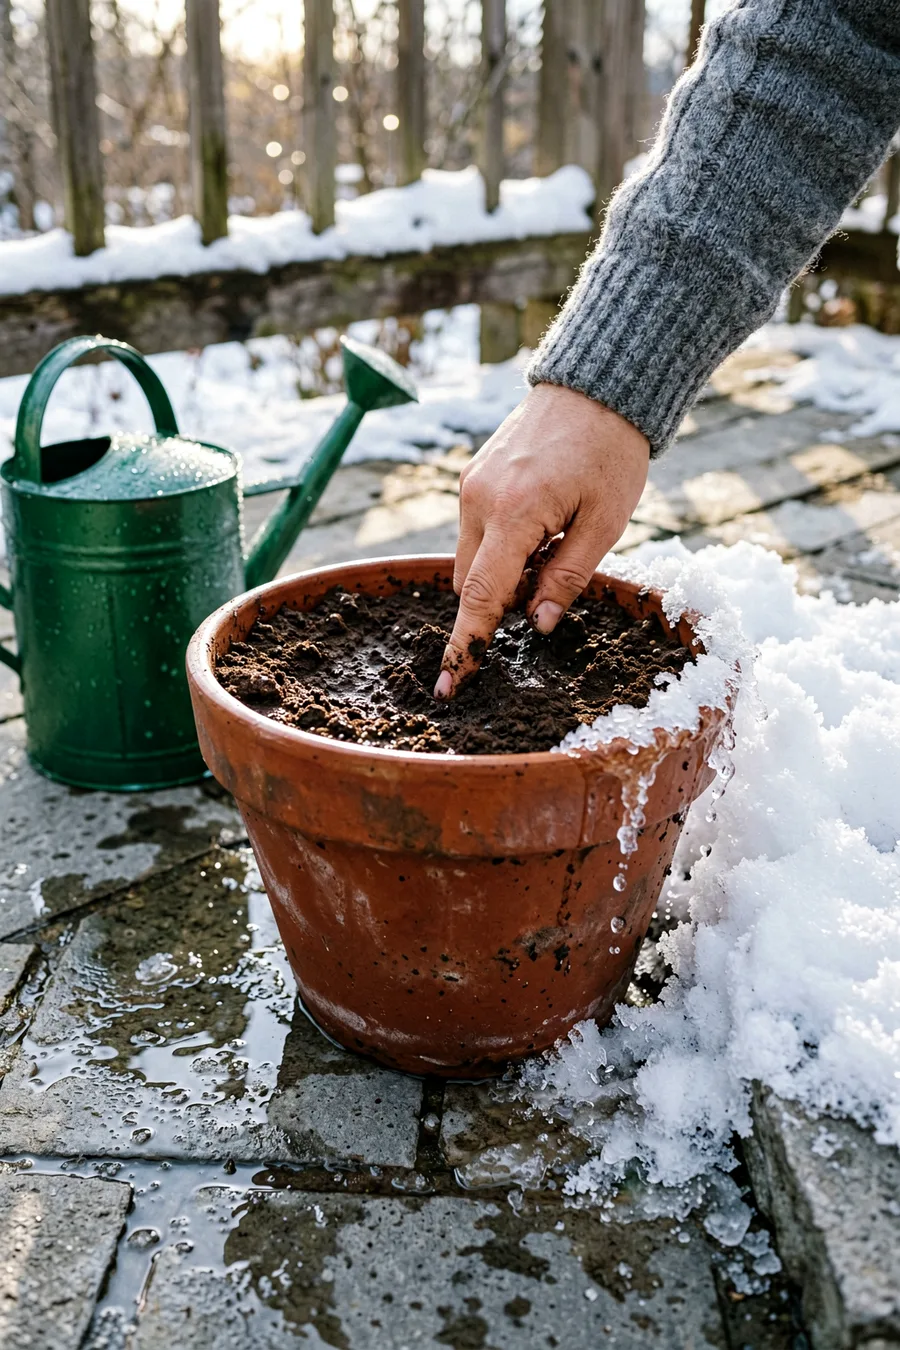
Check your porch pots whenever temperatures climb above 40 degrees Fahrenheit for more than forty-eight hours. Touch the soil beneath your top dressing layer; if it feels dry to the touch, pour in a gallon of fresh lukewarm water.
Cut greens will continue to draw up moisture whenever the ambient air warms up. Supplying water during these brief thaws prevents the needles from drying out prematurely, ensuring your containers look pristine until spring planting season arrives.
🪵 Arrangement Assembly Sequence
Pack Soil
Compress heavy potting mix firmly into your frost-resistant container.
Set Thrillers
Drive your birch logs and stiff Fraser fir stems deep into the center.
Weave Fillers
Layer flexible white pine boughs and magnolia leaves to build volume.
Drape Spillers
Angle incense cedar stems along the rim to cascade over the pot edges.
Water & Protect
Saturate the container soil completely and spray foliage with anti-desiccant.
Winter Container Do's and Don'ts
What to Do
- Use thick stone or heavy resin pots
- Strip lower needles off stems before inserting
- Saturate soil fully before the first freeze
- Use real winterberries for vibrant red color
What to Avoid
- Leave thin plastic summer pots outdoors
- Rest heavy pinecones loosely on top of greens
- Use cheap styrofoam craft berries
- Forget to apply clear anti-desiccant spray
Troubleshooting Winter Pots
Frequently Asked Questions
How long do cut evergreen branches last in winter pots?
Cut evergreen branches will stay fresh and green for roughly three to four months in freezing northern climates. Applying an anti-desiccant spray keeps them looking vibrant even longer by locking in moisture.
Should I remove old summer dirt before making a winter pot?
No, leave the old summer potting soil inside your containers. It provides an excellent, heavy base for anchoring your new heavy winter branches once you compress it down.
Can I use faux greenery instead of real cut branches?
You can mix high-quality, UV-protected faux elements like boxwood picks near the bottom of your pot. However, using mostly real evergreens delivers a more natural drape and an authentic winter scent.
How often should I water my winter porch arrangements?
Water heavily once right after building the pot to freeze the stems in place. After that, you only need to add water during extended mid-winter thaws when temperatures rise above forty degrees.
Final Thoughts
Your front porch containers should now feature a full, structurally sound display of lush greens, deep red accents, and bright white birch bark that stays crisp all winter. To ensure your hard work lasts, check the soil moisture level during the next winter thaw and top off any areas where the anti-desiccant spray might have missed a cluster of needles.
Ready to Design Your Winter Entryway?
Gather your pruners, head to your local garden center for fresh cedar bundles, and build your porch pots today.

John Smith is the founder and CEO of Karaoke Machines Guru. He is a karaoke tutor and karaoke enthusiast and has been passionate about karaoke since he was a child. He also writes about karaoke-related tips, guides, and product reviews on this website.
He overlooks the whole website and makes sure that everything is running smoothly. Learn more!