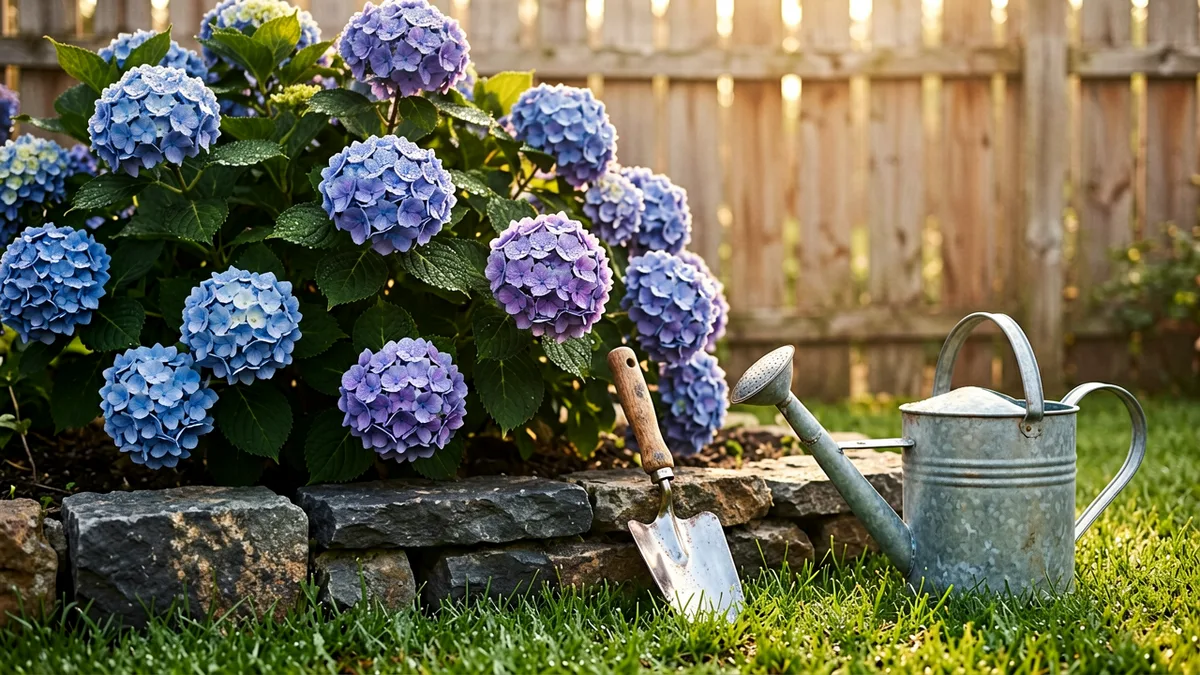
Staring at a bare spot in your garden and dreaming of those massive, pillowy hydrangea heads you see all over Pinterest? Getting those show-stopping blooms is not a matter of luck or secret chemical sprays. It comes down to getting three foundational elements right the day you dig the hole: the perfect balance of morning sun, rich well-draining soil, and enough breathing room between shrubs so they can reach their full genetic potential.
Whether you are working with a bare-root specimen ordered online or a leafy container plant from your local nursery, this guide breaks down the exact planting process. Skip the guesswork and follow these precise steps to set your hydrangeas up for years of heavy, reliable flowering.
Hydrangea Planting Essentials
1. Identify Your Specific Hydrangea Variety First
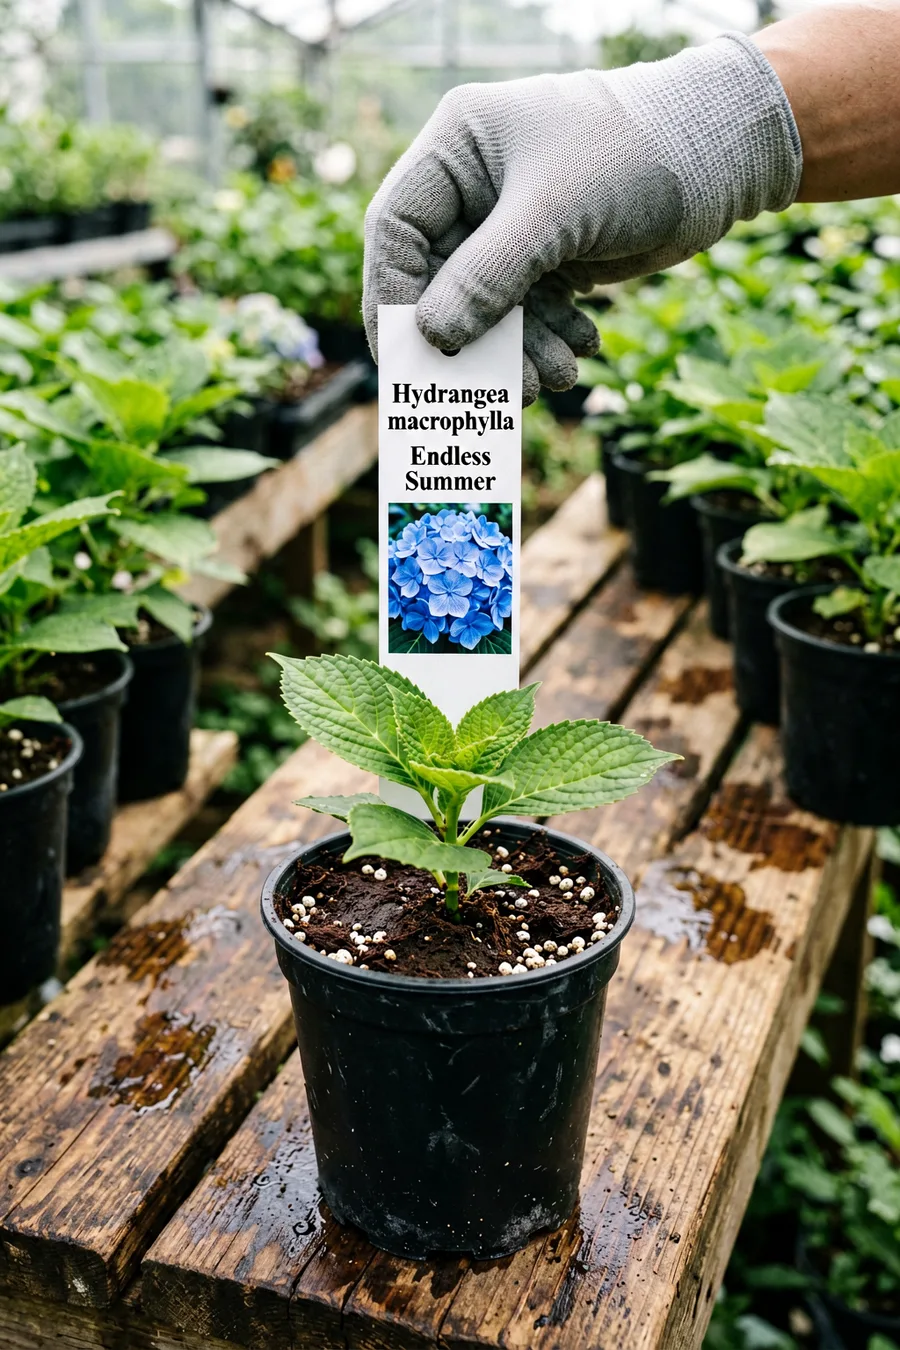
Check the plant tag immediately before doing anything else. A classic bigleaf hydrangea (*Hydrangea macrophylla*) like the Endless Summer series requires completely different sun exposure and pruning than a hardy panicle hydrangea (*Hydrangea paniculata*) such as a Limelight. Treating them all the same is why many gardeners end up with nothing but green leaves and zero flowers.
Bigleaf types bloom on old wood and need protection from harsh afternoon heat, while panicle varieties thrive in full sun and bloom on new wood. Write down your variety name in a garden journal so you can reference its specific growth habits as it matures over the seasons.
2. Map the Morning Sun and Afternoon Shade
Select a planting site that receives four to six hours of direct morning sunlight followed by dappled or solid afternoon shade. The intense rays between 1:00 PM and 4:00 PM will scorch delicate bigleaf hydrangea leaves and wilt the flower buds, stunting their development.
Observe your yard at 9:00 AM, noon, and 3:00 PM to confirm the light patterns. The east side of your home or an area beneath a high-canopy tree structure provides the ideal lighting environment for maximum flower production.
Match Your Variety to the Perfect Spot
3. Measure and Mark Exact Planting Spaces
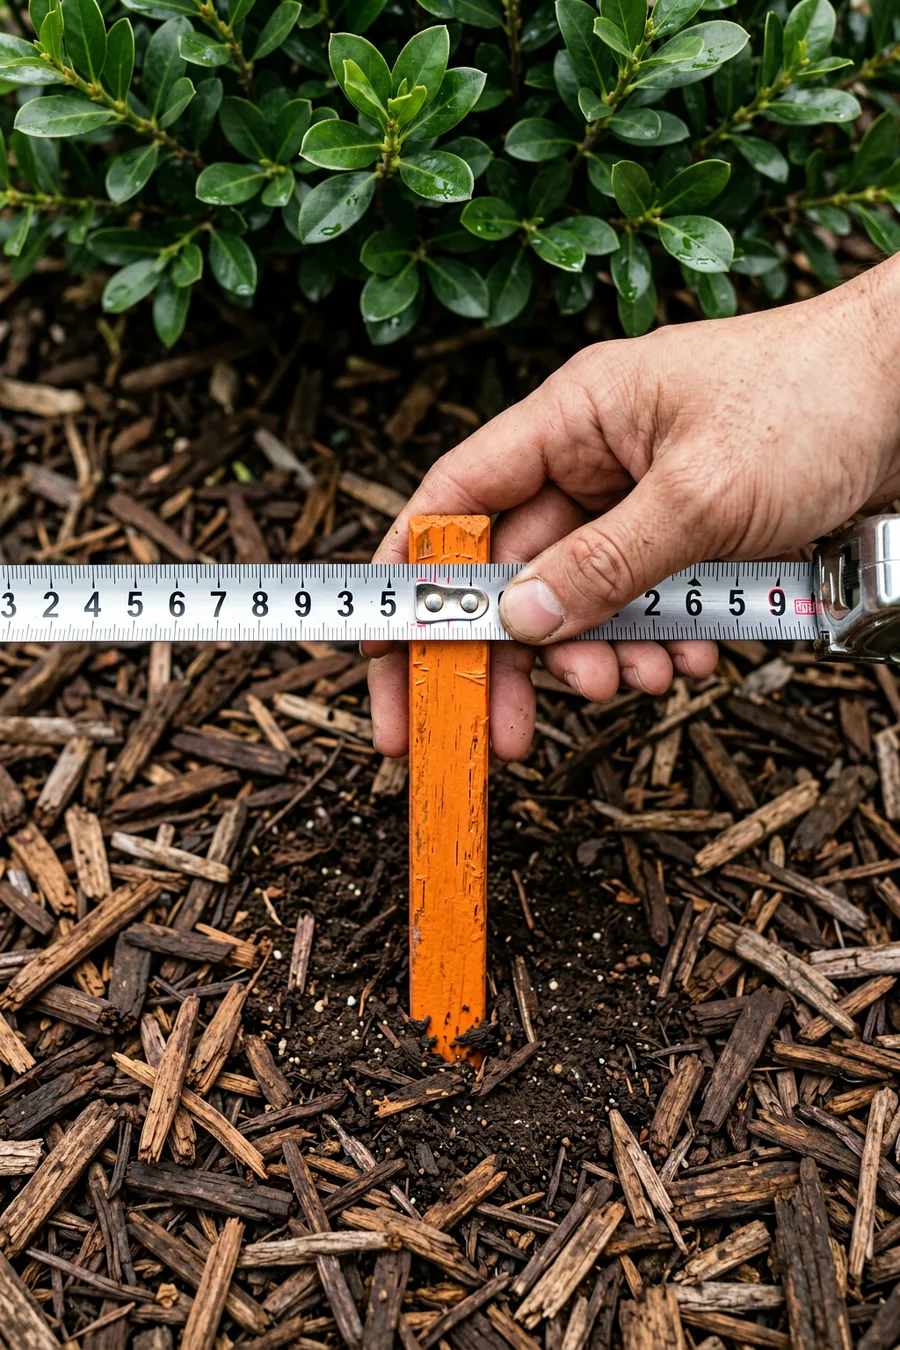
Space your planting holes based on the mature size listed on the tag, not the size of the small nursery pot today. A standard mophead hydrangea easily reaches five feet in width, meaning you must space the center of the planting holes at least four to five feet apart from neighboring shrubs or walls.
Crowding your plants restricts critical airflow around the branches, which invites powdery mildew and leaf spot diseases. Use a long steel tape measure and mark each planting center with a bright splash of orange landscaping paint or a wooden stake.
💡 Tip: If planting a low hedge of compact varieties like Bobo, reduce spacing to 3 feet between centers for a dense, continuous wall of blooms.
4. Gather Your Specific Planting Tools and Amendments
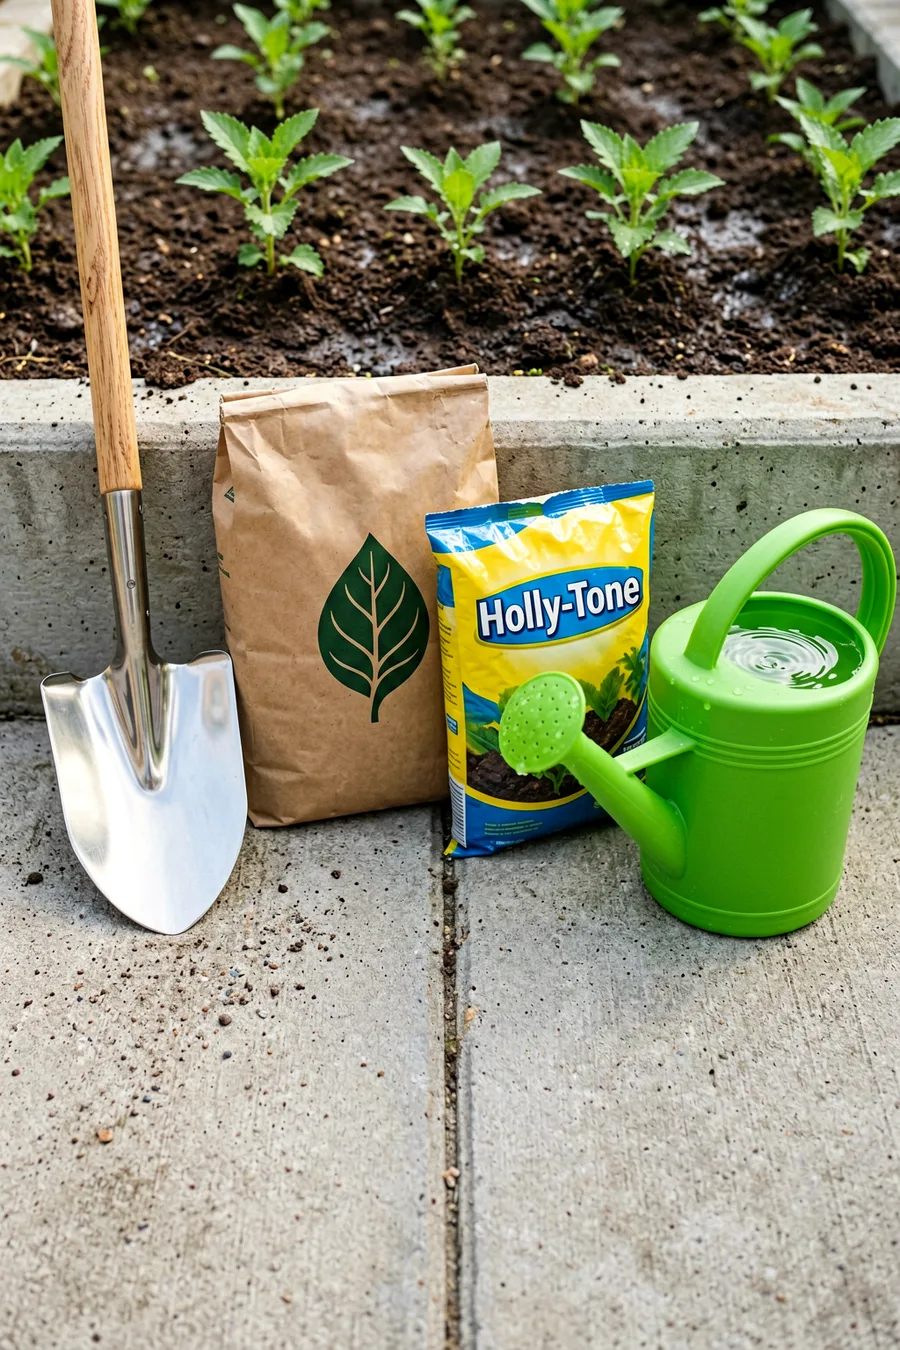
Set out all your supplies before digging to ensure a smooth, efficient planting process. You need a sharp, round-point shovel, a sturdy garden fork for loosening hard soil walls, a bag of organic compost, a bag of pine bark mulch, and a balanced, slow-release starter fertilizer like Espoma Organic Holly-Tone.
Avoid using raw, uncomposted manure or high-nitrogen fertilizers at this stage. High nitrogen forces rapid green leaf growth but completely suppresses the development of the flower buds you want to see next summer.
Pre-Digging Readiness Checklist
-
Call local utility hotlines to verify no underground lines run through the bed. Crucial if digging near the foundation or property lines.
-
Thoroughly water the hydrangea in its nursery container. A dry root ball is incredibly difficult to rehydrate once it is buried.
-
Test your soil pH using a digital meter or a rapid test kit. Slightly acidic soil (5.5) yields blue flowers; alkaline (7.0+) yields pink blooms.
-
Clear away all existing weeds and old surface mulch within a 3-foot radius. Prevents competing root systems from stealing moisture from your new plant.
5. Dig a Hole Twice as Wide as the Pot
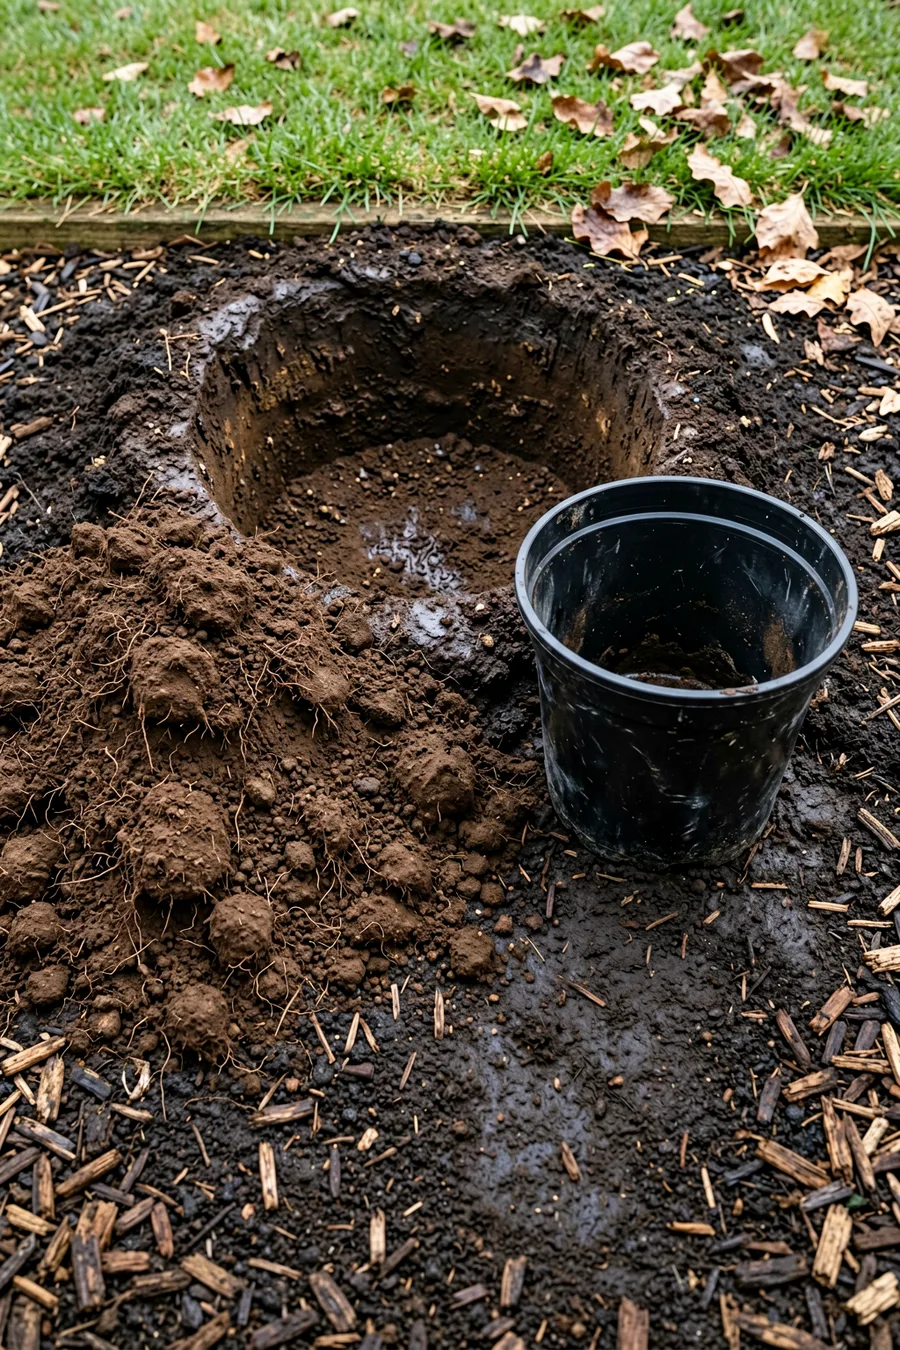
Dig a wide, bowl-shaped hole using your round-point shovel. The opening must measure a full two to three times wider than the diameter of the plastic nursery container, but it should match the exact depth of the pot's root ball.
Creating a wide zone of loosened soil allows the fine, fibrous hydrangea roots to expand horizontally without resistance. Do not dig too deep; the base of the hole must remain firm so the plant does not settle lower into the earth over time.
6. Scarify the Hard Sides of the Hole
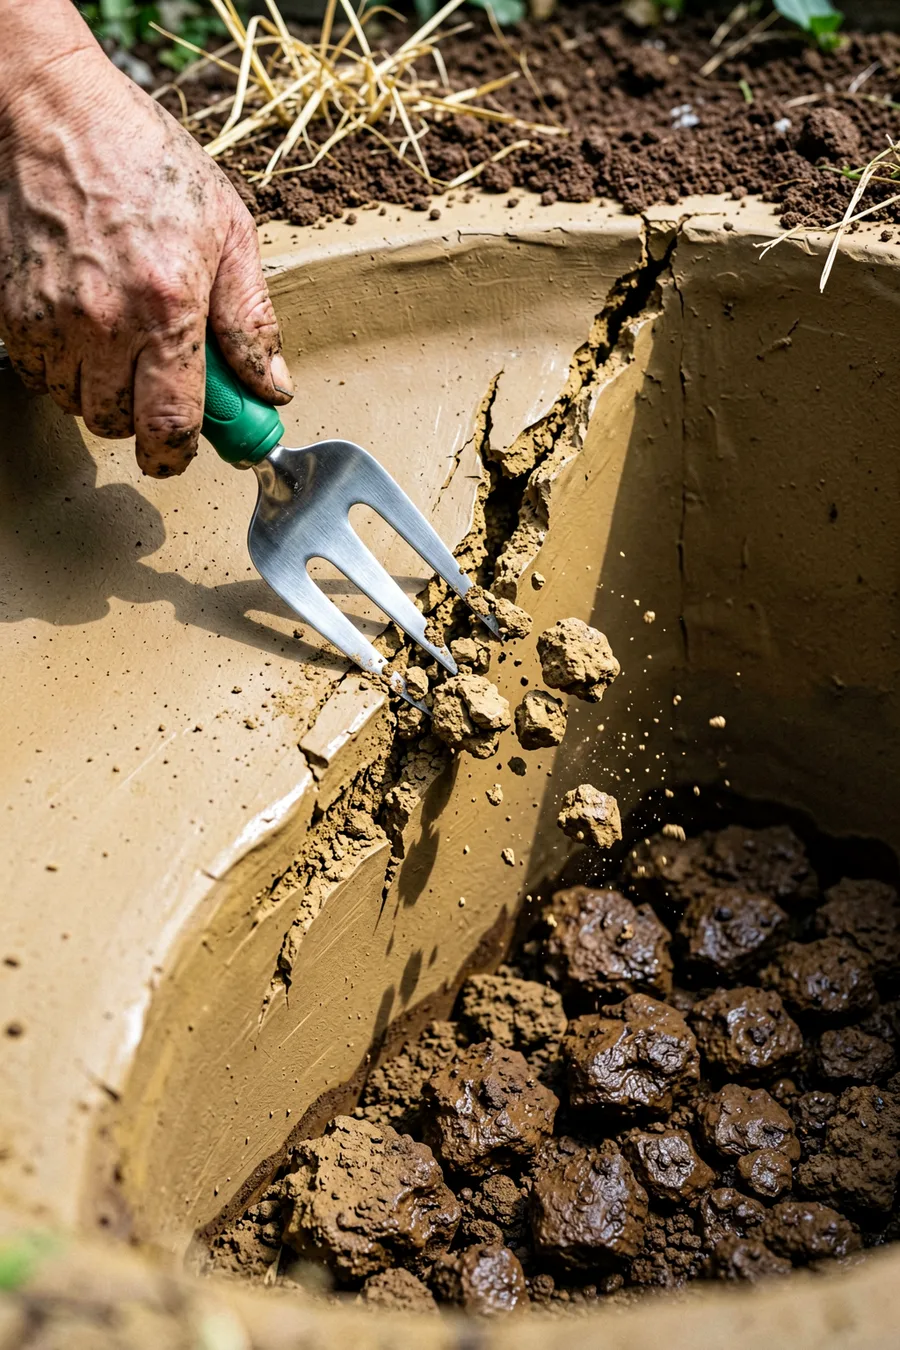
Take your garden fork or the tip of your shovel blade and firmly stab the smooth, compacted sidewalls of the newly dug hole. If you leave the walls perfectly smooth, they act like a hard clay pot, trapping the roots inside and causing them to circle inward.
Breaking up these glazed slick sides creates small fissures and channels. This simple mechanical step encourages the tender root tips to push easily into the surrounding native soil, speeding up the overall establishment period by several weeks.
7. Blend Rich Organic Matter into Native Soil
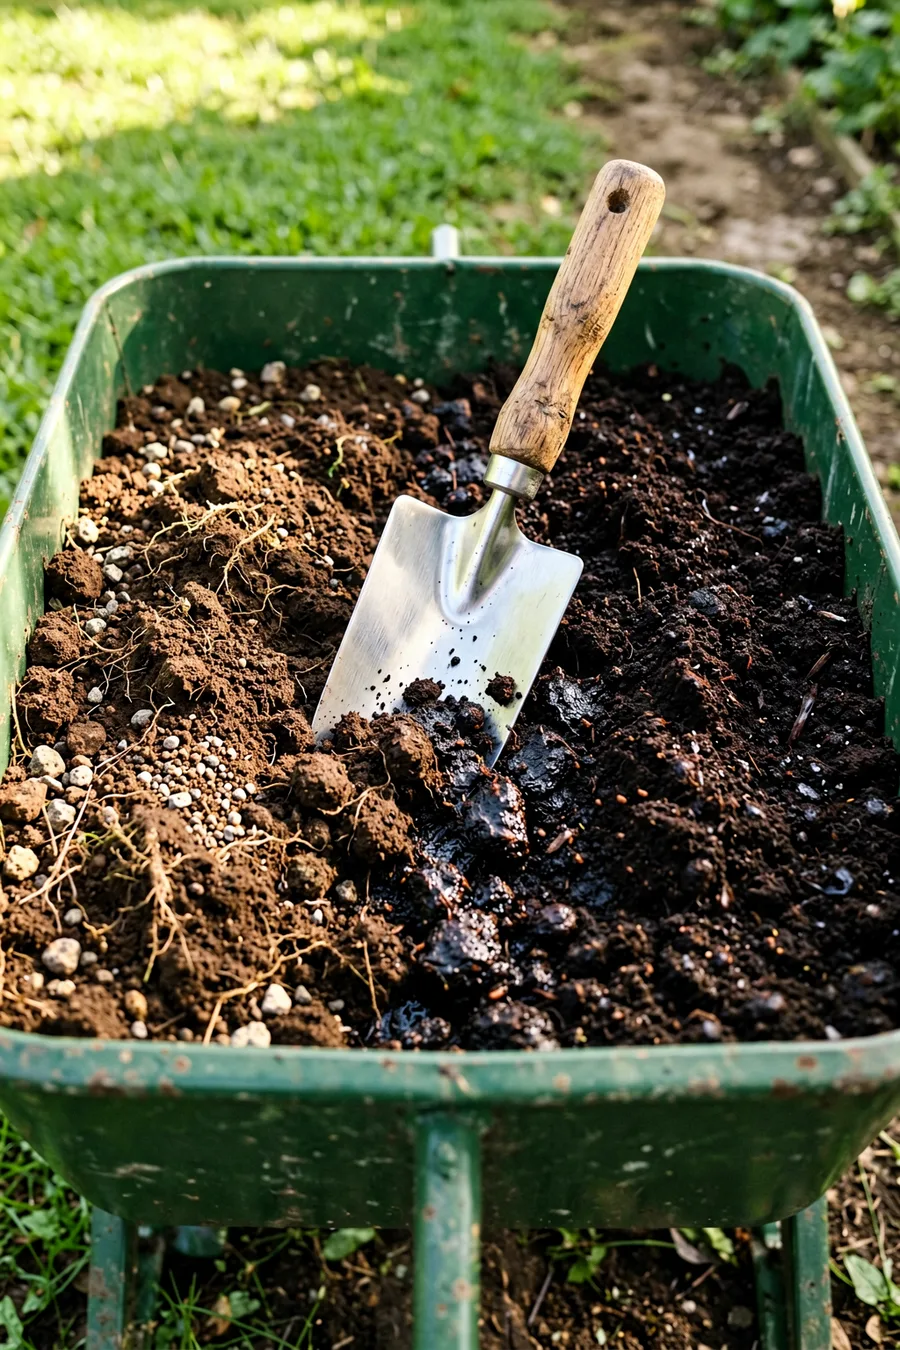
Mix equal parts of your excavated native soil and high-quality organic compost or aged pine bark soil conditioner inside a wheelbarrow. Hydrangeas require a rich, loam-like structure that holds consistent moisture while allowing all excess water to drain away completely.
Never fill the hole with 100% pure bagged potting soil or straight compost. Forcing the plant to grow in an ultra-rich pocket surrounded by heavy native clay causes drainage issues; blending the soils creates a gentle gradient that roots love.
Ideal Soil Specification Sheet
🧪 Target pH Range
5.5 (Blue) to 6.5 (Pink)
🍂 Organic Matter Ratio
50% Native Soil / 50% Compost
💧 Drainage Capability
High drainage, retains moisture
🪱 Soil Texture Type
Loose, crumbly organic loam
Pro Tip
Add a cup of elemental sulfur to the mix if you want to lower your pH and guarantee vibrant blue flowers.
8. Unpot the Shrub and Inspect the Roots
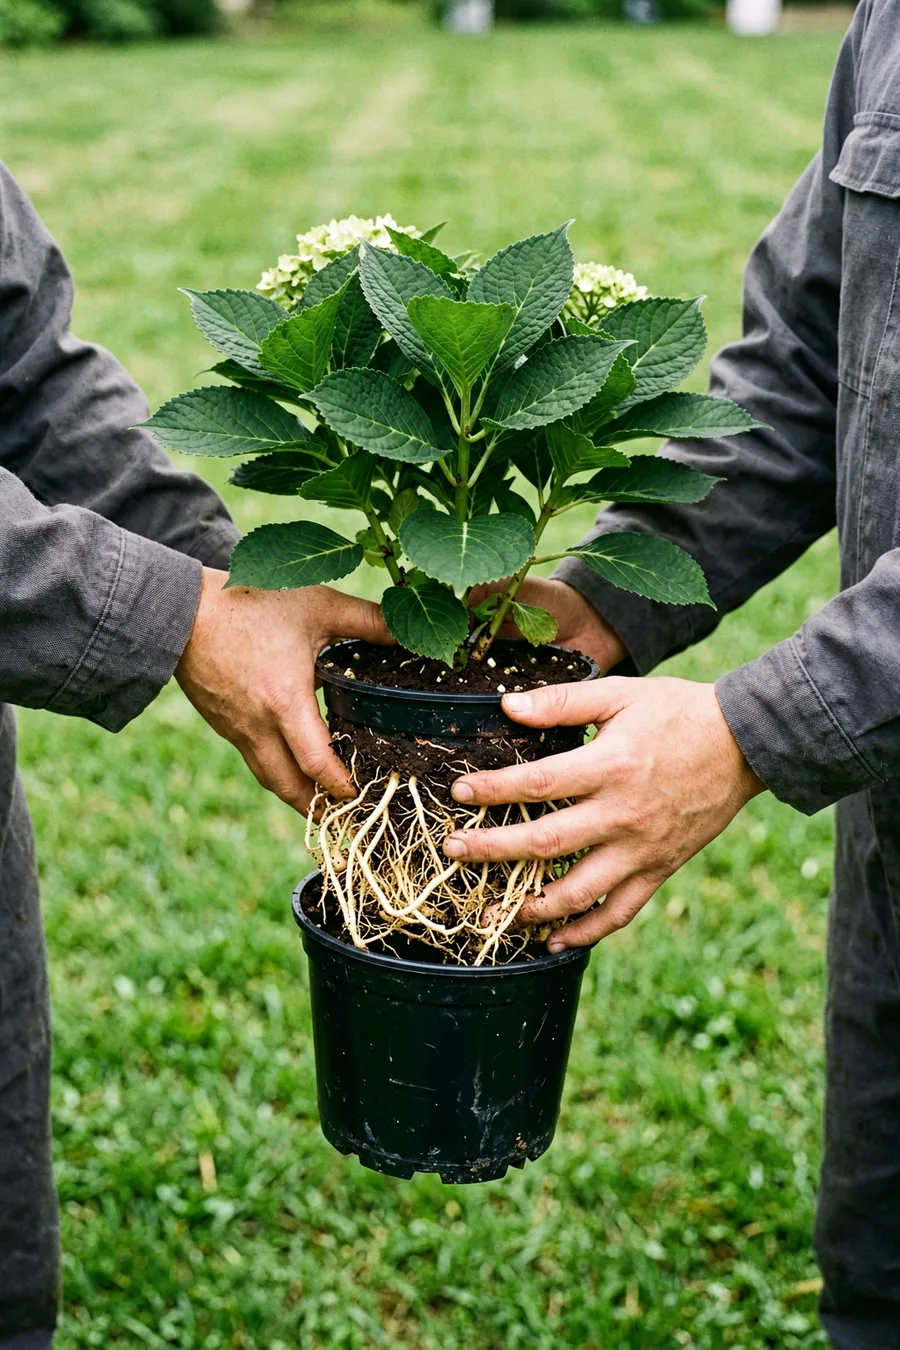
Squeeze the sides of the plastic nursery pot gently to loosen the root ball, then slide the hydrangea out sideways. Never pull the plant out forcefully by its main green stems, as this can snap the delicate crown or damage critical bark.
Look closely at the exposed root system. If the roots form a thick, solid white mat that takes the exact shape of the pot, the plant is root-bound and requires physical intervention before you place it into the ground.
9. Loosen and Tease Tight Root Masses
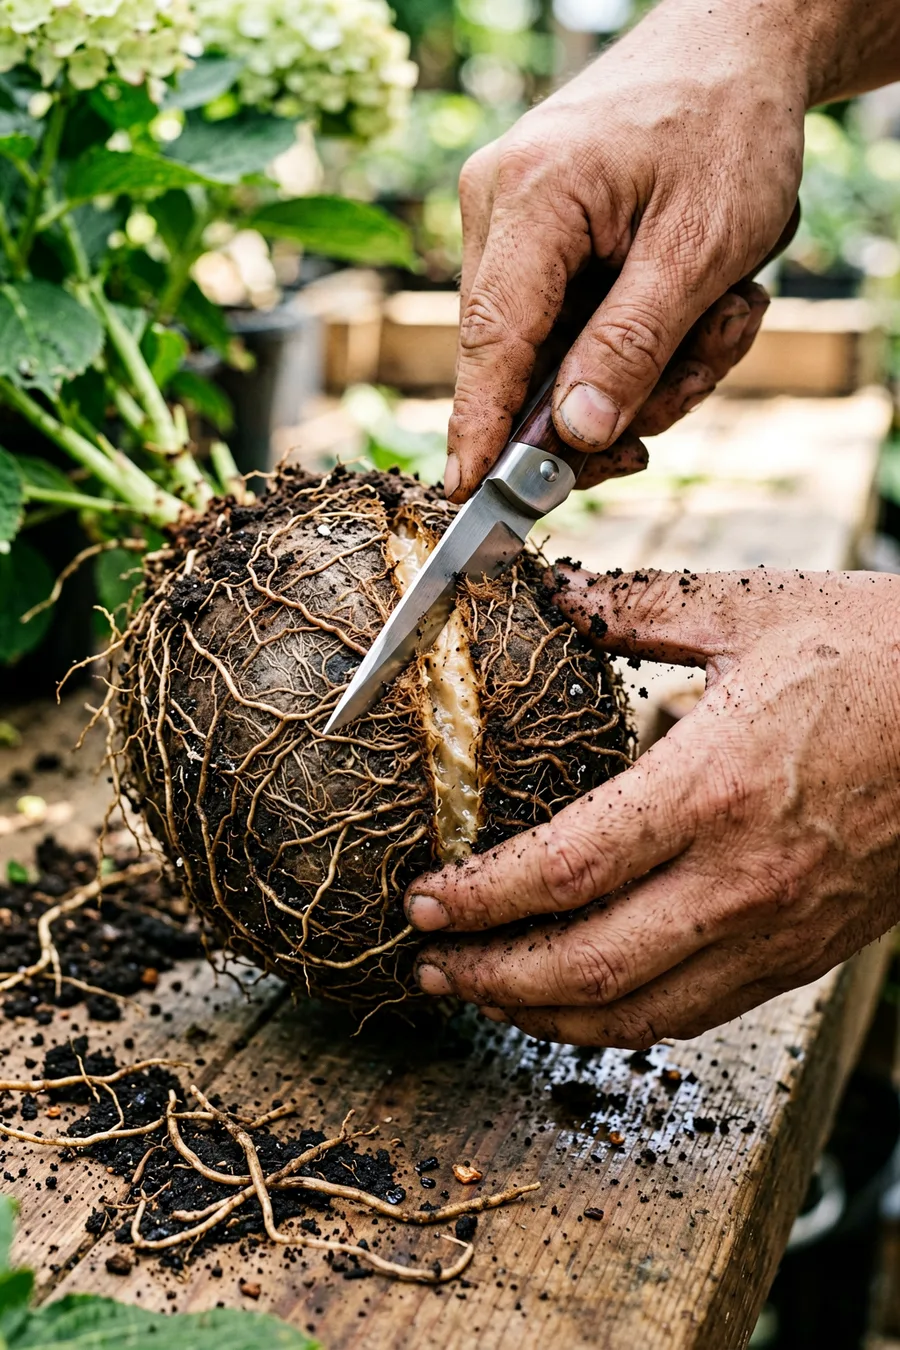
Use your fingers or a clean garden knife to slice through any circling roots on the bottom and sides of the root ball. Make three or four shallow vertical cuts about a quarter-inch deep from the top of the root mass down to the base.
Gently pull the roots outward so they dangle loosely away from the soil core. This roughing-up process triggers the plant to send out fresh, vigorous lateral feeding roots directly into your newly amended garden bed soil.
💡 Tip: Do not worry about losing a little dirt from the root ball during this step; loosening the bound structure is far more important.
10. Set the Shrub Perfectly Level with the Ground
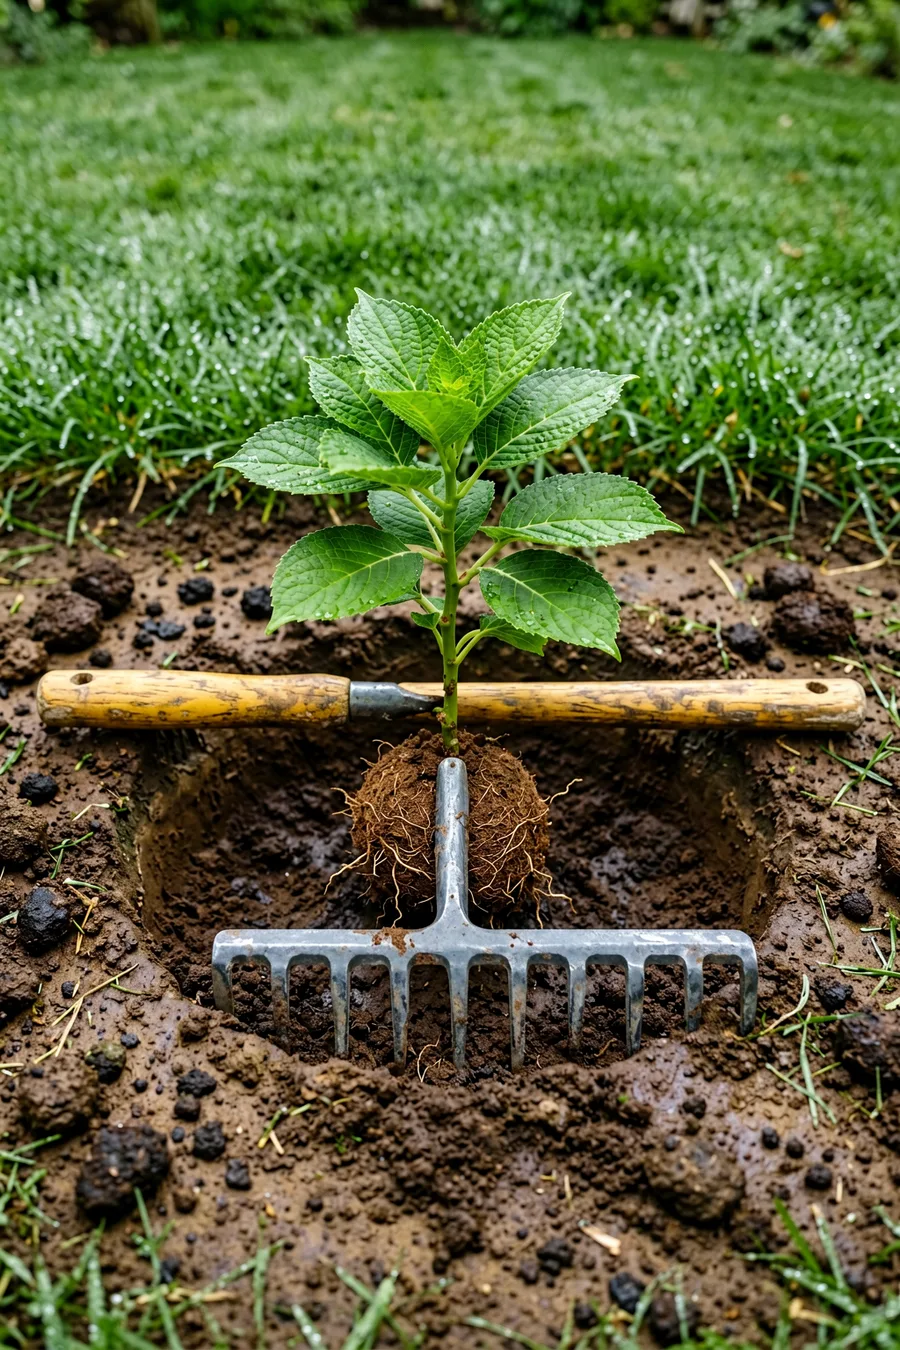
Lower the prepared root ball into the center of your open planting hole. Place a straight tool handle or a long yardstick flat across the top of the ground spanning the hole to double-check your planting depth.
The top surface of the root ball must sit exactly level with, or slightly higher than, the surrounding native soil line. Planting a hydrangea too deep buries the crown in stagnant moisture, which causes stem rot and permanently kills bloom potential.
11. Backfill the Hole and Eliminate Air Pockets
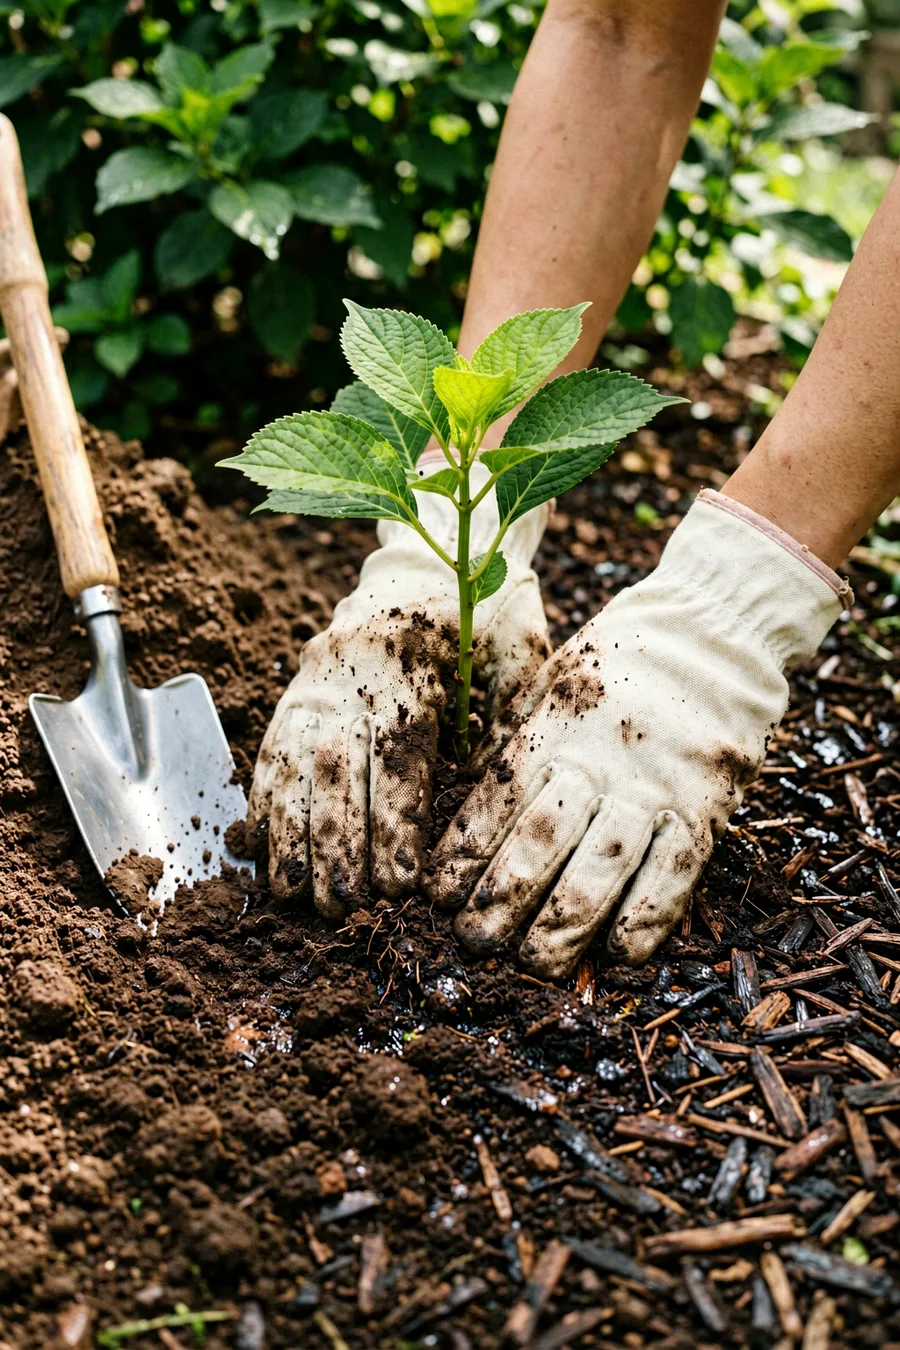
Shovel your blended soil mixture back into the hole around the root ball, working in layers. Fill the hole halfway up, then stop to gently firm the soil down using your open palms to stabilize the plant.
Do not stomp on the soil with your boots, as heavy foot pressure packs the earth down tightly and destroys critical oxygen pockets. Fill the remaining half of the hole to the top until the root ball is completely enclosed.
12. Apply a Balanced Slow Release Fertilizer
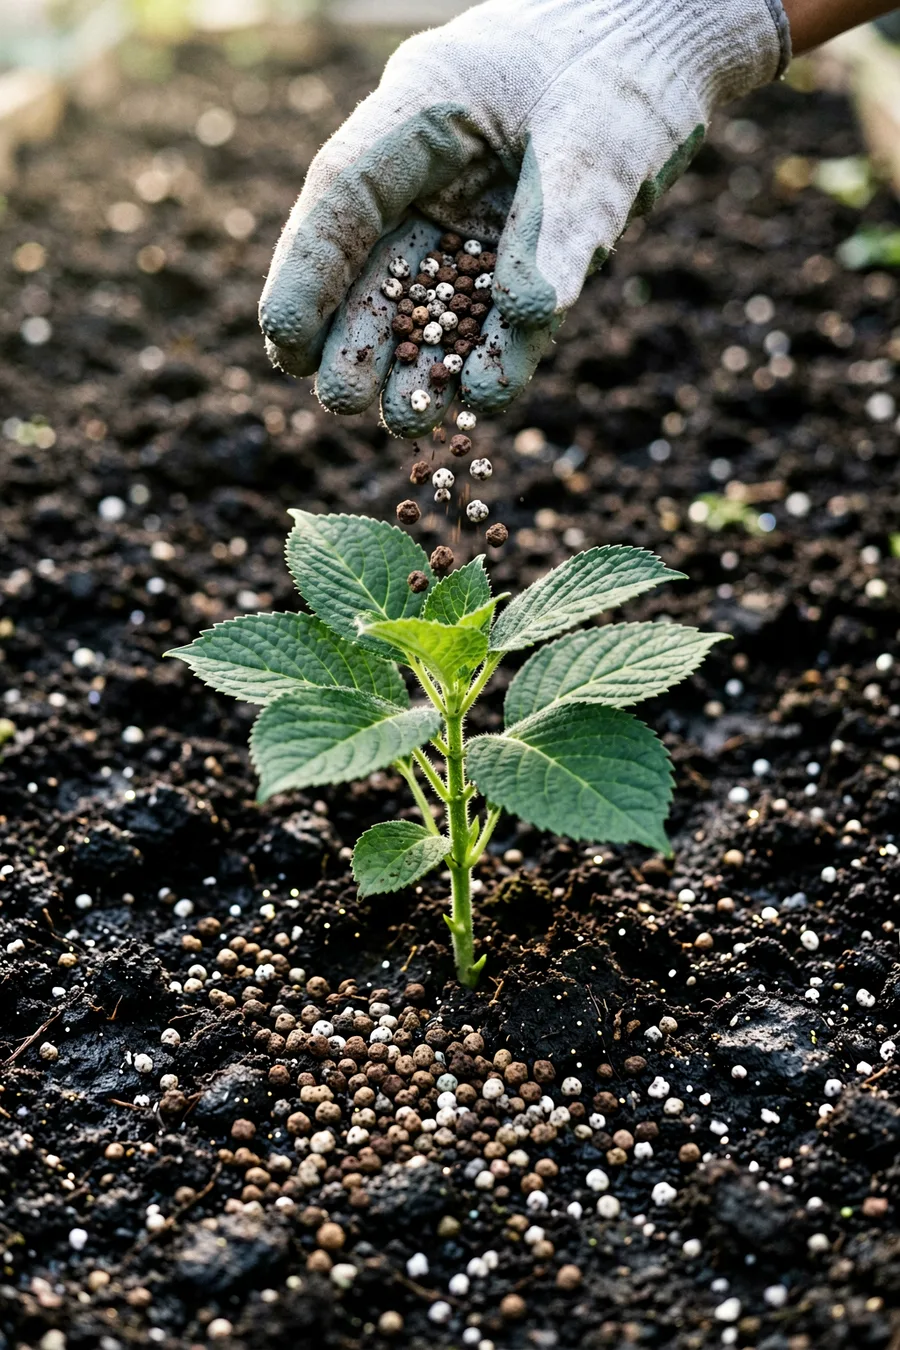
Sprinkle two cups of an acidic, organic starter fertilizer like Holly-Tone evenly around the base of the plant, covering the entire dug zone. Scratch the granular fertilizer lightly into the top inch of soil using a hand cultivator.
Organic, slow-release options provide a steady stream of vital micronutrients without burning the delicate new root tips. This feeding supports sturdy root expansion throughout the autumn so the plant can handle heavy spring bud development.
🌱 The Planting Process Blueprint
Dig & Prep
Dig your hole twice as wide as the pot and scarify the hard walls with a fork.
Root Management
Slide the plant out and slice tight root mats vertically to promote outward growth.
Positioning
Set the plant so the crown sits perfectly level with the surrounding garden floor.
Backfill & Feed
Fill the hole with a 50/50 compost blend and apply slow-release fertilizer.
Soak & Mulch
Saturate the roots completely with water and apply a thick three-inch layer of shredded bark.
13. Saturate the Root Zone with Water Deeply
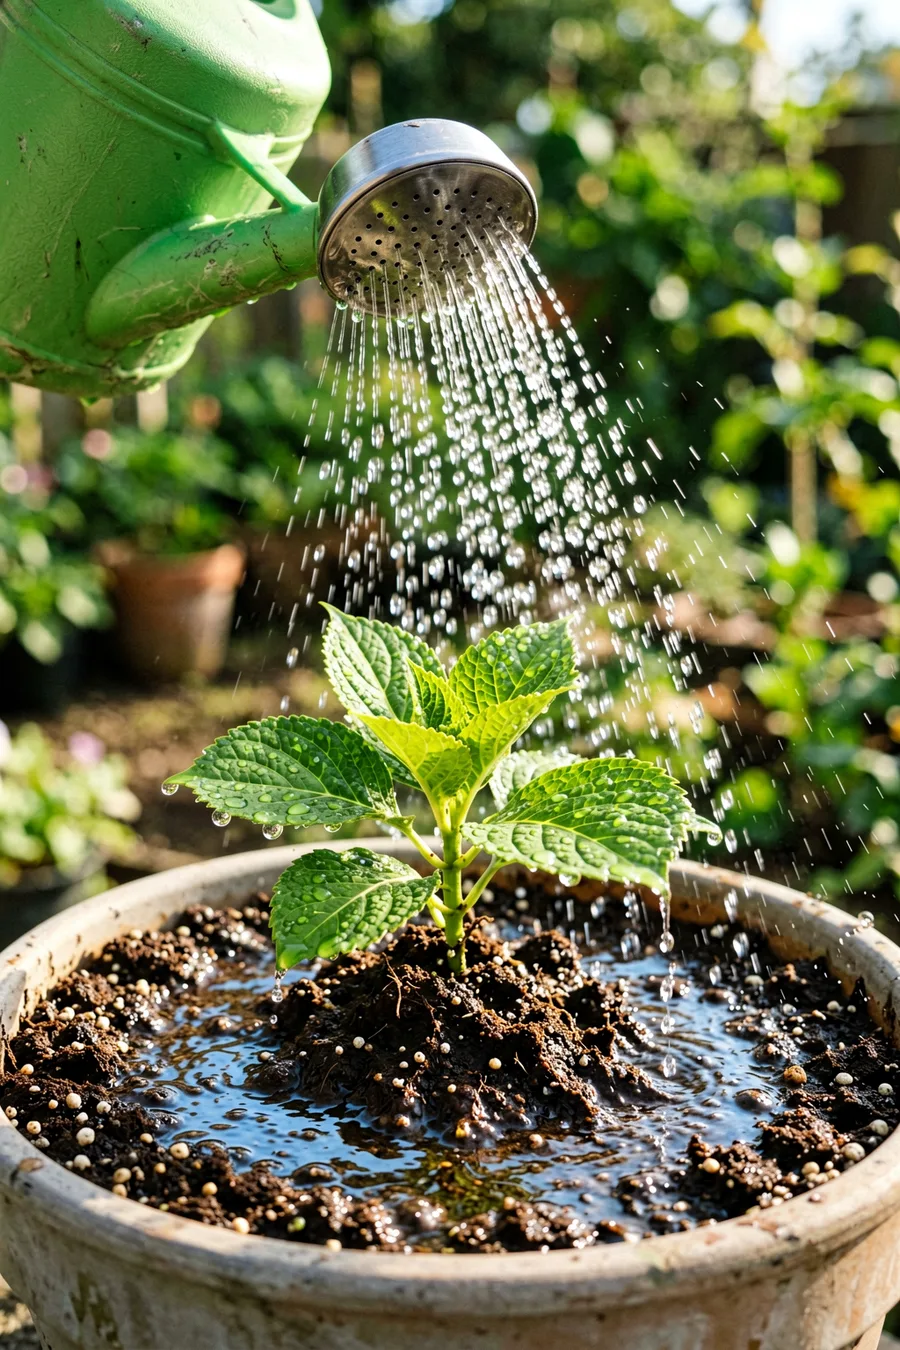
Run a garden hose on a gentle trickle directly at the base of the hydrangea for a full five to ten minutes, or apply at least three gallons of water using a watering can. This initial deep soaking collapses any hidden air pockets left in the backfill.
The soil should feel thoroughly saturated and muddy after this step. If the soil level drops significantly after watering due to settling, add a few more shovelfuls of your blended soil mix to bring it back to level.
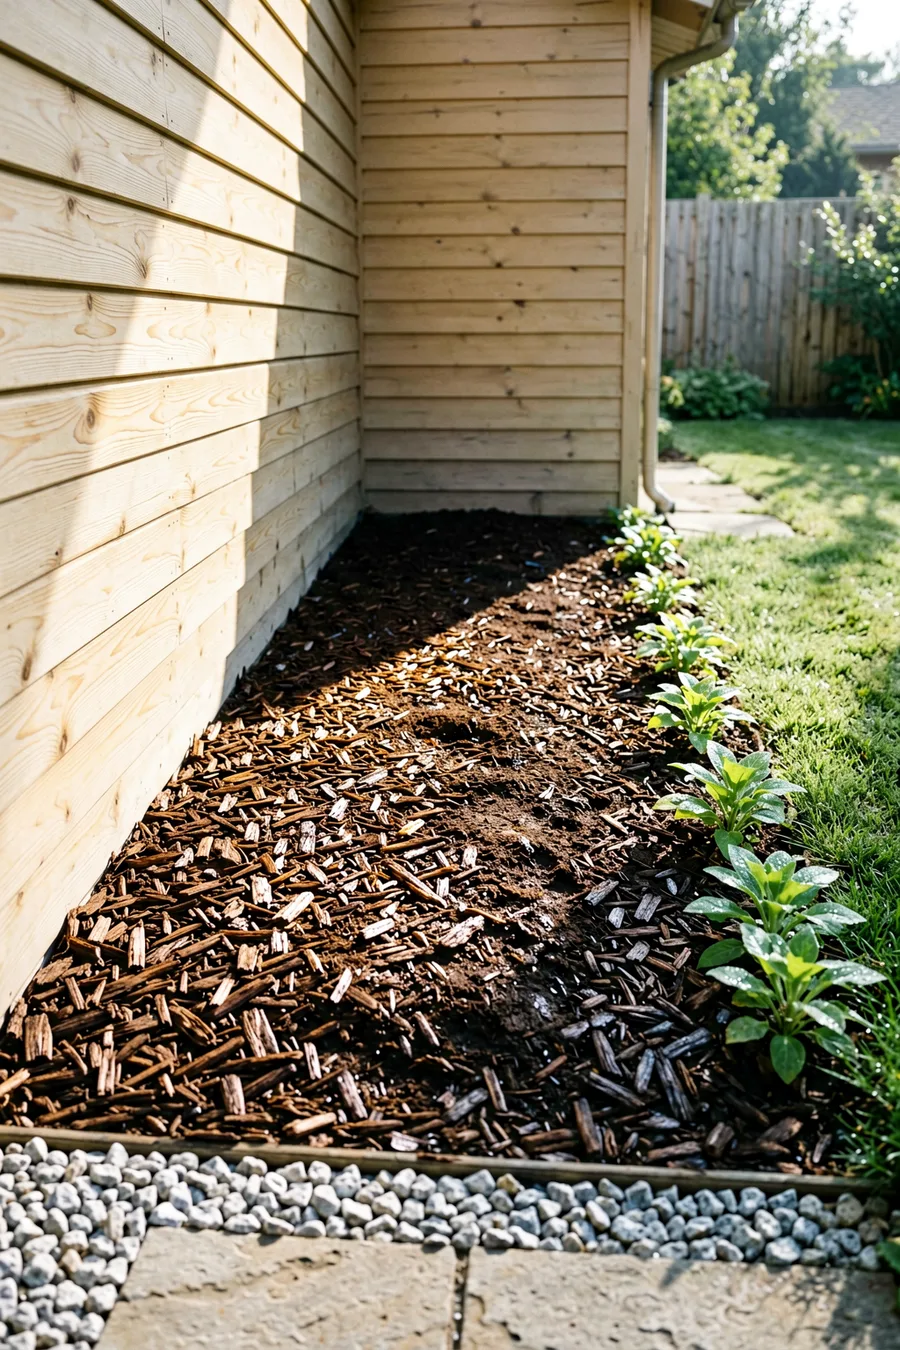
14. Spread a Three Inch Layer of Bark Mulch
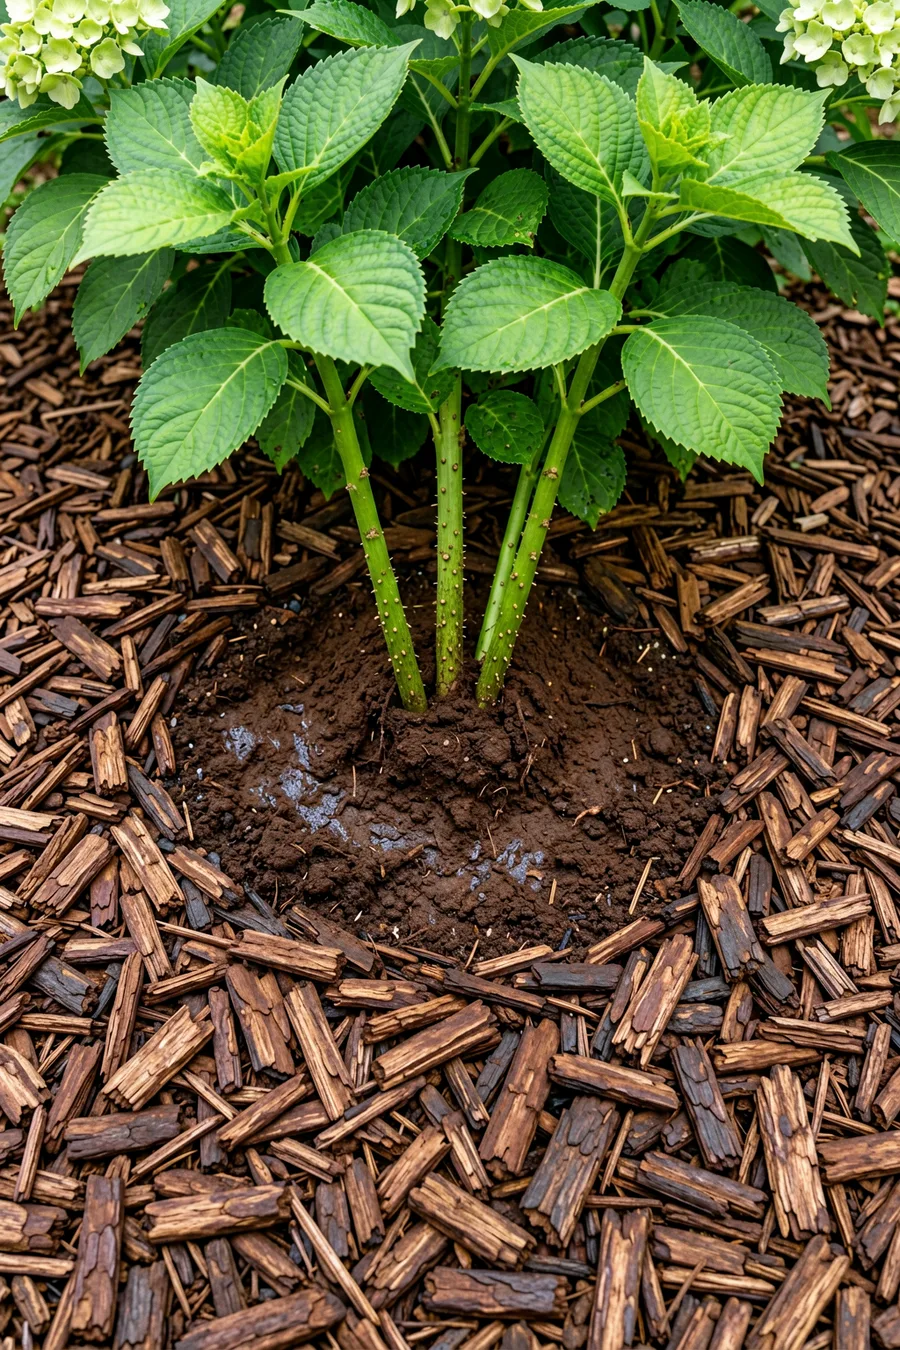
Apply a three-inch layer of shredded hardwood or pine bark mulch over the entire planting footprint. Mulch acts as an essential thermal blanket, keeping the shallow hydrangea root system cool during scorching summer days and retaining vital soil moisture.
Pull the mulch back three inches away from the main woody stems to leave an open ring of bare earth. Piling mulch directly against the bark traps moisture against the wood, which invites boring insects and fungal diseases.
💡 Tip: Use pine needles or shredded pine bark if you want to naturally maintain soil acidity over time.
15. Maintain Consistent Soil Moisture for Three Weeks
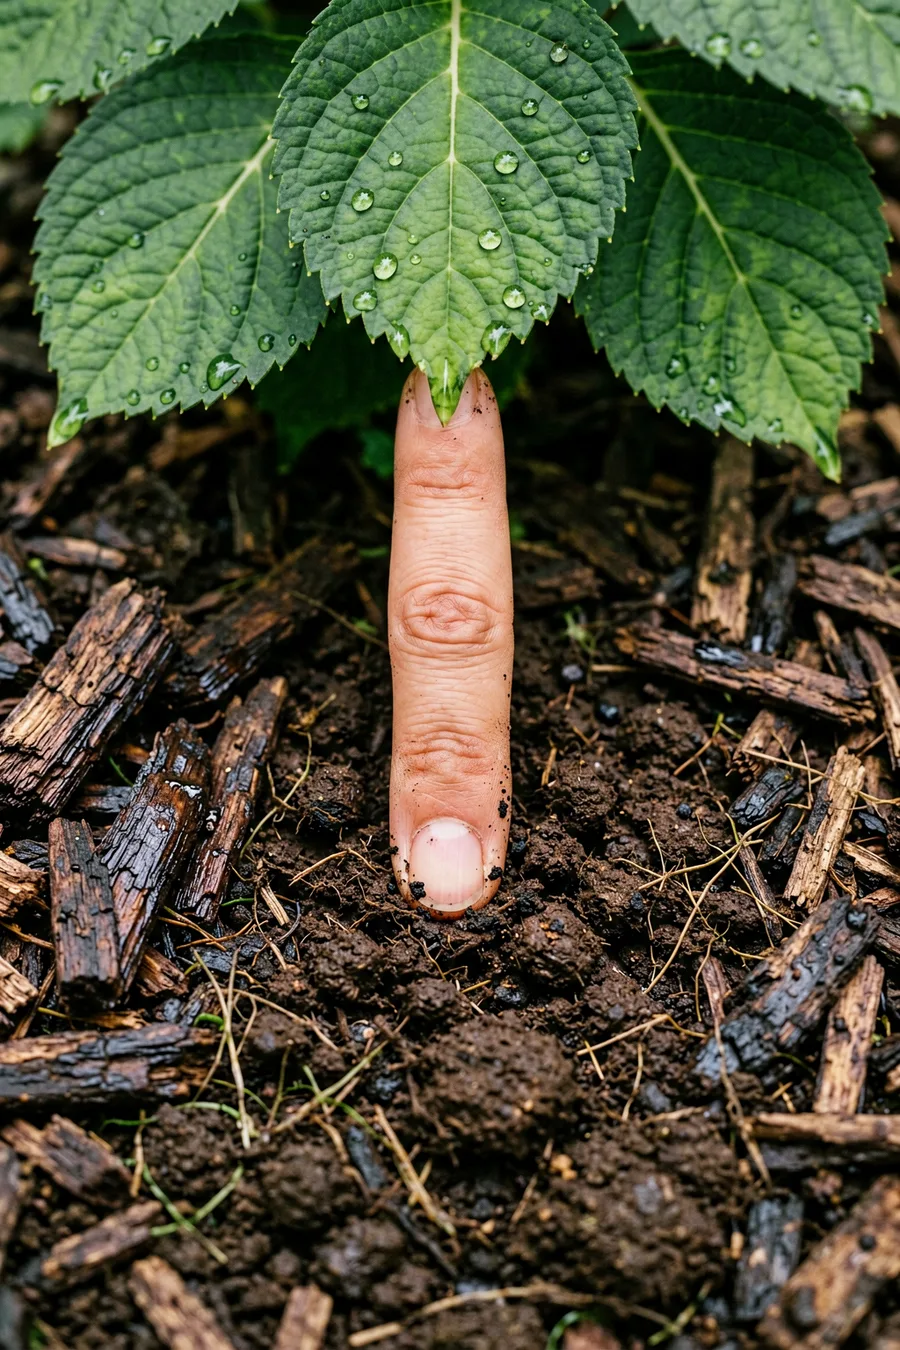
Check the soil moisture every single morning for the first twenty-one days after planting. Insert your index finger two inches deep into the soil right next to the root ball; if it feels dry, provide a deep, thorough watering.
Hydrangeas require roughly one to two inches of water per week during their first growing season. Consistent moisture prevents transplant shock and ensures the root system establishes firmly before freezing winter temperatures arrive.
Avoid These Critical Hydrangea Mistakes
Final Thoughts
Your new hydrangea shrub is now perfectly positioned, beautifully mulched, and primed to deliver a stunning display of thick, pillowy flowers. Walk out to your garden tomorrow morning to check the moisture levels, and keep a regular watering schedule throughout its first full summer to ensure a long, healthy life.

John Smith is the founder and CEO of Karaoke Machines Guru. He is a karaoke tutor and karaoke enthusiast and has been passionate about karaoke since he was a child. He also writes about karaoke-related tips, guides, and product reviews on this website.
He overlooks the whole website and makes sure that everything is running smoothly. Learn more!