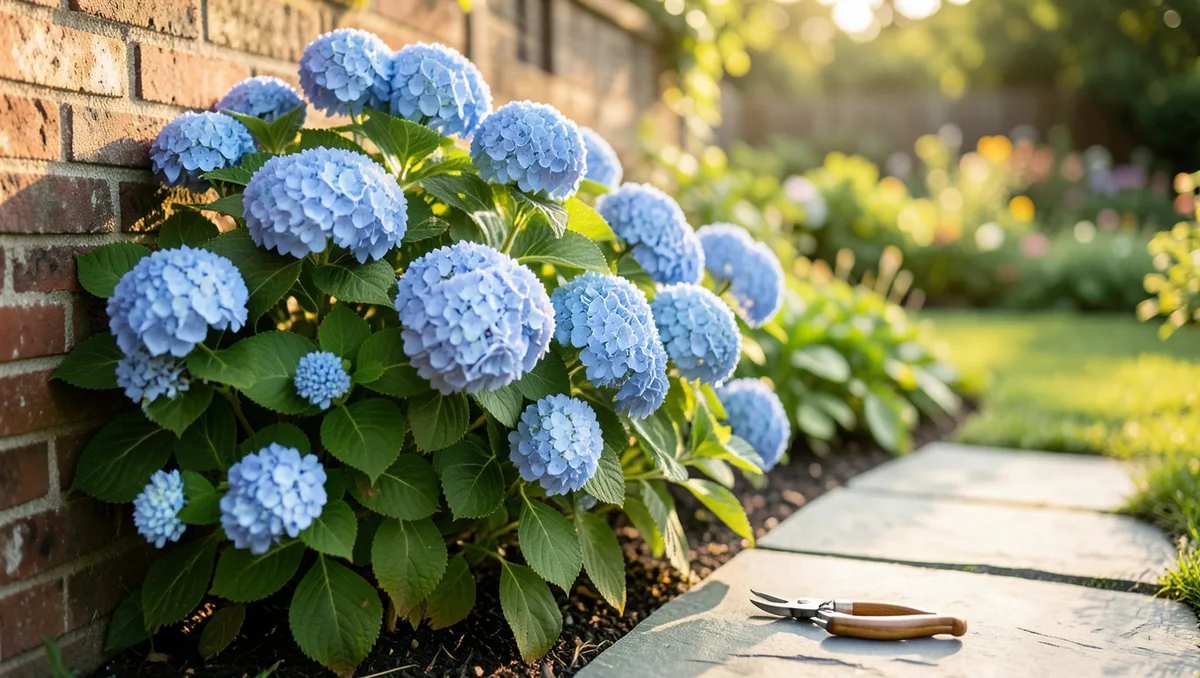
Waking up to a garden of bare, green hydrangea leaves with zero flowers is the ultimate cold-climate heartbreak. If you live in USDA Zones 3 through 6, winter freezes will kill the delicate flower buds sleeping on your hydrangea stalks long before the ground even thaws. For bigleaf (*Hydrangea macrophylla*) and oakleaf (*Hydrangea quercifolia*) varieties, those precious blooms develop on the previous year's wood, meaning a single sub-zero night can wipe out next summer's entire show.
You do not have to surrender your garden to the frost. By shielding your shrubs with structural insulation, stabilizing the root temperatures, and timing your spring reveal perfectly, you can keep those tender buds alive through the bitterest blizzards. This step-by-step breakdown shows you how to build a winter fortress for your hydrangeas so they explode with massive, vibrant color when June arrives.
Project Overview
1. Identify Your Hydrangea Variety First
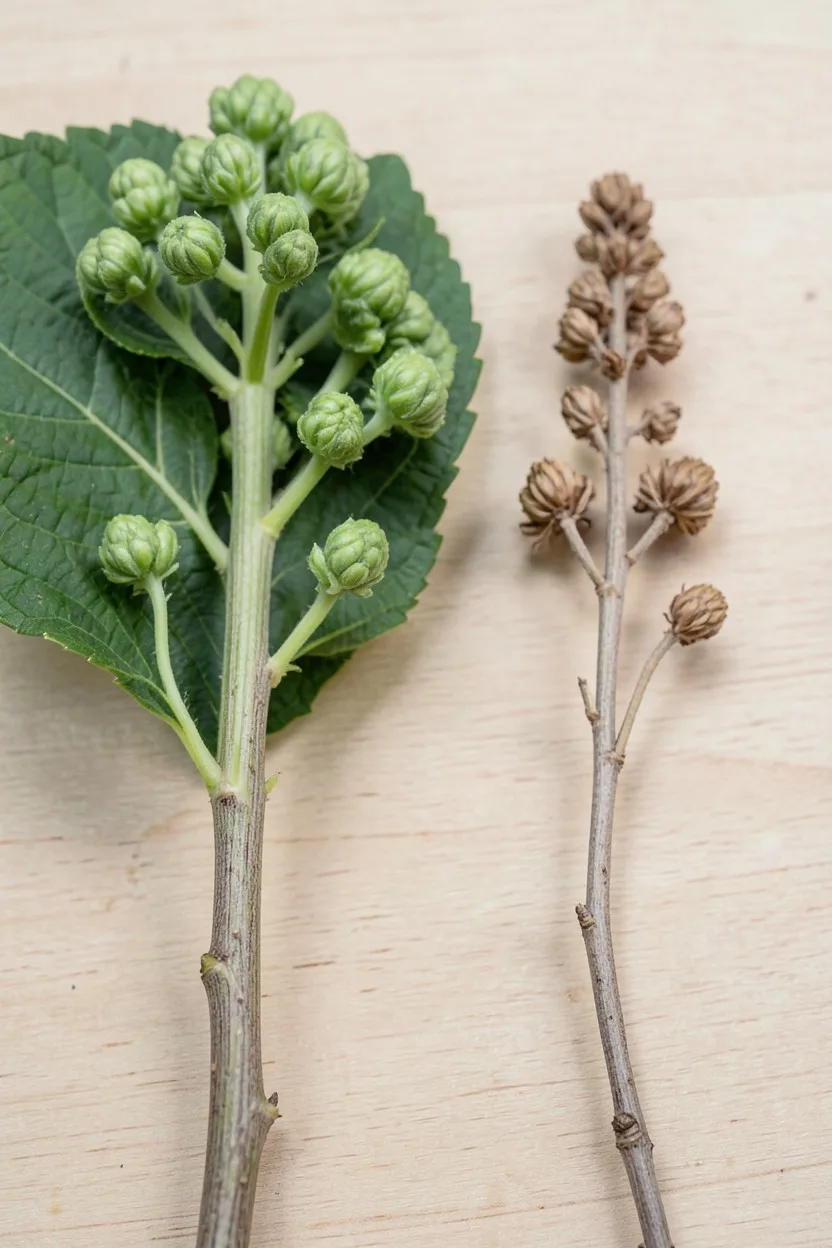
Look closely at your plant's growth habits before grabbing your winter gear. Bigleaf and oakleaf hydrangeas set their flower buds in late summer on existing stems, meaning they absolutely require physical winter protection in freezing zones. Conversely, panicle (*Hydrangea paniculata*) and smooth (*Hydrangea arborescens*) varieties bloom on brand-new spring wood and can easily withstand sub-zero temperatures without structural cages.
If you are unsure what you own, check the leaf shape and old flower heads. Oakleaf varieties feature distinct, jagged foliage resembling oak tree leaves, while bigleaf types have thick, fleshy, ovate leaves with serrated edges. Treating a panicle hydrangea to heavy structural wrapping is a waste of your time, while leaving a bigleaf exposed guarantees a flowerless summer.
Determine Your Shrub's Winter Needs
2. Hydrate the Root System Thoroughly
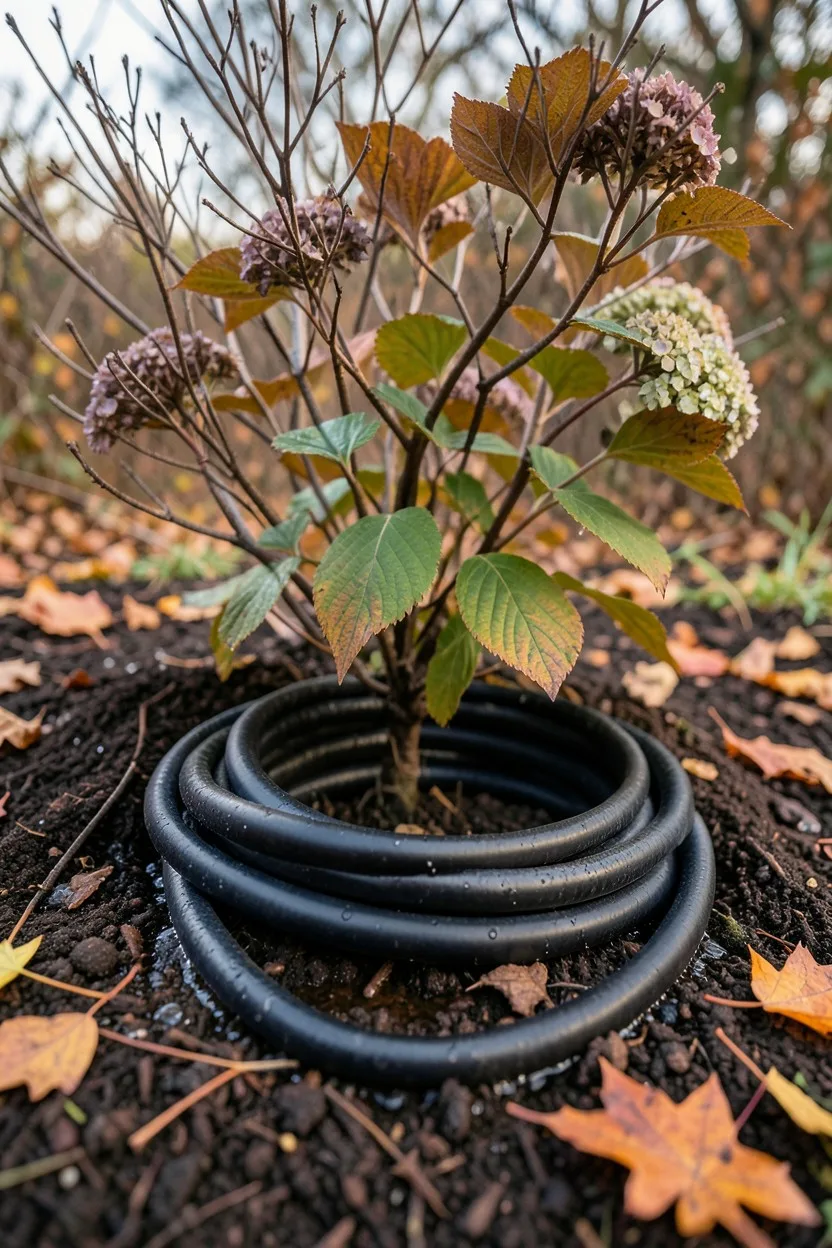
Soak the soil around the base of your shrubs deeply before the first hard ground freeze arrives. Dry soil freezes significantly faster and deeper than moist soil, which actively radiates ambient warmth upward from the earth's core. Run a soaking hose at the base of each hydrangea for a full 30 minutes, ensuring the water penetrates at least 8 inches down into the root zone.
Target mid-to-late autumn for this deep watering session, right after the leaves drop but before the surface dirt turns rock-hard. This moisture fills the plant's cells, preventing the desiccating winter winds from drying out the woody structural stems over the next four months.
3. Clean Away Diseased Fallen Foliage
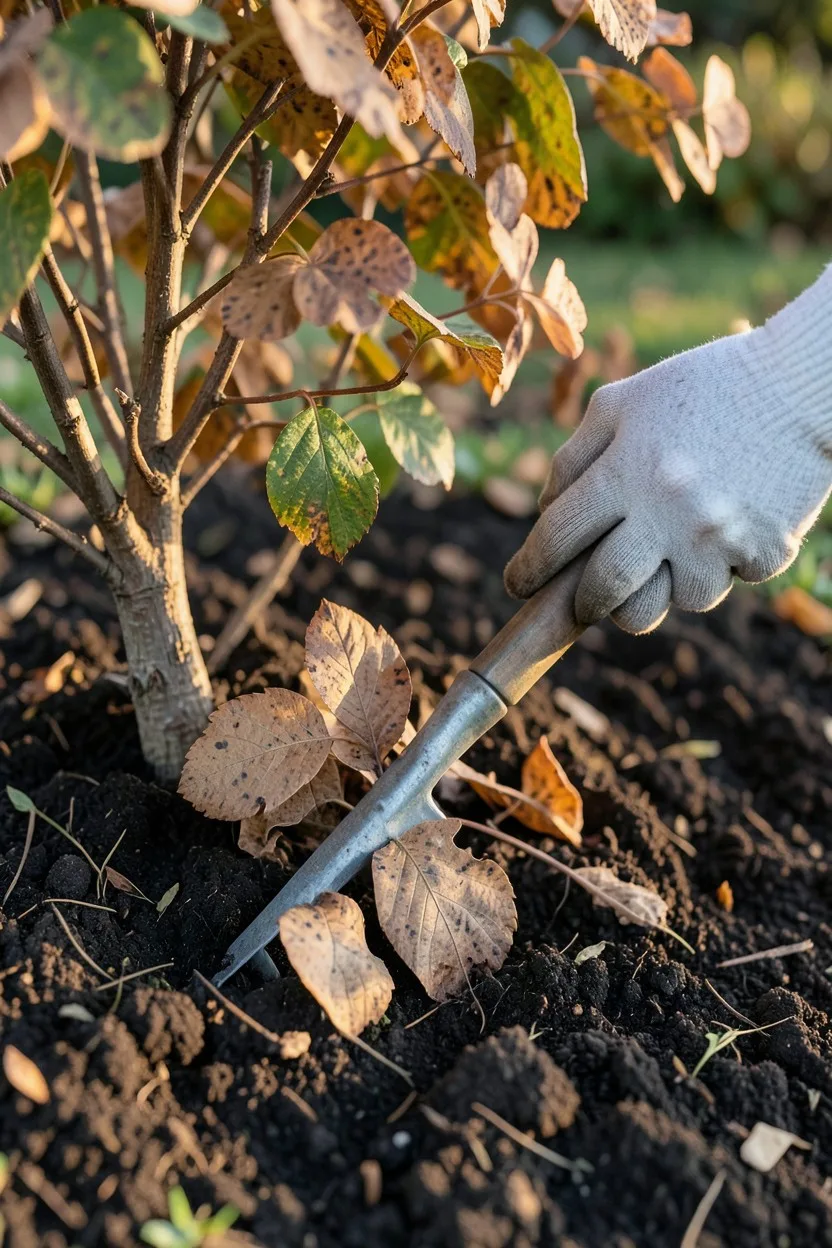
Rake up every single fallen leaf from the base of the shrub and discard them completely. Hydrangea leaves frequently carry cercospora leaf spot and powdery mildew spores, which happily overwinter in the garden debris beneath your plant. Leaving this damp mat of foliage under your winter insulation creates a high-humidity incubator for fungal diseases.
Use a flexible spring rake to clear a 3-foot radius around the crown of the plant. Do not toss these specific leaves into your backyard compost pile unless your system consistently reaches high temperatures, as the fungal spores can survive the winter composting process and reinfect your garden next spring.
Before You Build Your Protection Cages
-
Gather structural wire fencing Use 14-gauge welded wire or sturdy chicken wire, at least 4 feet tall.
-
Collect heavy-duty wooden stakes Three to four 4-foot wooden stakes per bush to anchor the wire.
-
Stockpile clean insulation material Acquire clean straw or dry oak leaves. Avoid packing wet, soggy leaves.
-
Have wire cutters and zip ties ready Essential for securing the wire mesh together quickly.
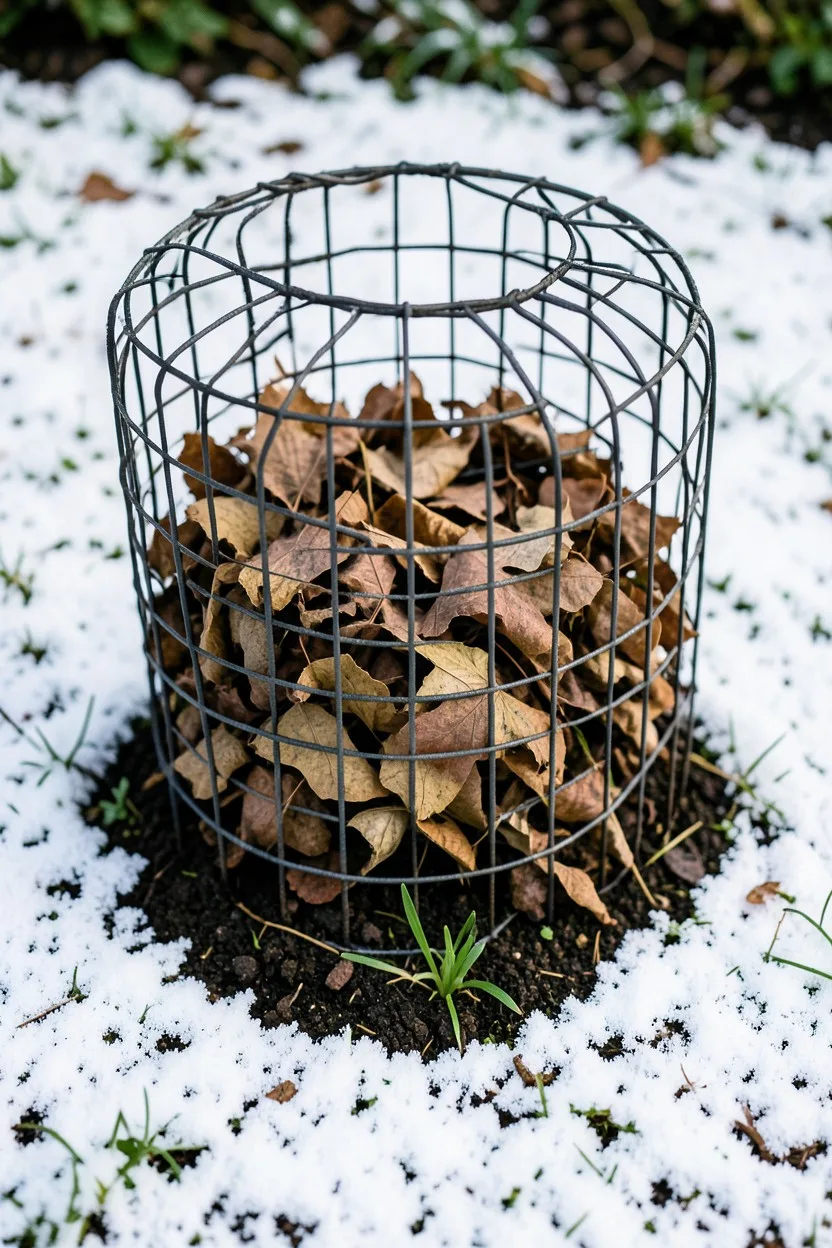
4. Construct a Sturdy Wire Cage
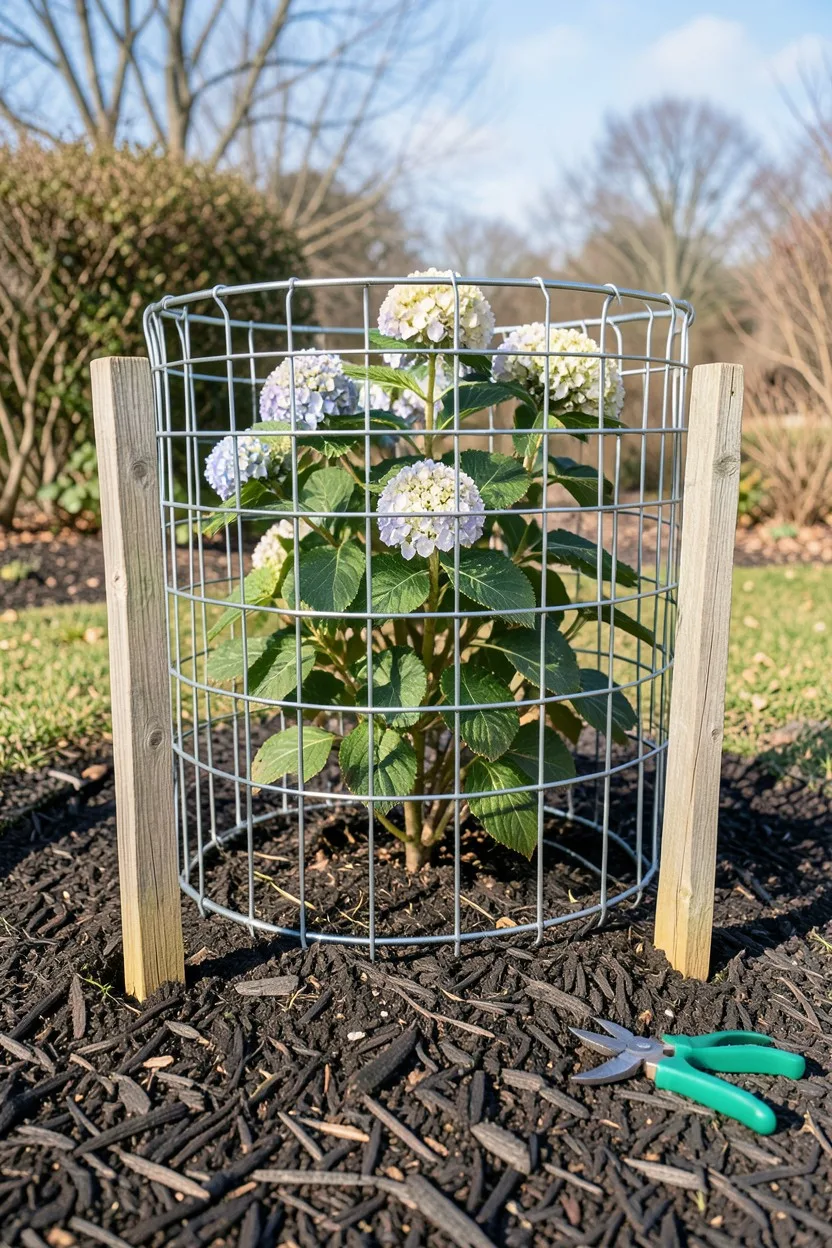
Unroll a length of 14-gauge welded wire fencing or heavy-duty chicken wire that measures at least 4 feet tall. Circle the wire entirely around your hydrangea shrub, leaving a generous 6-inch clearing between the outermost stems and the wire barrier. This air gap prevents the cold metal or wood from touching and freezing the outer flower buds directly.
Cut the wire with heavy utility snips and secure the overlapping vertical ends tightly with UV-resistant plastic zip ties. Drive three solid wooden garden stakes deep into the ground just inside the wire perimeter, then zip-tie the fencing directly to the stakes to prevent the entire structure from blowing away during high-velocity winter blizzards.
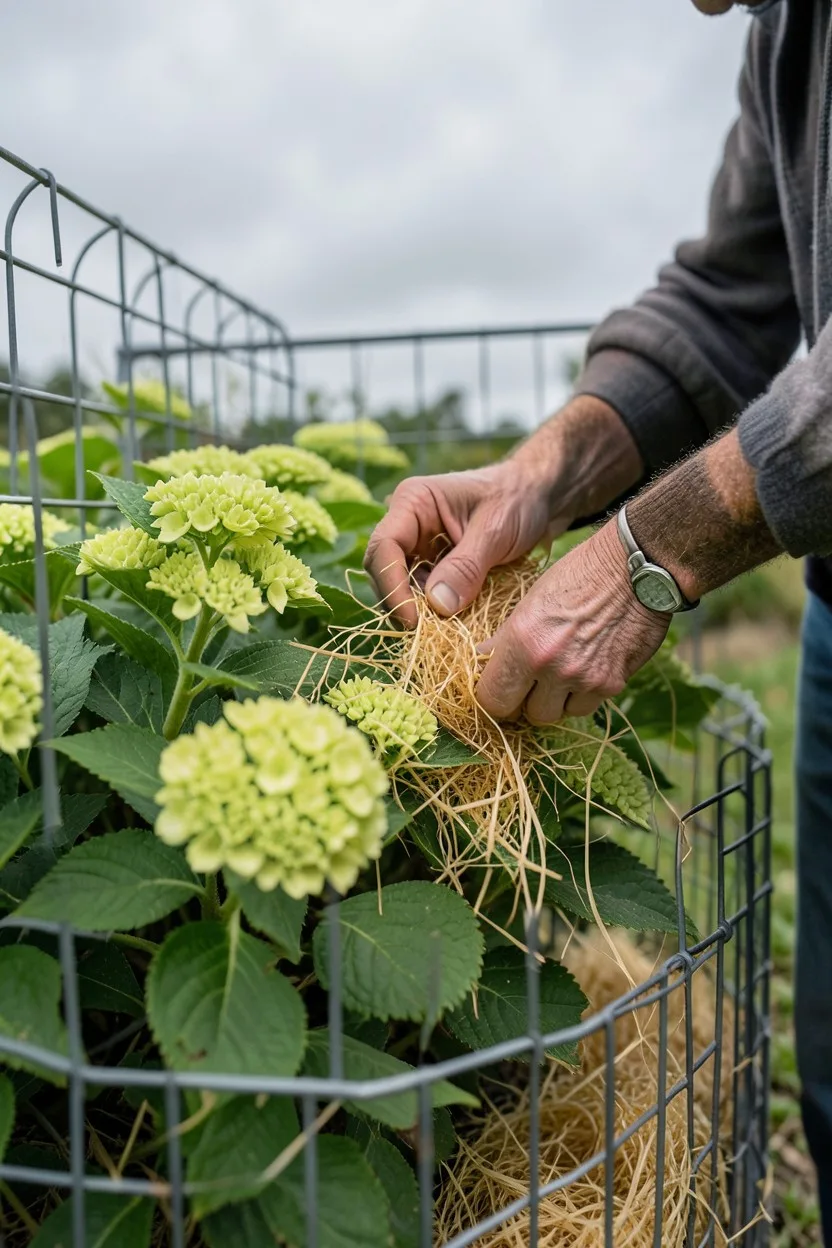
5. Pack the Cage with Insulation
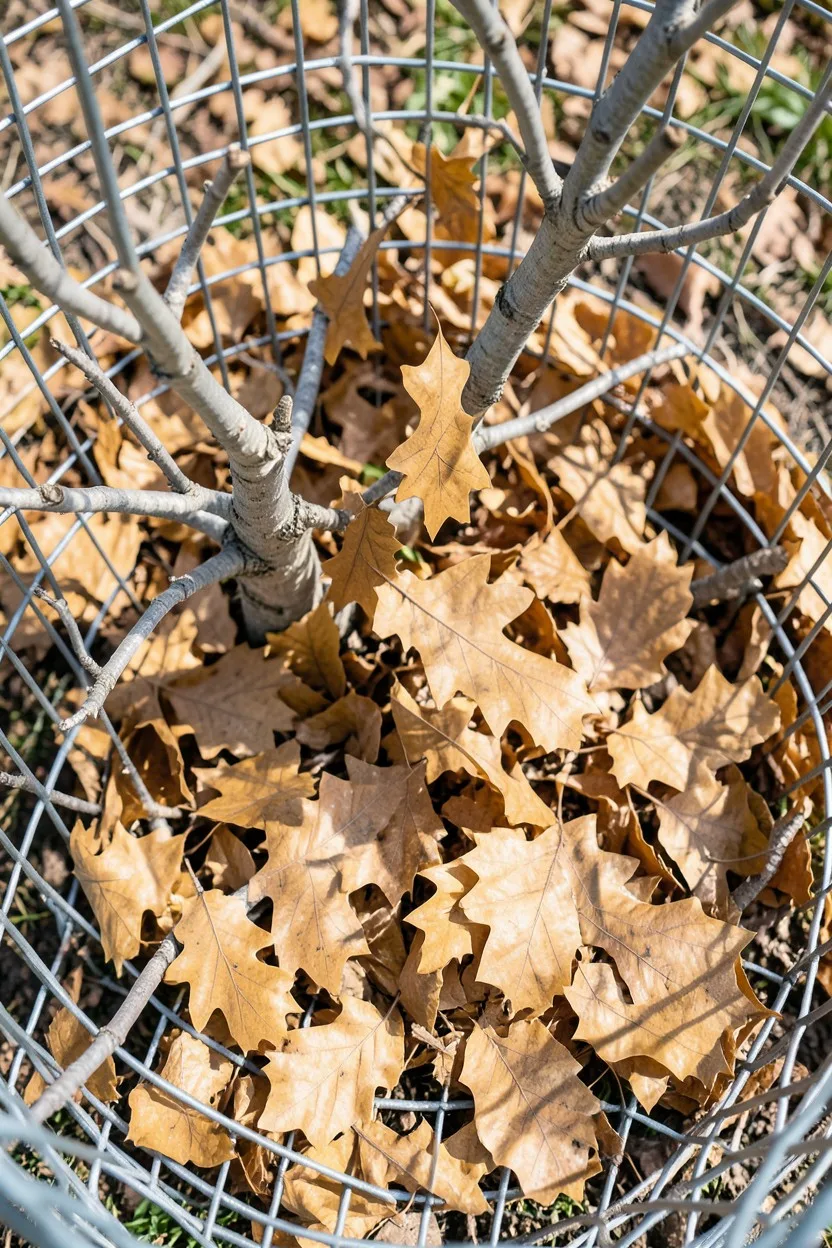
Fill the entire interior of the wire cage with clean straw or crisp, dry oak leaves. Drop the material in from the open top, letting it sift naturally through the bare hydrangea branches until it fills the space completely from the ground up to the absolute tips of the tallest stems. Do not compress or stomp the filling down tightly, as crushing the insulation removes the tiny air pockets that trap protective ground heat.
Avoid using soft maple or birch leaves for this step. Those thin leaf varieties break down rapidly into a slimy, wet, compacted sludge when exposed to snowmelt, which rots the dormant hydrangea buds. Oak leaves are sturdier, resist moisture compaction, and maintain their structural air pockets all winter long.
6. Secure the Cage Top Safely
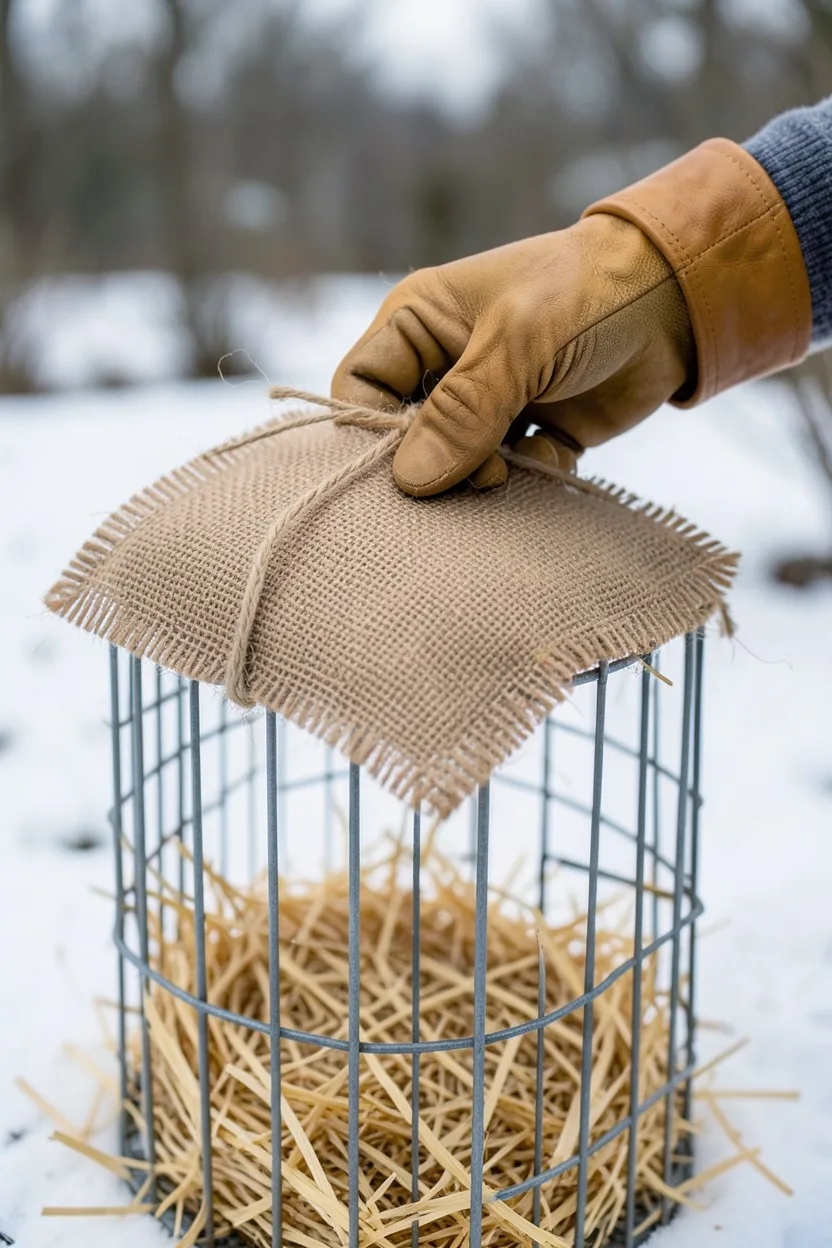
Wrap a heavy layer of breathable burlap over the very top of your filled wire cage to lock the insulation in place. Use a stapler or heavy-duty twine to weave the burlap directly into the upper wire mesh, creating a secure lid. This breathable top fabric prevents heavy winter winds from scouring your insulating leaves or straw right out of the cage during January storms.
Never use clear, non-breathable solid plastic sheeting to cover the top of the cage. Solid plastic creates a miniature greenhouse on sunny winter afternoons, trapping intense solar heat that can trick the hydrangea into breaking dormancy early. When the sun drops and temperatures plummet at night, those premature, tender cell walls will instantly freeze and rupture.
Winter Cage Specs — At a Glance
📏 Cage Height
4 Feet Minimum
🪵 Best Filler
Dry Oak Leaves
💨 Top Material
Breathable Burlap
⭕ Stem Clearance
6 Inches Around
Crucial Step
Never use solid clear plastic or you risk baking and killing the early buds.
7. Apply a Thick Root Mulch Blanket

Shovel a 6-inch layer of shredded hardwood mulch or clean pine bark directly over the entire root zone of your hydrangea. Extend this thick mulch blanket at least 2 feet past the outer drip line of the shrub's branches. This layer serves as a thermal buffer, insulating the shallow root system from the extreme, rapid temperature swings common in late winter.
Keep the mulch pulled back roughly 2 inches away from the main wooden stems of the shrub. Packing wet mulch directly against the bark traps moisture and invites destructive wood-boring insects or fungal collar rot to feast on the plant's main structural base while it sits dormant.
8. Wrap Individual Stems for Light Protection
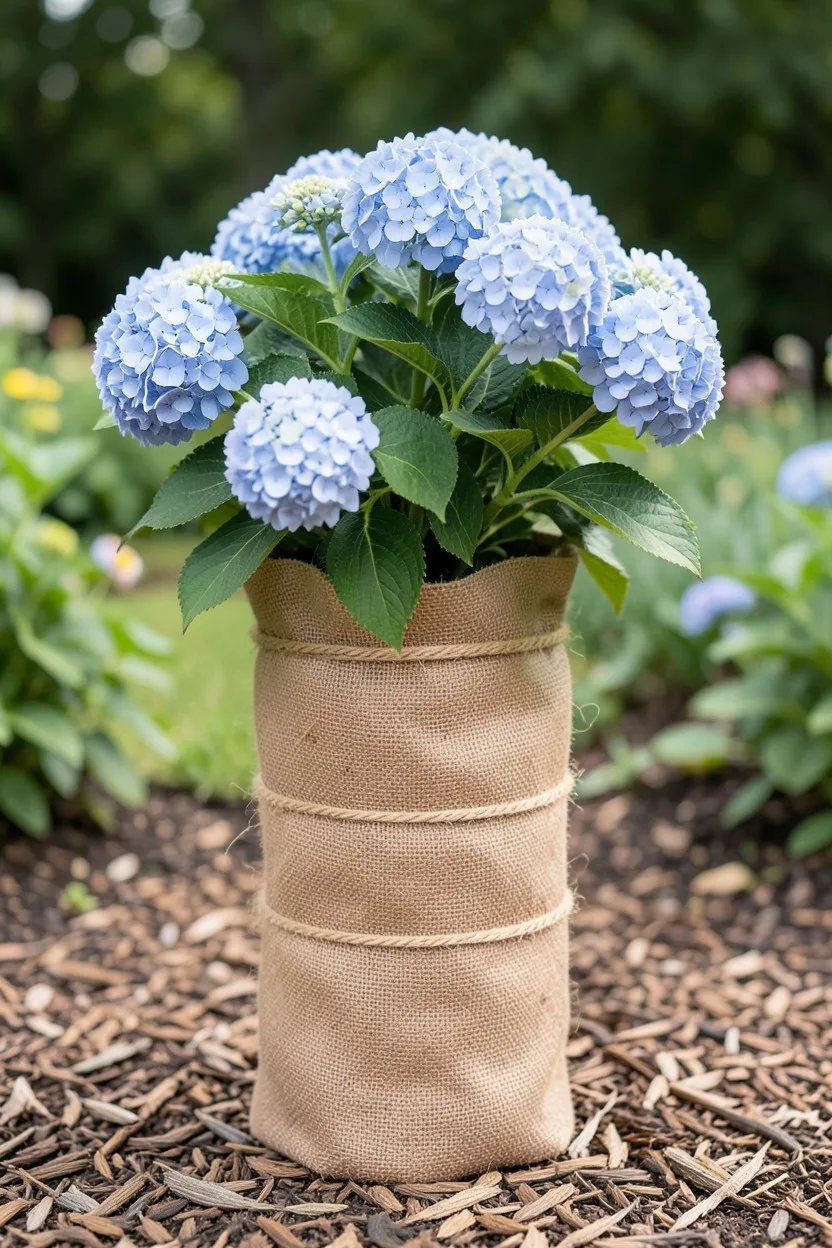
Utilize a direct burlap wrapping technique if you live in a transitional zone (like Zone 6b) and want to avoid building massive wire cages. Gather the main structural stems of the hydrangea gently together toward the center using soft jute twine. Do not tie them tightly enough to snap the wood; simply pull them into a manageable, upright column.
Wrap the entire bundled shrub with two to three layers of heavy-duty landscape burlap from the base up to the tips, mimicking a mummy. Secure the burlap wrap tightly every 12 inches using heavy twine. This method provides excellent protection against freezing windburn and minor frosts without requiring bushels of loose leaf filler.
9. Shelter Potted Hydrangeas Indoors
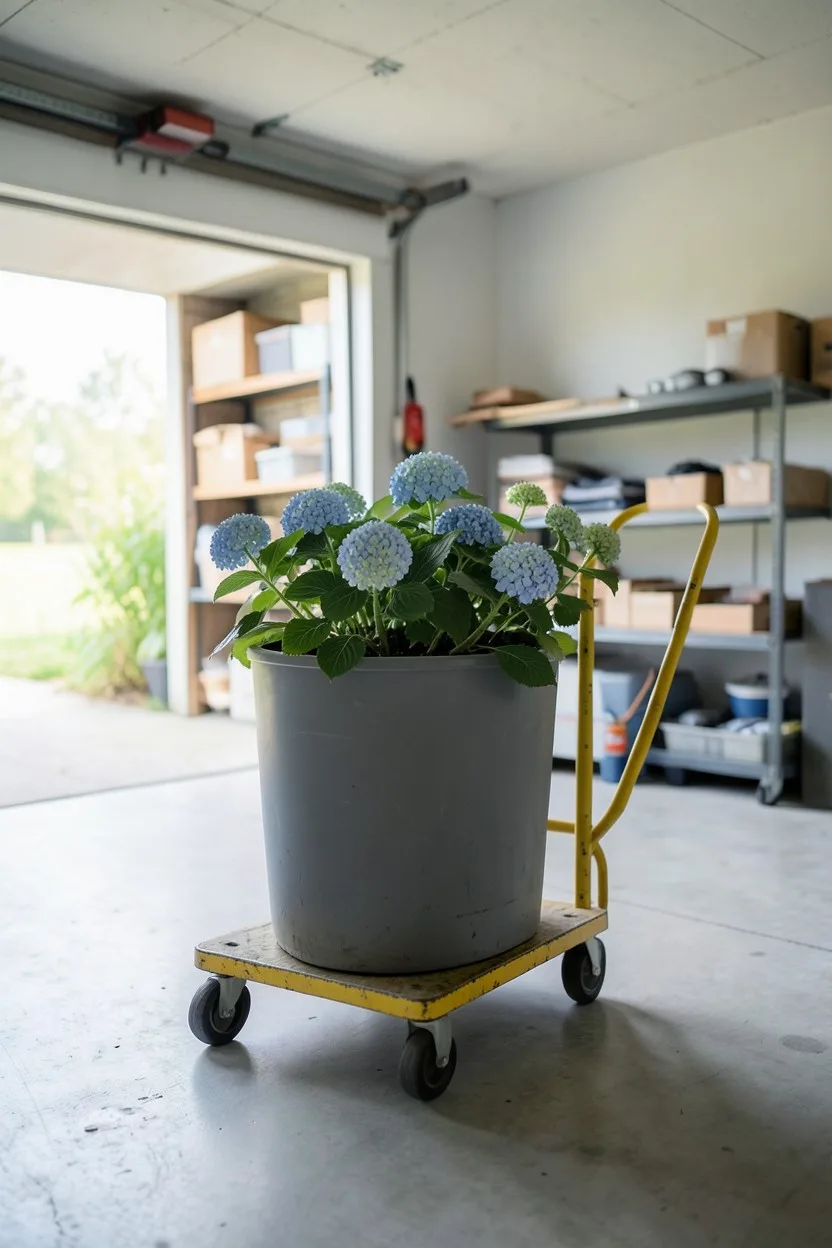
Move container-grown hydrangeas into an unheated garage, garden shed, or cold basement as soon as the first hard frost kills off the green leaves. Potted plants lack the massive insulating thermal mass of the earth, meaning their root systems can easily freeze solid and die when left exposed on an open deck or patio over winter.
Ensure the chosen indoor storage location remains consistently unheated, ideally hovering between 32 and 45 degrees Fahrenheit. This specific temperature range keeps the hydrangea safely locked in its deep winter dormancy without ever exposing the root ball to the fatal sub-zero wind chills waiting outside.
10. Water Overwintering Pots Monthly
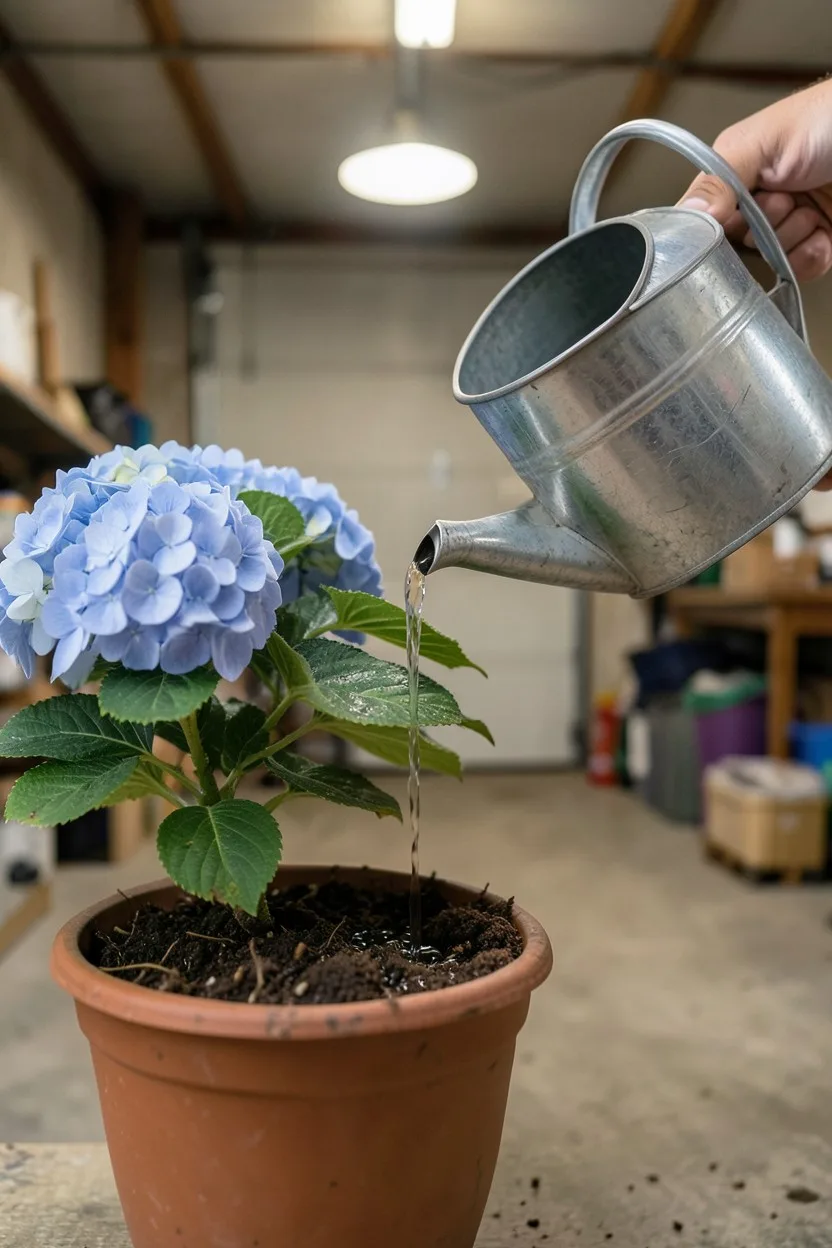
Check your indoor potted hydrangeas once every month throughout the winter season. Even though the plant is completely dormant and leafless, the root system still requires trace amounts of moisture to keep the wood cells alive. Pour roughly one to two cups of water slowly over the soil surface, ensuring it dampens the root ball without soaking it.
Verify that the soil is dry to the touch down to a depth of two inches before adding water. Avoid overwatering at all costs; if the soil sits saturated and waterlogged in a cold garage, the roots will quickly rot out, killing the entire plant before spring arrives.
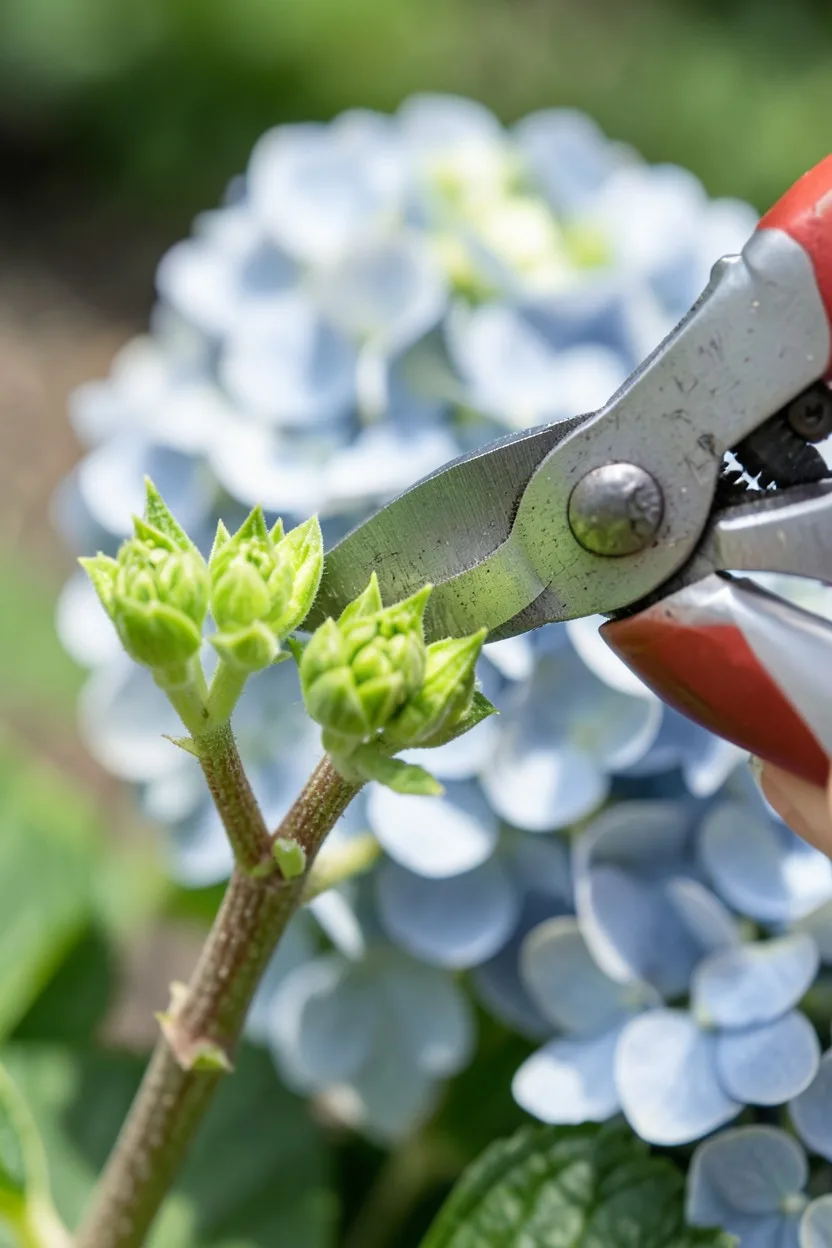
11. Avoid Autumn Pruning Mistakes
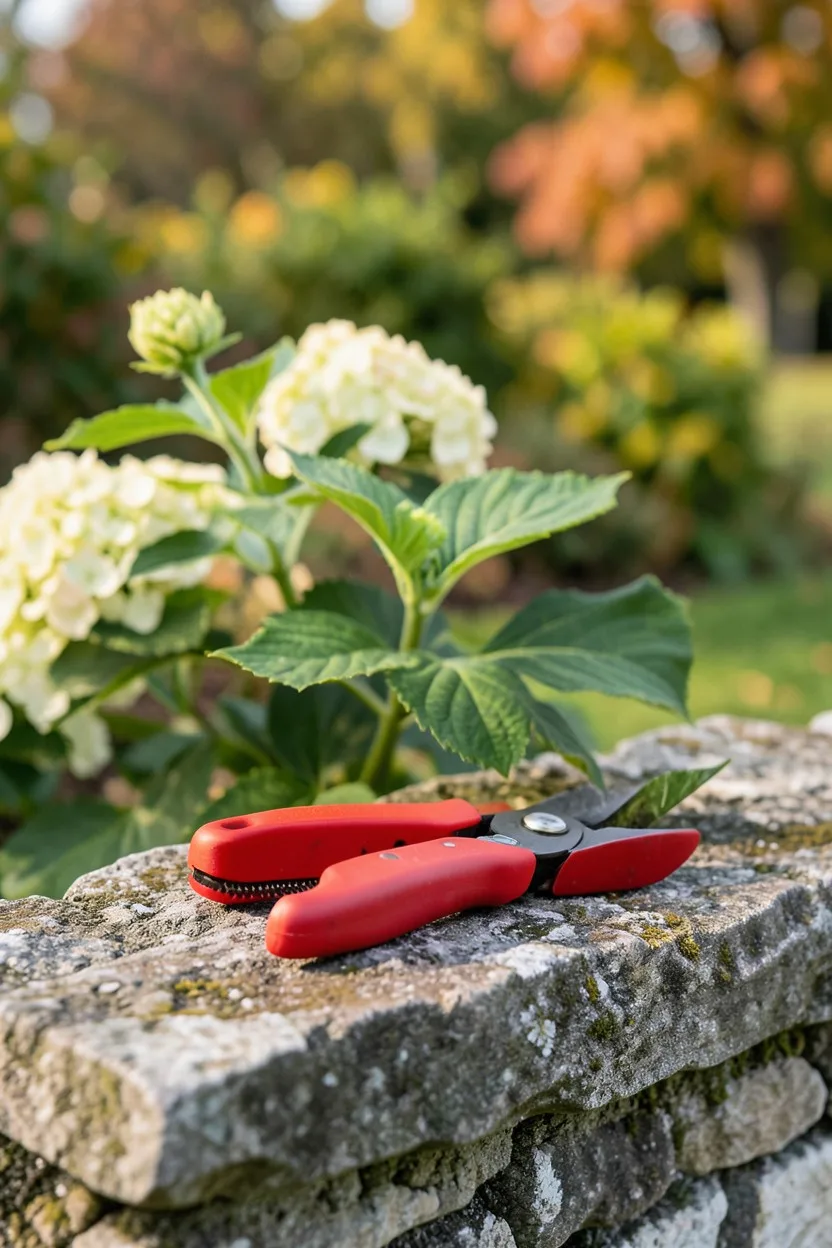
Put down the pruning shears when preparing your bigleaf and oakleaf hydrangeas for winter. Trimming your shrubs in late summer or autumn actively cuts away the very flower buds that are trying to overwinter for next season's show. Every stem you snip off at this time of year directly equates to lost blossoms next summer.
Limit your autumn pruning exclusively to branches that are completely dead, physically broken, or showing clear structural signs of active disease. If a stem is healthy and woody, leave it completely alone until the plant wakes up and leaves out fully in the late spring.
12. Hold Fast Until Spring Thaws
Resist the powerful urge to dismantle your winter cages during the first warm, sunny week of early spring. Late-season frosts in April and May are the number one killers of hydrangea blossoms. A brief spell of 60-degree weather can cause the protected buds to swell and open slightly inside the cage, making them incredibly vulnerable.
Leave the protective insulation structures fully intact until your local region has safely passed its official average last frost date. Check your local extension office calendar online to verify this date before touching the cages, ensuring your plants remain insulated through those deceptive, late-season cold snaps.
📆 Spring Unwrapping Sequence
Check the Calendar
Wait until your region passes its official final spring frost date.
Remove the Burlap Lid
Carefully untie and remove the top burlap cover on a cloudy day.
Scoop Out the Filler
Gently pull out the leaf or straw insulation by hand to avoid snapping buds.
Dismantle the Cage
Cut the zip ties, pull the stakes, and roll up the wire fencing for storage.
Thin Out the Mulch
Rake the heavy 6-inch root mulch down to a standard 2-inch layer.
13. Unwrap Cautiously on Cloudy Days
Choose a calm, heavily overcast day to finally remove the wire cages and burlap wraps from your hydrangeas. Stems that have spent four months locked in dark, humid insulation are highly sensitive to sudden, intense environmental changes. Exposing them to harsh, direct midday sunlight can instantly sunburn the tender new tissue.
Work slowly as you extract the straw or leaf filler from around the branches. The overwintered flower buds will be plump and fragile, meaning a reckless tug of compacted straw can easily snap them right off the wood. Handle each stem with extreme care to preserve your hard-earned flower buds.
14. Prune Only the Dead Wood
Wait until late spring when the hydrangea has completely leafed out before doing any structural pruning. Stems that look completely dry, grey, and dead in April often surprise you by pushing out green leaves from their bases by mid-May. Scraping the bark gently with a fingernail is a great way to verify life; if it reveals green underneath, the stem is alive.
Use a clean pair of bypass pruners to cut back only the wood that remains dry, brittle, and brown well into spring. Make your cuts exactly one-quarter inch above the highest pair of live, green leaf buds to keep the shrub looking neat while maximizing your total flower production.
15. Apply Balanced Spring Fertilizer
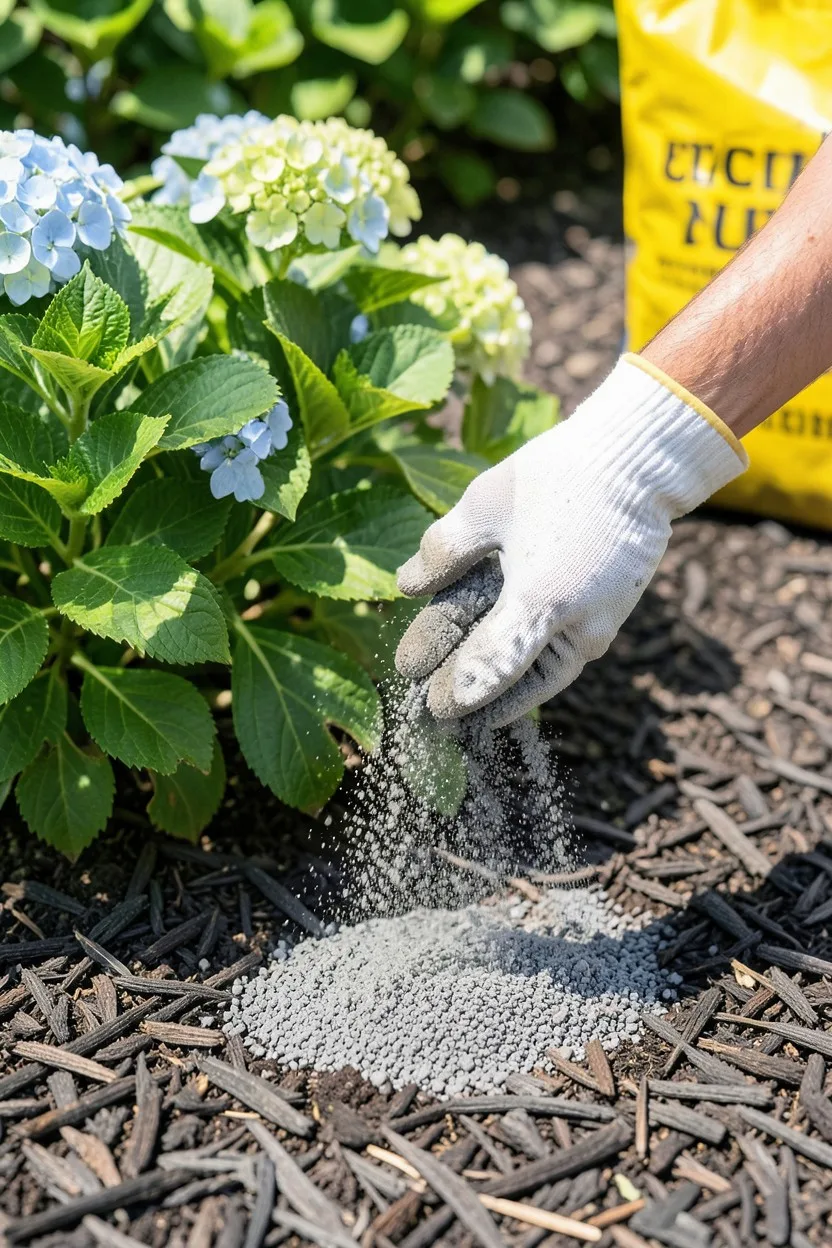
Feed your newly unwrapped hydrangeas with a balanced, slow-release granular fertilizer once the spring growth is well underway. Look for a commercial formula with an NPK ratio of 10-10-10 or a dedicated organic shrub fertilizer. Scatter the granules evenly over the mulched root zone, keeping the product a few inches away from the main stems.
Scratch the fertilizer lightly into the top inch of soil and water it in thoroughly. This nutritional boost provides the necessary fuel for your successfully overwintered buds to grow into massive, show-stopping blooms during the summer heat.
Avoid These Overwintering Mistakes
Final Thoughts
By building insulated wire enclosures, mulching the root beds deeply, and keeping your pruning shears tucked away until late spring, your hydrangeas should reward you with an absolute explosion of massive, healthy summer blossoms. Make a quick note in your garden journal of the exact date your ground froze solid this year so you can plan your insulation setup perfectly next autumn.

John Smith is the founder and CEO of Karaoke Machines Guru. He is a karaoke tutor and karaoke enthusiast and has been passionate about karaoke since he was a child. He also writes about karaoke-related tips, guides, and product reviews on this website.
He overlooks the whole website and makes sure that everything is running smoothly. Learn more!