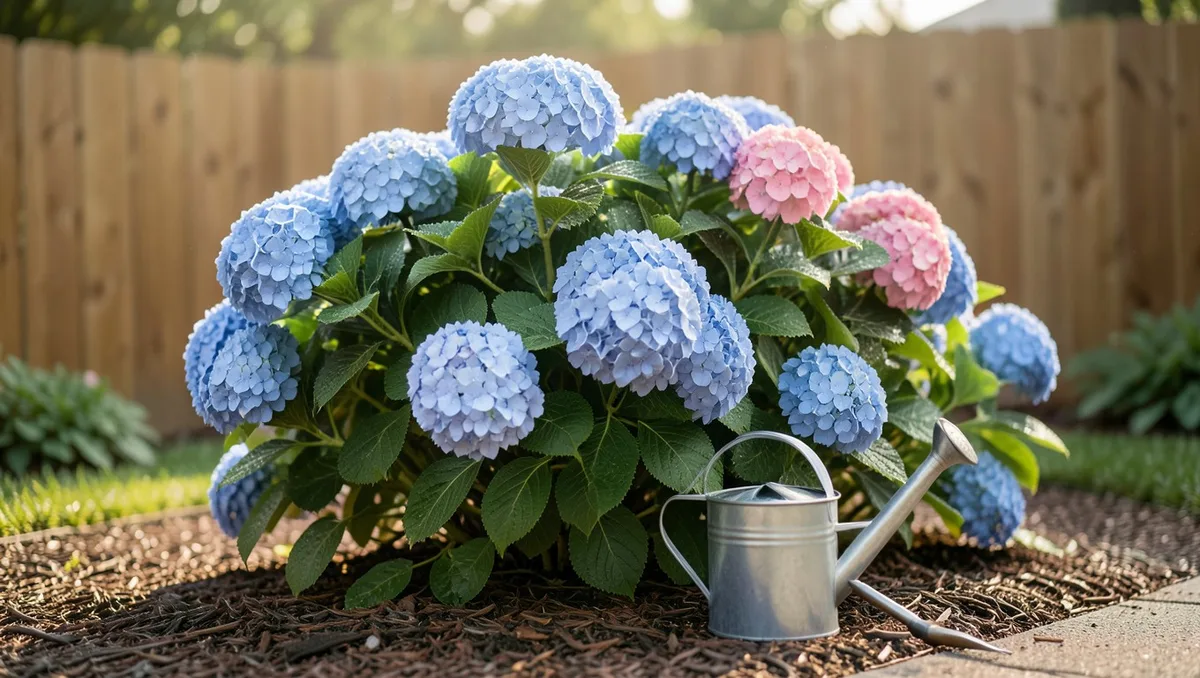
Staring at a bright pink hydrangea when you desperately want a sea of rich, electric blue is one of the most common frustrations in home gardening. The secret behind this magical color transformation does not live in the petals themselves, but deep within the chemistry of your soil. Specifically, it comes down to the availability of aluminum ions, which your hydrangea can only absorb when the soil is properly acidic.
This step-by-step guide walks you through the exact process of diagnosing your current garden soil, applying the right soil acidifiers, and maintaining that perfect cerulean hue season after season. With a little patience and the right routine, you will turn those blush blooms into a deep, stunning blue.
Project Overview
1. Identify Your Specific Hydrangea Variety First
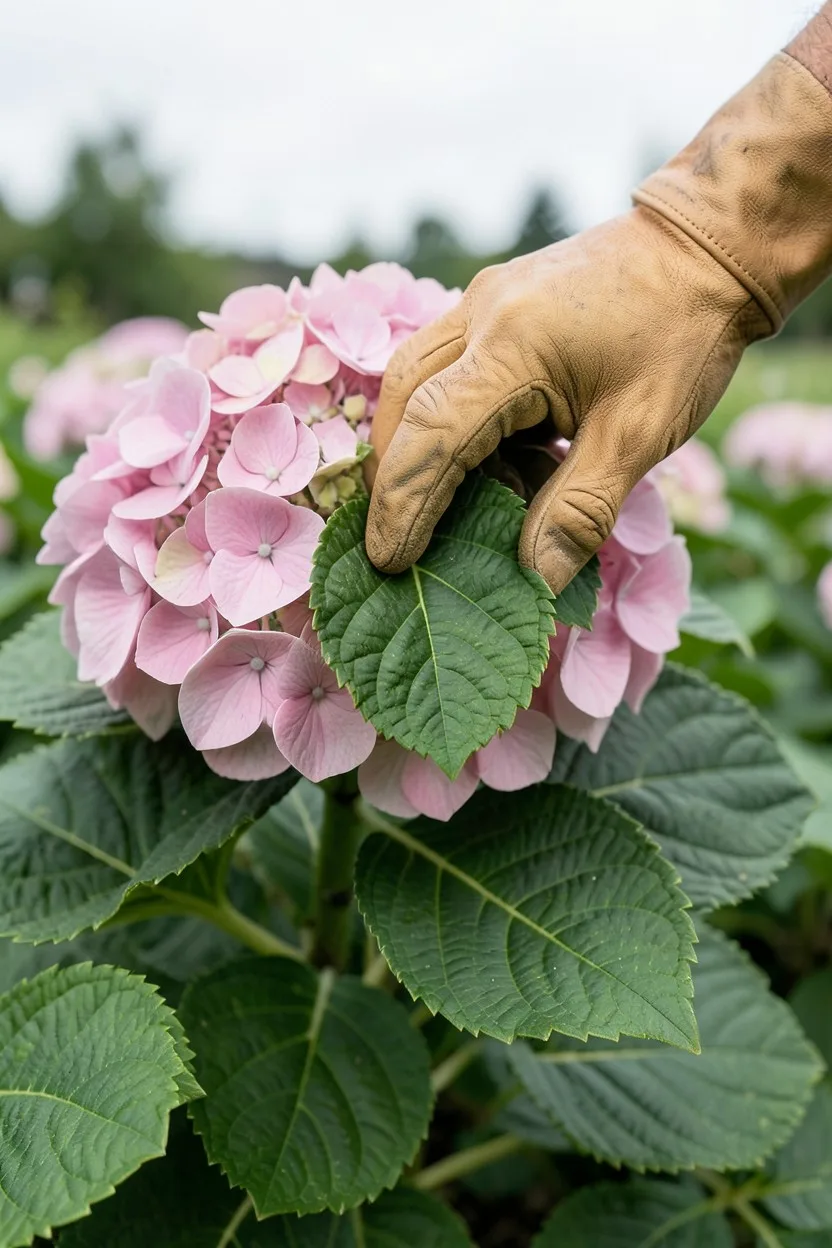
Verify that your shrub is a bigleaf hydrangea (*Hydrangea macrophylla*) or a mountain hydrangea (*Hydrangea serrata*). These are the only two species that change color based on soil chemistry. Look closely at the leaves and blooms to confirm. Bigleaf varieties have thick, shiny, egg-shaped leaves with serrated edges and distinct, fleshy mophead or lacecap flower clusters.
Do not waste money or time trying to alter the color of oakleaf hydrangeas, panicle hydrangeas like Limelight, or smooth white hydrangeas like Annabelle. White panicle and smooth hydrangeas stay white or age to a soft pinkish-green regardless of your soil chemistry because they lack the specific anthocyanin pigments that react to aluminum.
2. Test Your Current Soil pH Accurately
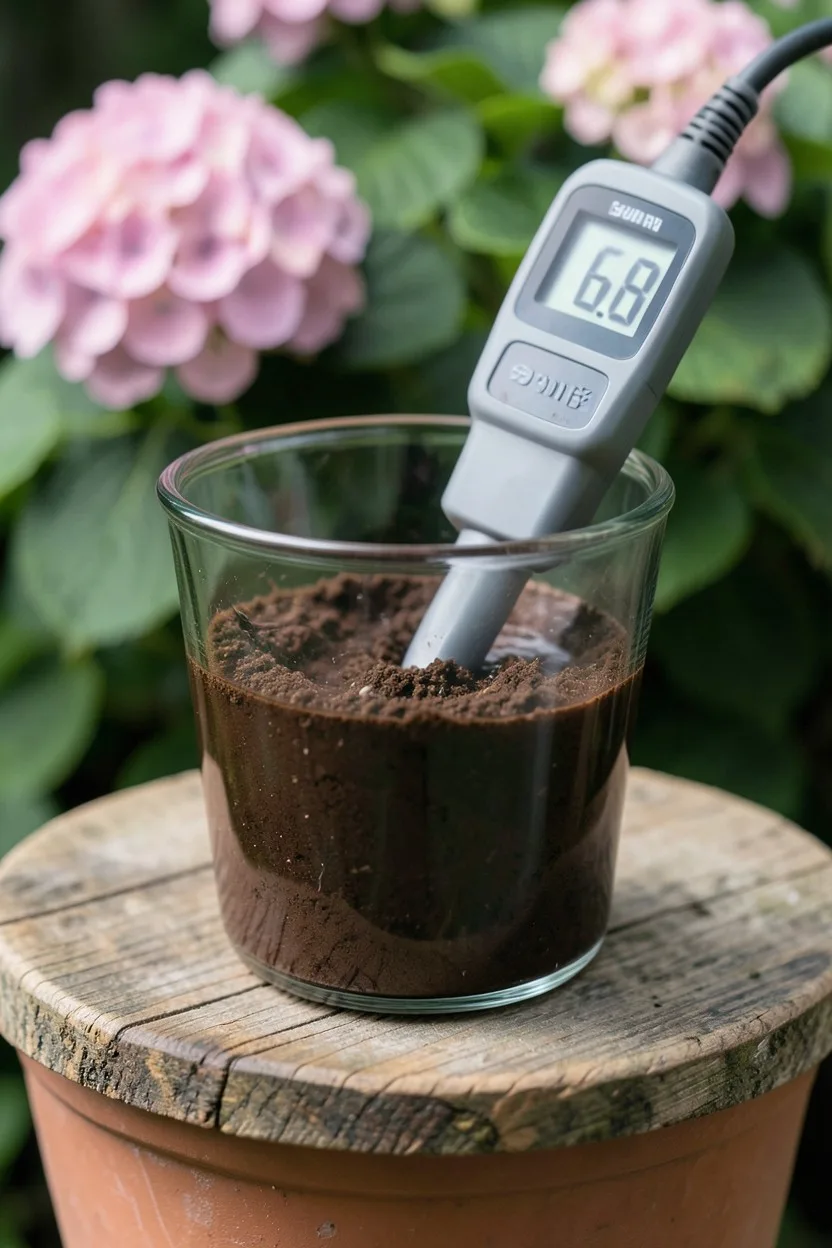
Purchase a high-quality digital soil pH meter, such as a Sonkir or Luster Leaf model, rather than relying on cheap, ambiguous color-changing paper strips. Clear away the top layer of mulch or organic debris around the base of your hydrangea, dig down 4 to 6 inches into the root zone, and collect a small sample of soil.
Mix the collected soil with distilled water in a clean glass beaker using a 1:1 ratio, let it sit for 15 minutes, and submerge the digital probe. Note the exact numerical readout. A reading above 6.5 indicates alkaline or neutral soil, which locks up aluminum and causes your hydrangeas to grow bright pink blooms.
Pre-Amendment Readiness Checklist
-
Confirm hydrangea species Must be macrophylla or serrata; white varieties will not change.
-
Record baseline soil pH Target a clear reading from the 4-to-6 inch root depth.
-
Procure elemental sulfur or aluminum sulfate Have your preferred brand-name amendment on hand before digging.
-
Check the weather forecast Ensure no heavy rainstorms are predicted for the next 24 hours.
3. Choose Your Soil Acidifying Agent Wisely
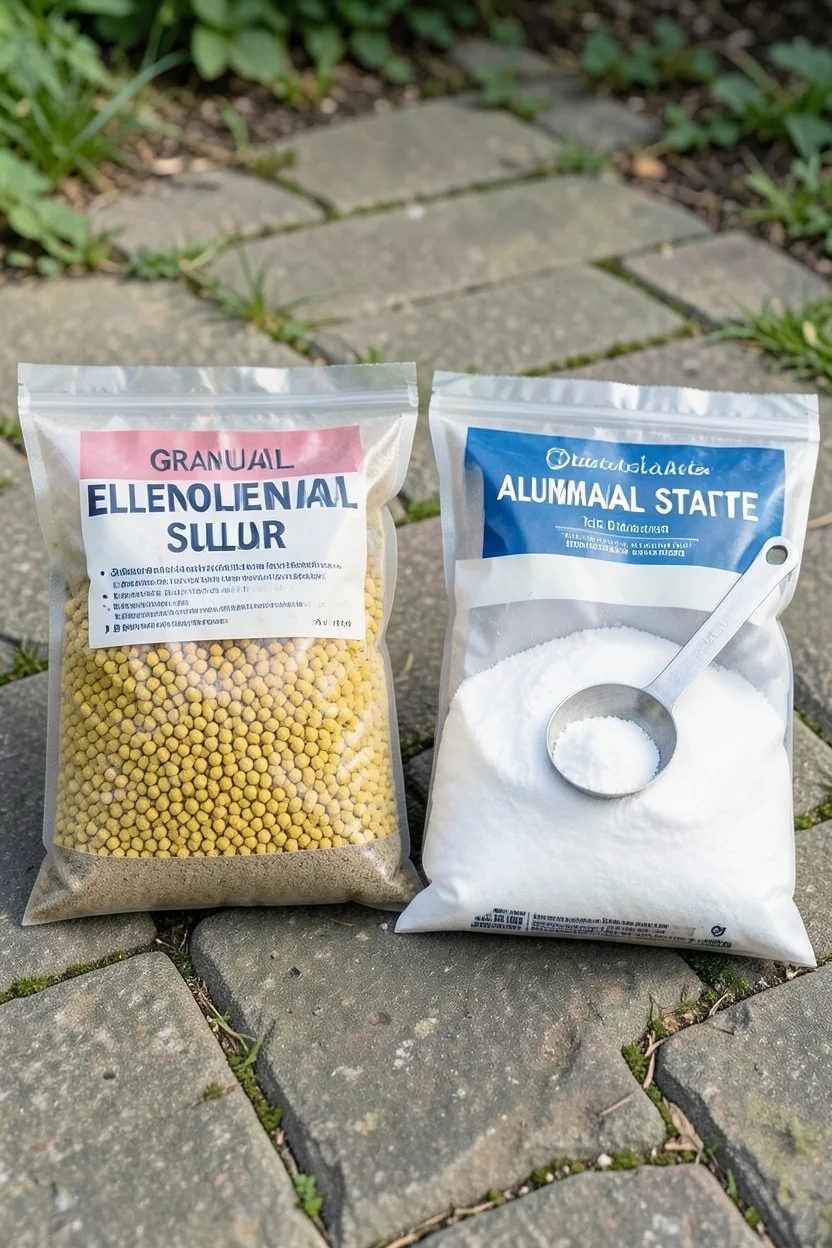
Select between aluminum sulfate for rapid results or elemental sulfur for a slower, safer, and more sustainable long-term shift. Aluminum sulfate introduces the necessary aluminum ions immediately into the soil while simultaneously lowering the pH, making it the fastest option for impatient gardeners looking for a change within the same season.
Opt for elemental organic sulfur if you have sensitive companion plants nearby or want to avoid the risk of root burn. Elemental sulfur relies on natural soil bacteria to convert the sulfur into sulfuric acid, which naturally lowers the pH over several months, meaning you will need to apply it well ahead of the spring growing season.
4. Calculate the Exact Dosage for Application
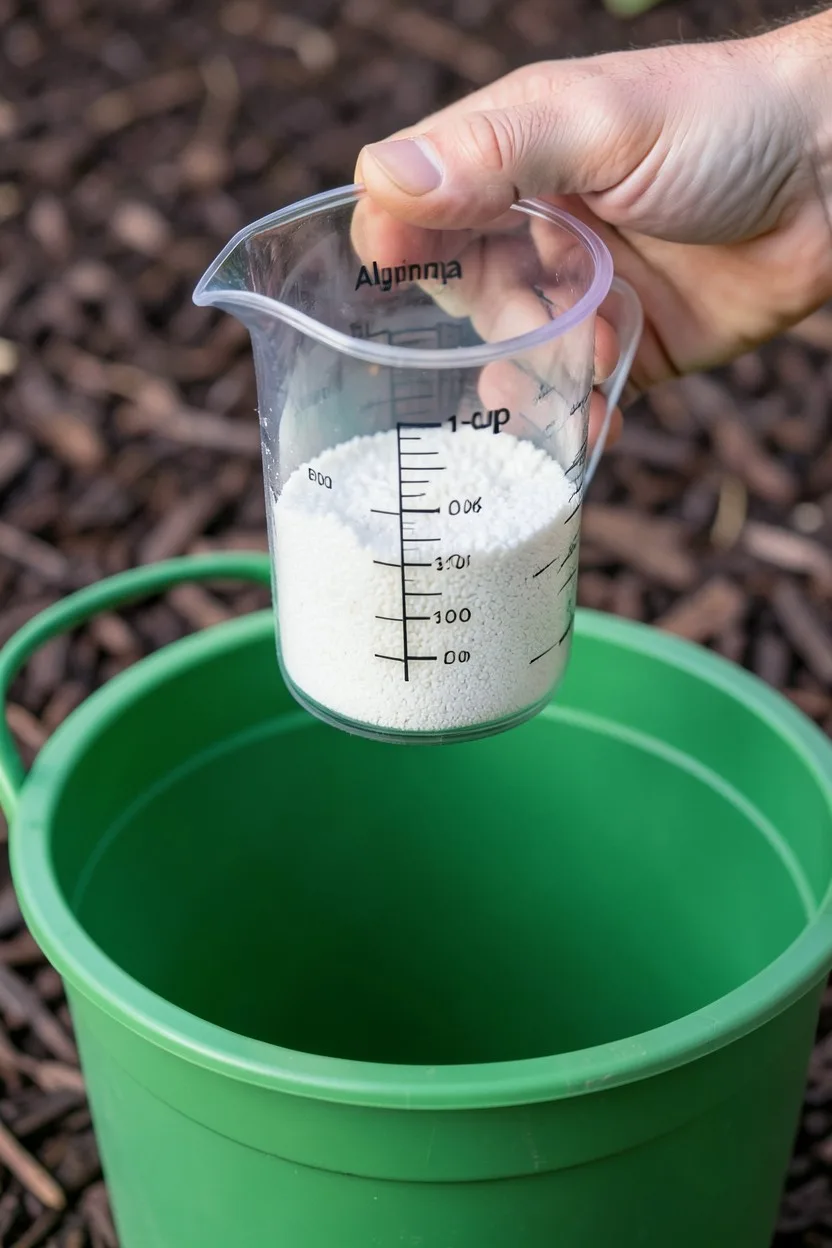
Measure the total square footage of the drip line beneath your hydrangea bush to avoid dangerous over-application. For established shrubs, a standard rule of thumb is to use 1 tablespoon of aluminum sulfate dissolved in 1 gallon of water for every square foot of soil area directly beneath the outer canopy of the plant.
Apply no more than 1/2 cup of dry granular elemental sulfur per 10 square feet if your soil is a heavy clay blend. Clay soils have a higher buffering capacity and resist pH changes more than sandy soils do, but over-applying sulfur in a single session will spike soil toxicity and severely damage your hydrangea's root system.
Soil Chemistry Target Specs
🧪 Target pH Range
5.2 to 5.5
🎨 Resulting Color
Deep Indigo Blue
⚠️ Danger Zone
Below 4.5 pH
⏳ Reaction Time
4 to 12 Weeks
Pro Chemistry Tip
Aluminum becomes highly soluble and easily absorbable by root systems only when the soil pH drops consistently below 5.5.
5. Dissolve Aluminum Sulfate in Water Properly
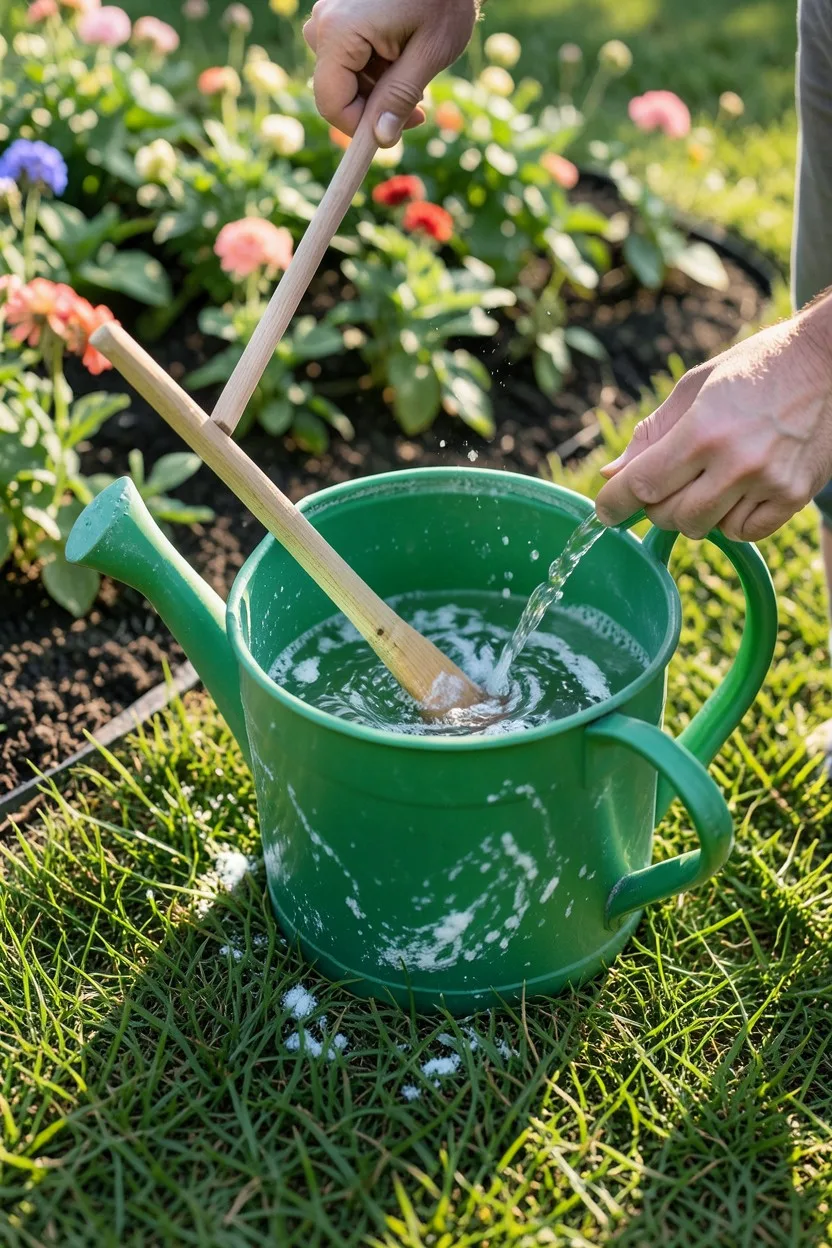
Pour your measured dose of aluminum sulfate slowly into a clean plastic watering can pre-filled with warm water. Avoid using cold water, as the crystalline structure of the sulfate takes significantly longer to dissolve completely, which can leave a concentrated, dangerous sludge at the bottom of your bucket.
Stir the liquid vigorously with a long wooden paint stick or a clean dowel for at least 60 seconds until the water looks entirely clear and uniform. Never dump dry aluminum sulfate powder directly onto the surface of the soil around the plant stem, as this creates localized hot spots that can instantly dehydrate and kill feeder roots.
6. Saturate the Root Zone Thoroughly
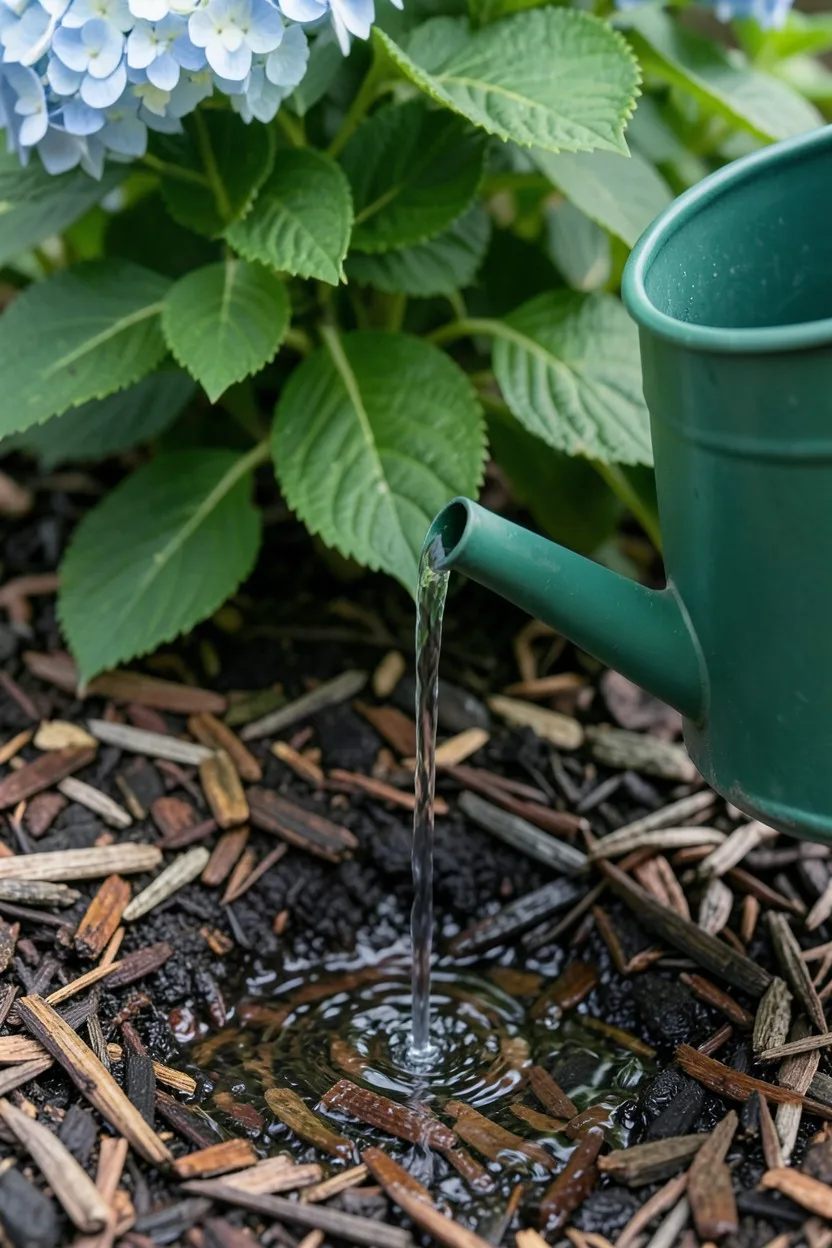
Pour the fully dissolved liquid mixture slowly over the entire root zone, starting 6 inches away from the main woody stems and moving outward to the edge of the drip line. This method ensures that the active chemical solution reaches the fine, sensitive feeder roots responsible for nutrient uptake.
Apply the mixture only when the soil is already damp from a recent watering or a gentle rain shower. Applying chemical amendments to bone-dry soil forces the stressed roots to drink the concentrated chemical solution too quickly, which results in severe edge burn on the leaves and stunted flower development.
7. Apply Dry Elemental Sulfur Correctly
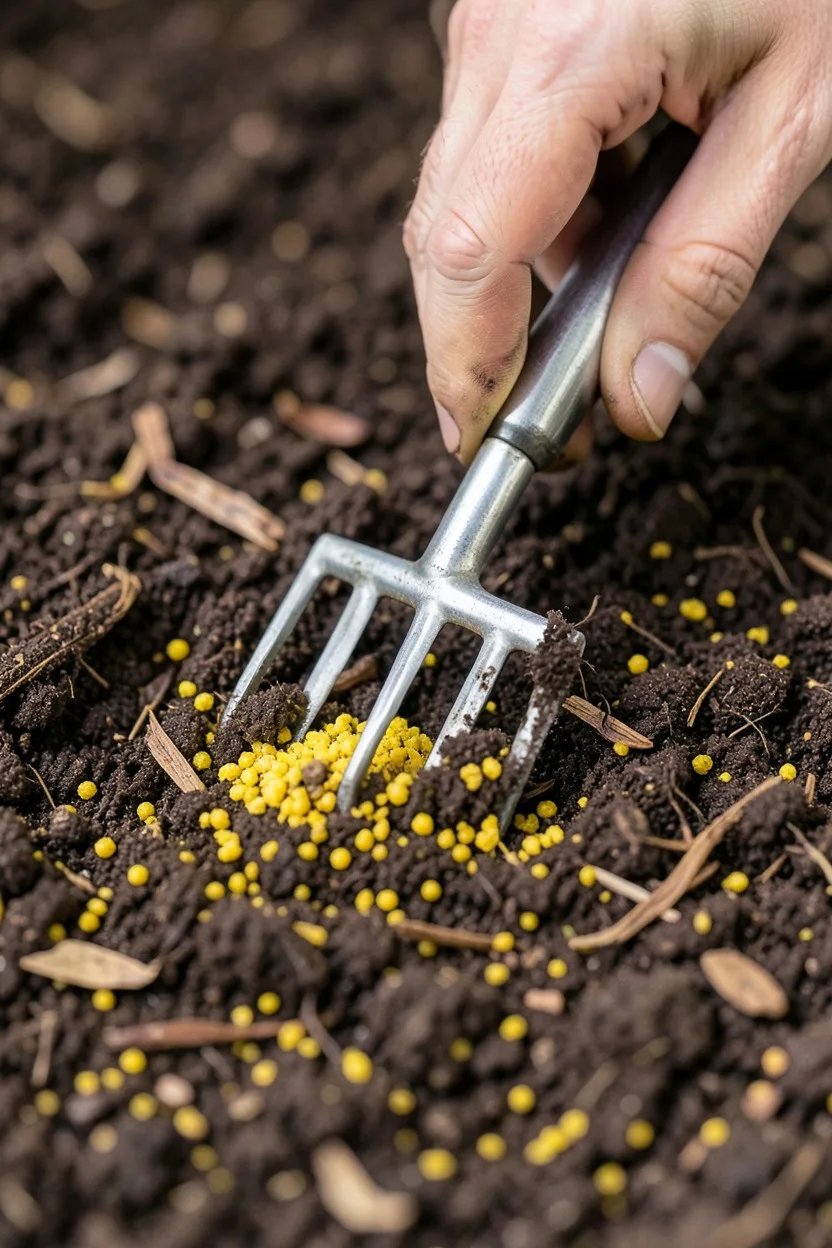
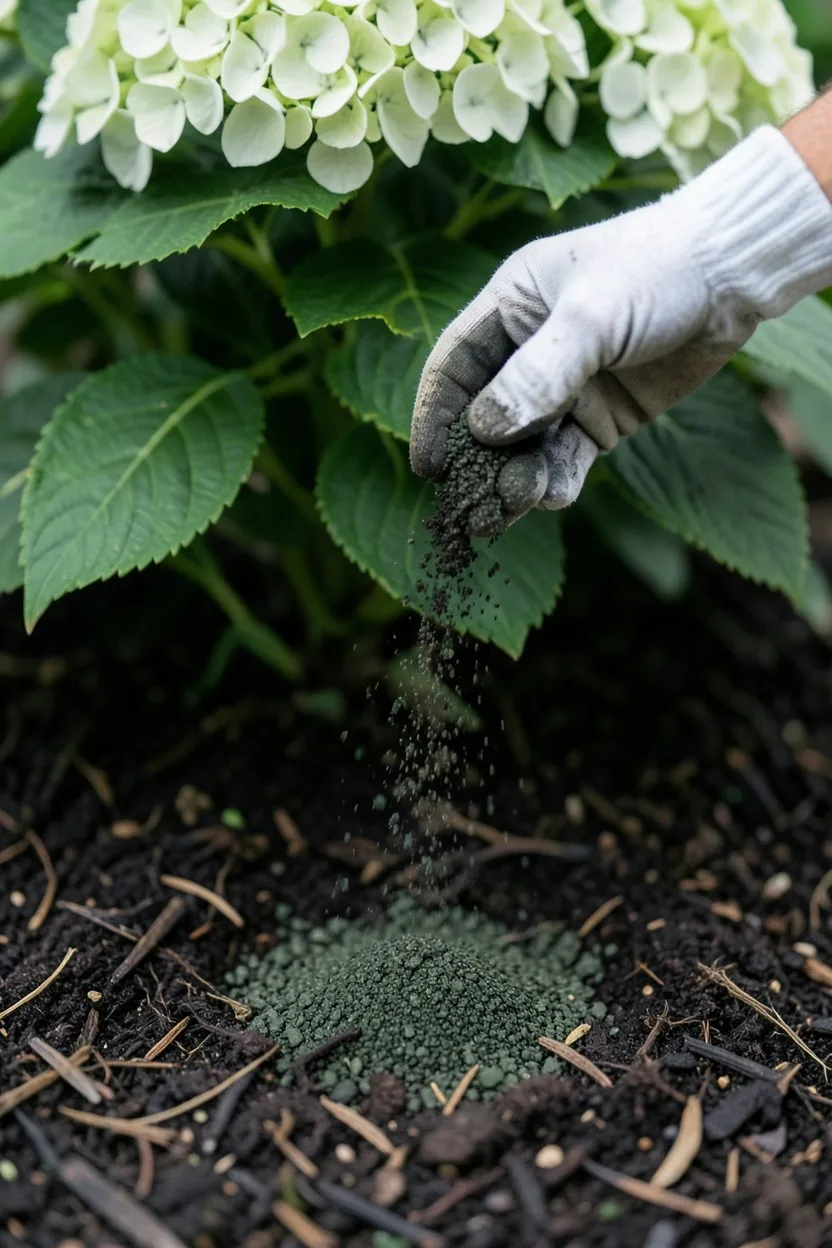
Scatter granular elemental sulfur evenly across the soil surface using a small handheld seed spreader if you opted for the slow-release path. Wear a protective dust mask and safety glasses during this step to prevent the fine, yellow sulfur dust from irritating your respiratory tract or eyes.
Work the granules gently into the top 1 to 2 inches of soil using a hand rake or a hard-tined cultivator tool. Because elemental sulfur relies heavily on soil microbes to break down, the pellets must maintain direct contact with damp soil and organic matter rather than sitting exposed to open air on top of your mulch layer.
8. Switch to Low-Phosphorus Fertilizers Exclusively
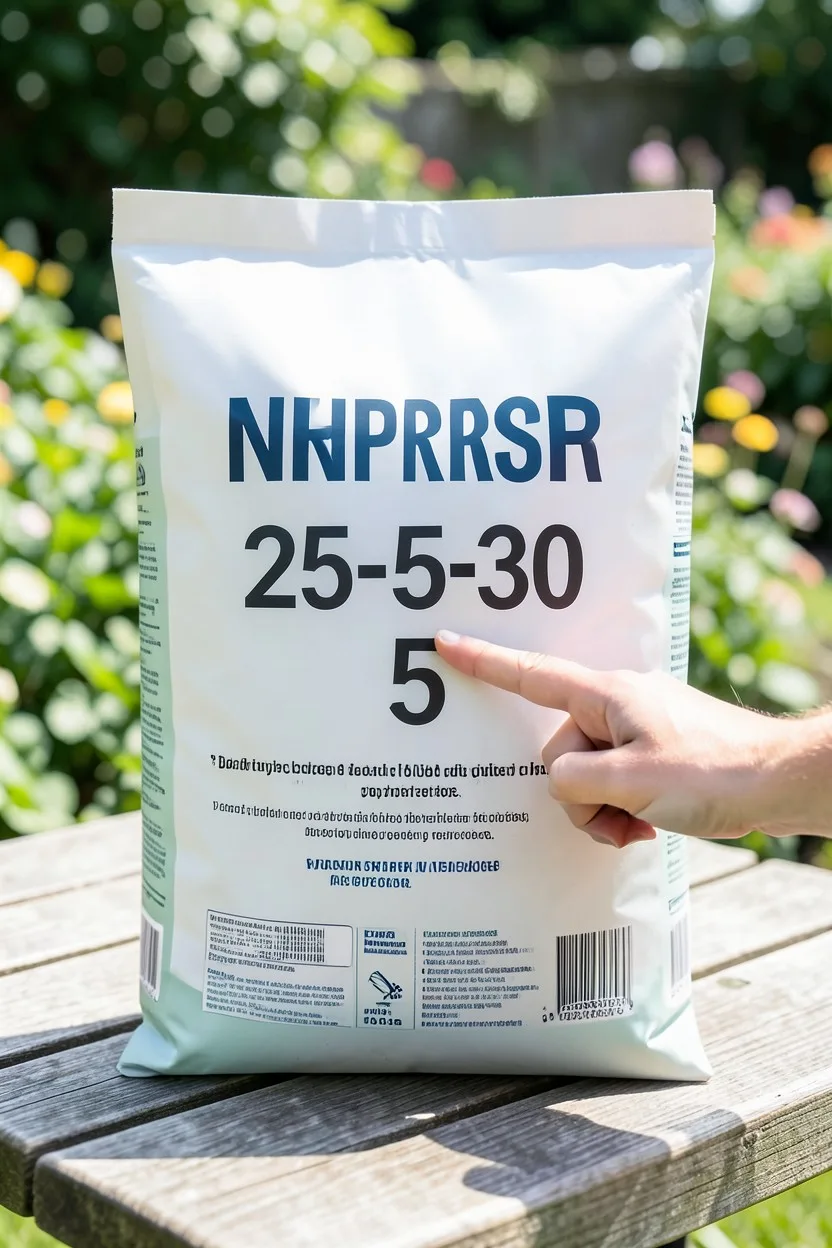
Check the three-number NPK rating on your fertilizer bags and select a blend with a very low middle number, such as 25-5-30 or a dedicated blue-hydrangea fertilizer. Phosphorus binds directly with aluminum ions in the soil, creating insoluble aluminum phosphate compounds that your plant cannot physically absorb.
Avoid using standard all-purpose garden fertilizers like 10-10-10 or bloom-boosting formulas that feature high middle numbers like 10-52-10. High phosphorus levels will lock up any native or added aluminum in your soil, keeping the ground effectively neutral and locking your hydrangea blooms into their stubborn pink state.
📅 The Blue Transition Timeline
Early Autumn
Test your baseline soil pH and apply the first round of slow-release elemental sulfur.
Early Spring
Apply a liquid aluminum sulfate drench just as the first new green leaf buds emerge.
Late Spring
Feed the bush exclusively with high-potassium, low-phosphorus fertilizer blends.
Summer Bloom
Verify the blue color shift and re-test soil pH to ensure it sits between 5.2 and 5.5.
9. Boost Soil Potassium to Intensify Color
Incorporate a dedicated potassium supplement, like organic greensand or sulfate of potash, into your feeding routine during the early spring months. Potassium acts as a natural color intensifier within the plant's vascular system, helping to stabilize the delicate delphinidin pigments inside the flower sepals.
Add 1/4 cup of sulfate of potash around the base of each mature shrub, scratching it lightly into the soil layer before watering thoroughly. This nutrient boost ensures that once the aluminum is successfully absorbed, the resulting blue shade looks incredibly vivid and saturated rather than washed-out or muddy purple.
10. Irrigate with Rainwater or Dechlorinated Water
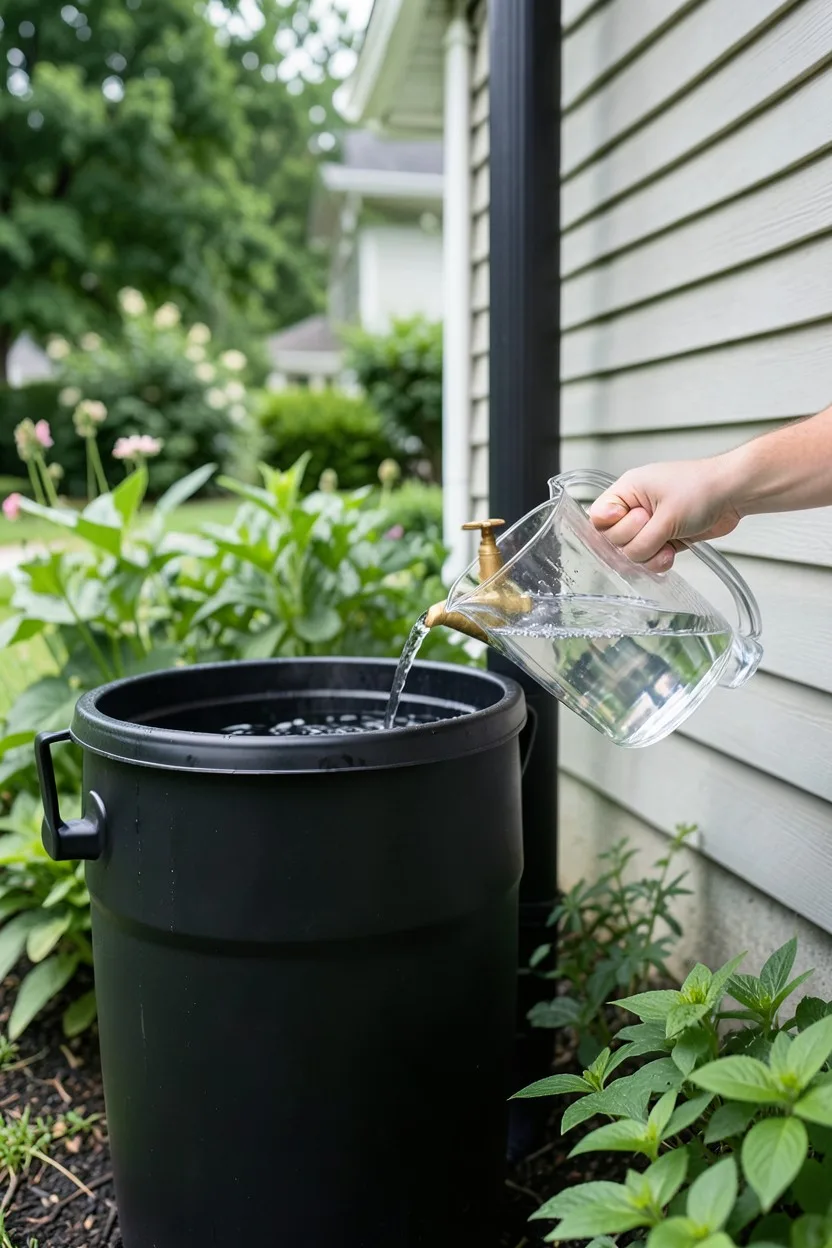
Collect natural rainwater in a dedicated rain barrel to use for watering your blue hydrangeas throughout the hot summer months. Standard municipal tap water is intentionally treated with lime and chlorine to keep it safely alkaline, often pushing a high pH between 7.5 and 8.5 to protect city pipes from eroding.
Install a simple inline dechlorinating filter on your outdoor garden hose spigot if a rain barrel is not an option for your property. Continually soaking your treated soil with alkaline tap water will gradually neutralize your hard work, slowly raising the soil pH and reverting your beautiful blue petals back to a standard pink.
11. Mulch Heavily with Highly Acidic Organics
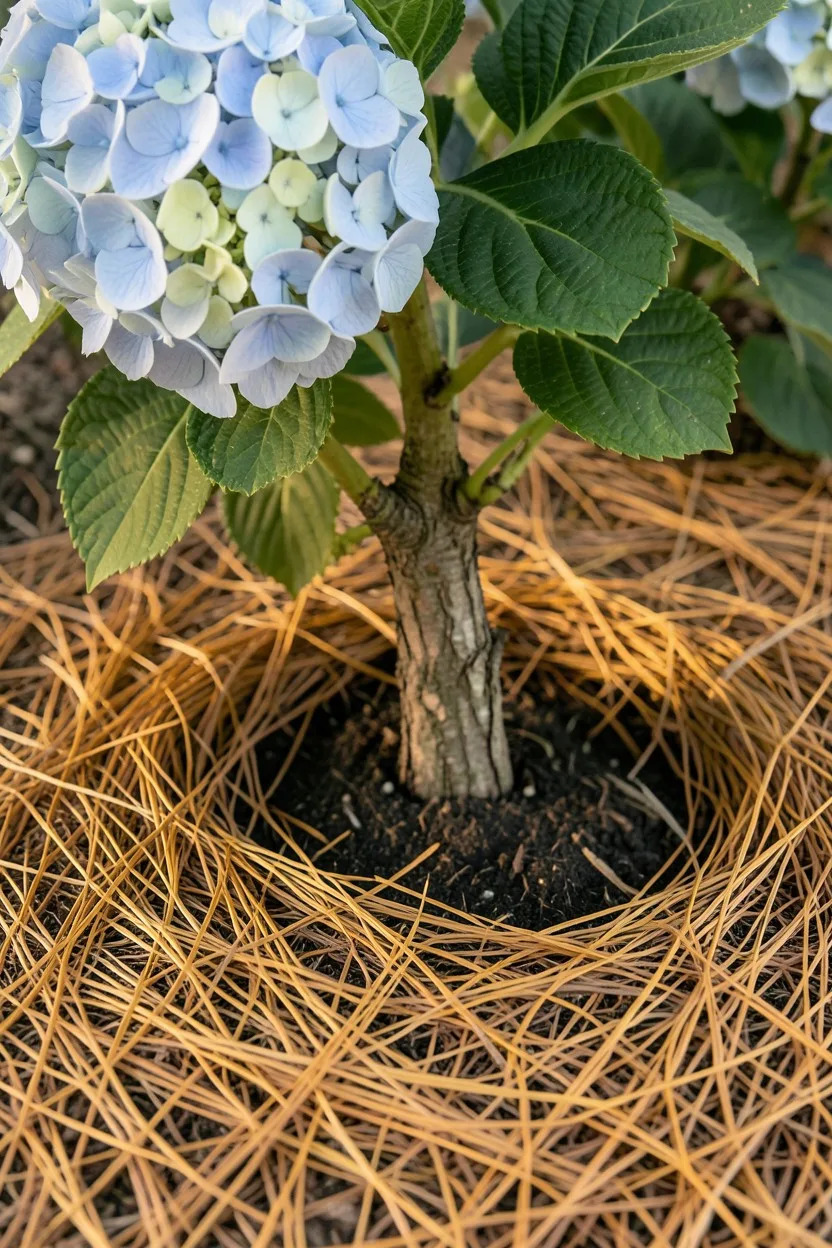
Spread a thick, 3-inch layer of organic pine needles, shredded pine bark, or composted peat moss across the entire garden bed underneath your hydrangeas. As these specific organic materials slowly break down over the changing seasons, they release natural humic acids that help maintain a low soil pH.
Keep the fresh organic mulch pulled back roughly 2 inches away from the main woody stems of the shrub to prevent moisture trap and fungal rot. Refresh this acidic mulch layer every autumn to insulate the shallow root systems from freezing winter temperatures while maintaining a continuous, natural acidifying effect.
12. Isolate Your Shrub from Concrete Pathways
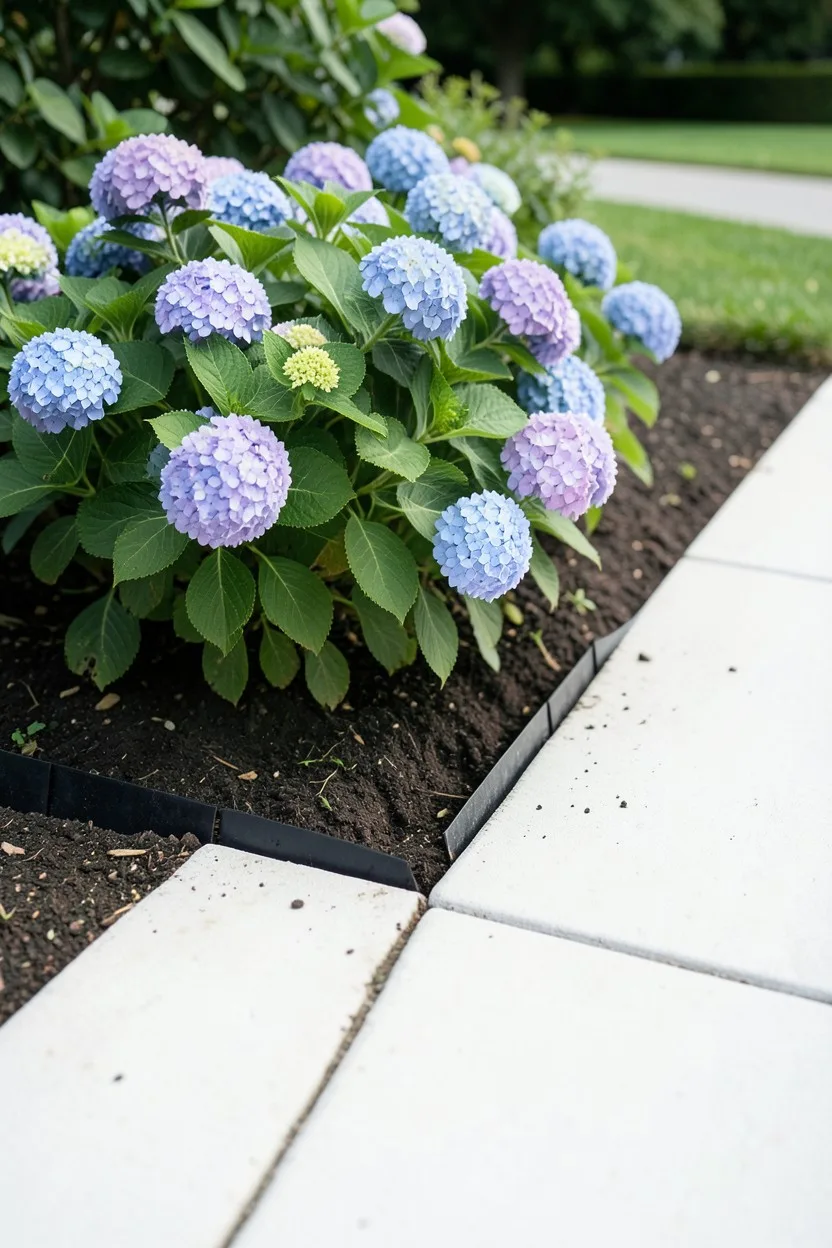
Check the proximity of your hydrangea bushes to concrete foundations, walkways, stone retaining walls, or freshly poured mortar beds. Concrete naturally and continuously leaches calcium hydroxide—also known as free lime—into the surrounding soil whenever it rains, driving the local soil pH up significantly.
Dig a trench and install a thick plastic root barrier or move your hydrangea to a dedicated garden bed at least 4 feet away from hardscaping if you cannot stabilize the pH. No amount of chemical acidifier can easily overcome the relentless, localized lime leaching from a massive concrete driveway or structural home foundation.
Amendment Type Comparison
⚡ Aluminum Sulfate
Fast-acting (weeks)
🐌 Elemental Sulfur
Slow-release (months)
💧 Application Form
Liquid vs Granular
🛡️ Root Burn Risk
High vs Very Low
Application Warning
Always pre-water your soil with clean water before using liquid aluminum sulfate to prevent immediate root shock.
13. Grow in Half-Barrels to Control Soil Easily
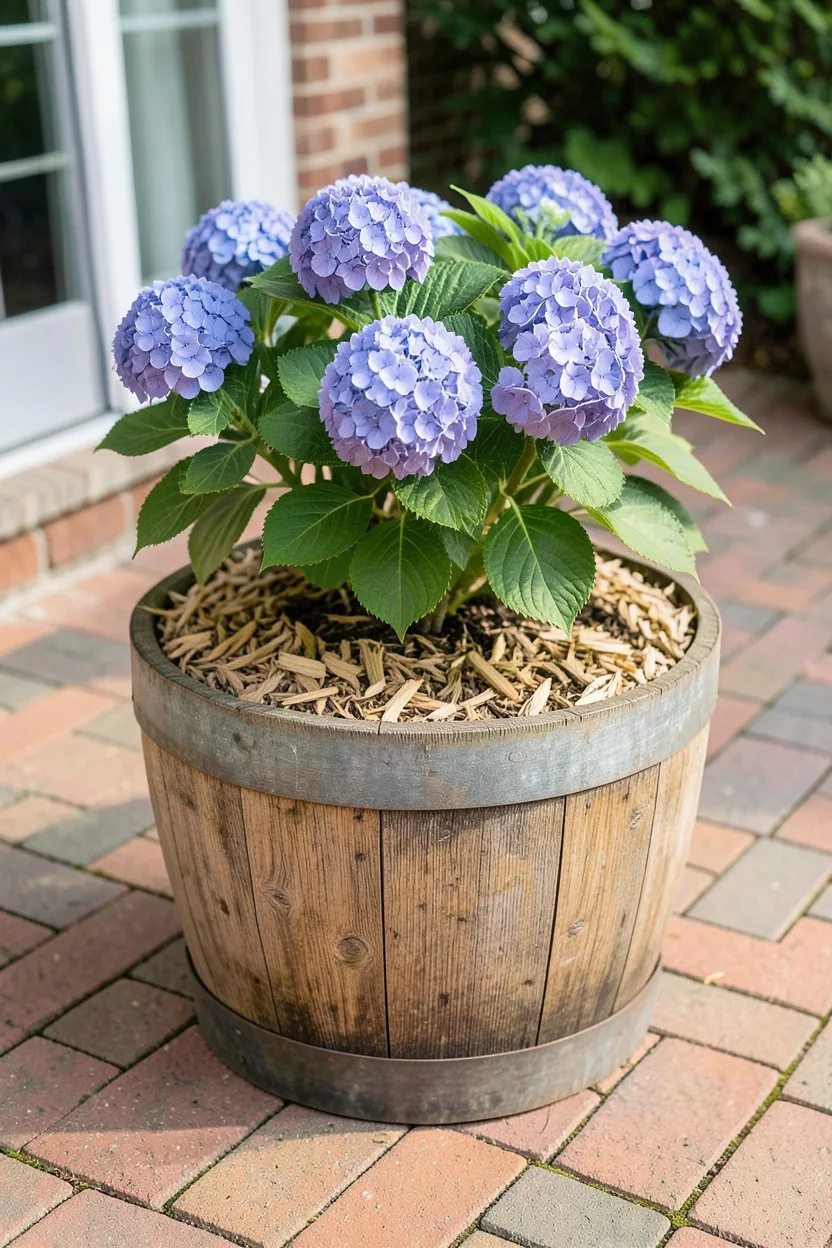
Plant your hydrangeas in large, 15-to-20-gallon wooden half-barrels or deep ceramic containers if your native backyard soil is heavily alkaline limestone. Trying to change the pH of an entire native landscape can be an exhausting battle, whereas a container offers a closed, easily controlled ecosystem.
Fill the large container using a custom potting blend consisting of 50% premium organic potting soil, 30% highly acidic peat moss, and 20% coarse perlite for aeration. This acidic foundation gives your plant the ideal starting point, allowing you to use far smaller doses of amendments to achieve an incredible blue color.
14. Monitor for Over-Acidification Symptoms Quickly
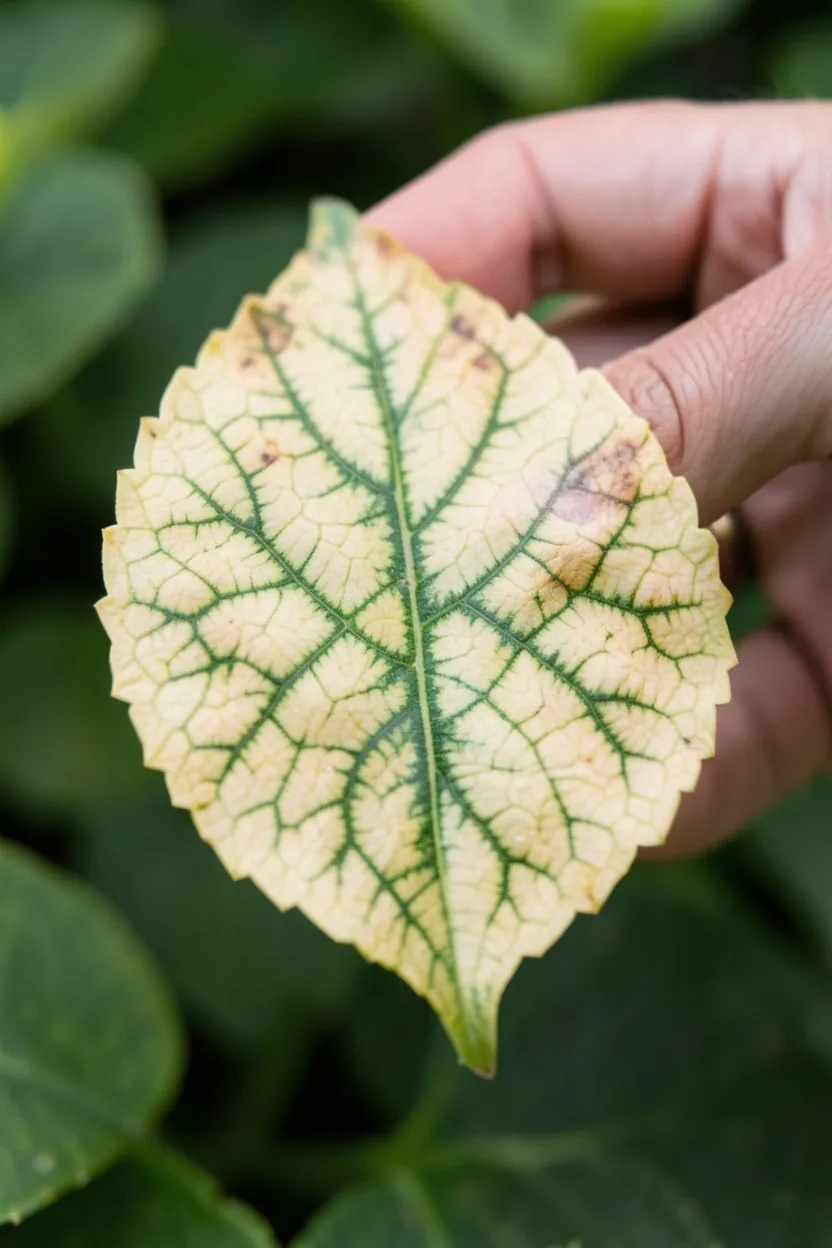
Inspect the green leaves of your hydrangea weekly for signs of severe chemical stress, such as yellowing between dark veins or burnt, crispy brown edges. Pushing the soil pH well below 4.5 can induce aluminum toxicity, which damages the cellular structure of the roots and severely limits their water absorption.
Flush the entire root zone immediately with 5 to 10 gallons of clean, untreated tap water if you notice these clear signs of distress or if your digital pH meter dips into the 4.0 range. Stop all acidifying treatments immediately and allow the soil matrix to naturally stabilize before attempting any further chemical adjustments.
15. Maintain the Acidic Balance Every Autumn
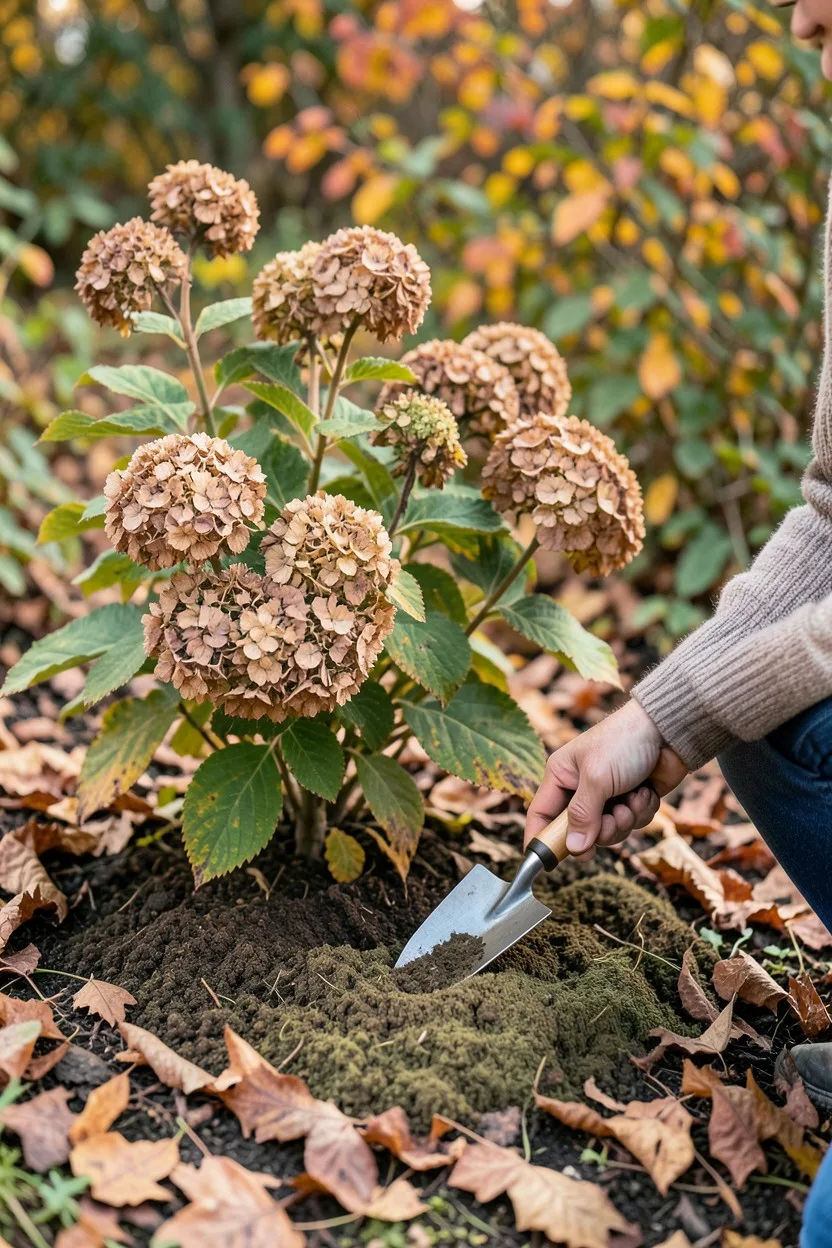
Perform a final soil pH test every autumn as the hydrangea enters its natural winter dormancy period to plan for the upcoming spring season. Soil chemistry is never a permanent fix; rain, earthworms, and native groundwater will continuously work to pull your soil back to its original baseline pH.
Apply a conservative maintenance dose of slow-release elemental sulfur over the mulch bed before the ground freezes solid for the winter months. This slow winter breakdown ensures that when your hydrangea wakes up in the spring, the soil chemistry is perfectly primed to deliver gorgeous blue flowers right from the start.
Common Color-Shifting Pitfalls
Final Thoughts
Your hydrangea root zone should now sit comfortably within the optimal 5.2 to 5.5 acidic pH range, perfectly primed to showcase deep, brilliant blue flower heads during the upcoming summer bloom. Re-verify your digital soil pH meter readings in exactly thirty days to track your progress and ensure the ground chemistry remains perfectly stable before new flower buds open.

John Smith is the founder and CEO of Karaoke Machines Guru. He is a karaoke tutor and karaoke enthusiast and has been passionate about karaoke since he was a child. He also writes about karaoke-related tips, guides, and product reviews on this website.
He overlooks the whole website and makes sure that everything is running smoothly. Learn more!