
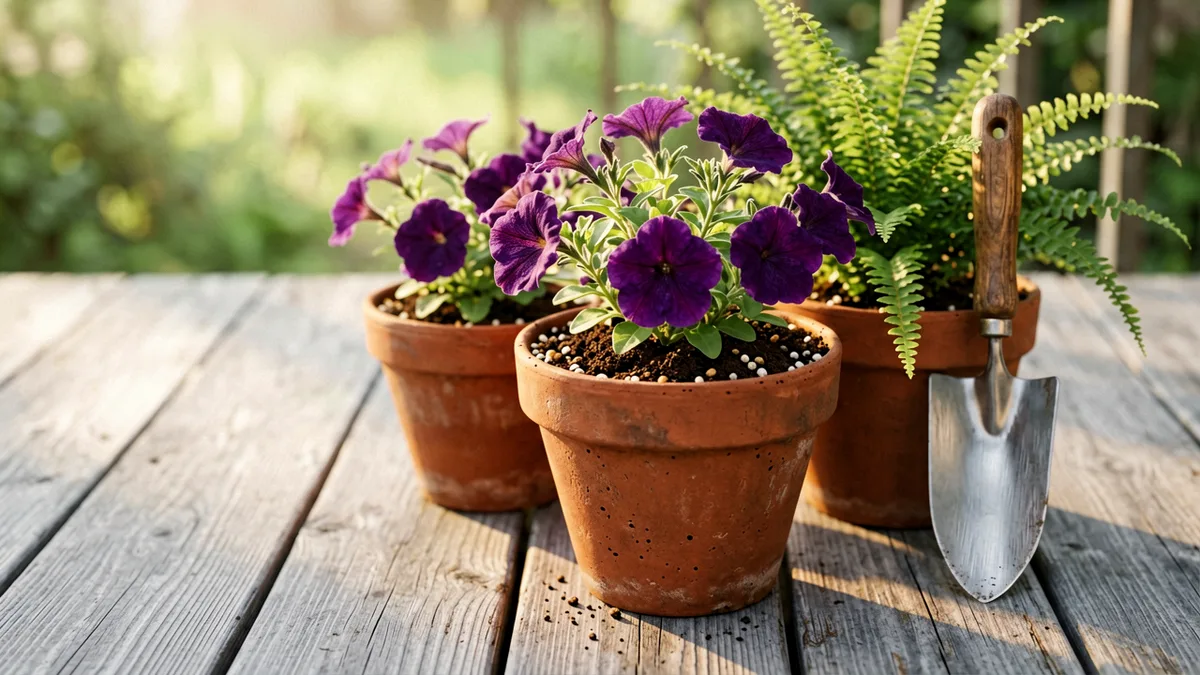
Walking down the garden center aisle can feel completely overwhelming when you are confronted with rows of identical-looking plastic bags. Choosing the wrong medium for your outdoor container pots means dealing with stunted roots, yellowing leaves, and waterlogged roots that rot by midsummer. Container gardening demands a specific environment that standard backyard dirt simply cannot provide.
Your potted plants rely entirely on the few gallons of mix surrounding their roots to provide oxygen, moisture, and nutrients. This guide breaks down exactly how to evaluate raw ingredients, match your soil blend to specific plant needs, and avoid the common drainage traps that ruin container displays.
At a Glance
Quick Tips Before You Start
Never Use Topsoil
Straight garden soil compacts tightly inside containers, suffocating your roots.
Check the Weight
Pick up the bag; high-quality mixes feel surprisingly light and fluffy when dry.
Moisten Pre-Pour
Always pre-hydrate your dry potting mix in a bucket before putting it into pots.
1. Look for the Words Potting Mix on the Label
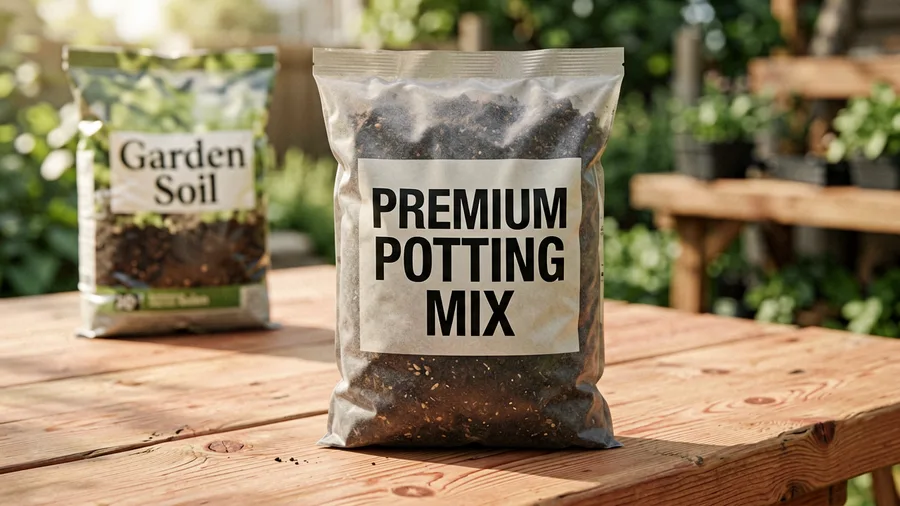
Pick up the bag and read the front panel with extreme care. You must specifically purchase bags that say "Potting Mix," "Potting Soil," or "Container Blend." Do not purchase products labeled as topsoil, garden soil, or planting compost for your containers.
Garden soil products are formulated for inground use and contain heavy clay or silt particles. When sealed inside a plastic, resin, or terracotta pot, these dense materials pack down into a solid brick that blocks airflow and traps stagnant water around the root ball.
2. Verify the Presence of Sphagnum Peat Moss
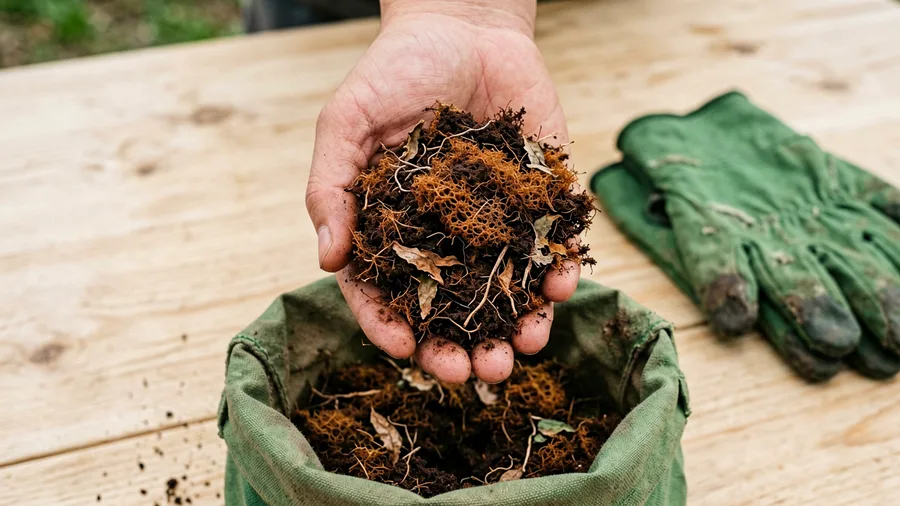
Turn the bag over to read the ingredient list, which is usually printed near the barcode or regional regulatory statements. High-quality commercial mixes list sphagnum peat moss as the primary foundational ingredient because it holds up to twenty times its weight in water.
Peat moss provides a stable, slightly acidic base framework that retains moisture efficiently while remaining springy enough to prevent total compaction. Look for a coarse, fibrous texture rather than fine, powdery black dust, which indicates lower-grade, highly decomposed peat.
3. Check for Coarse Perlite or Pumice Flecks
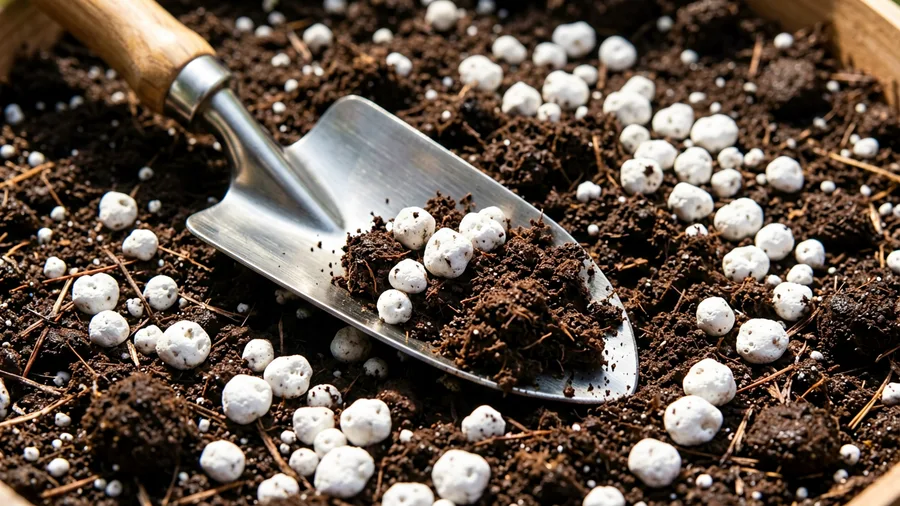
Inspect the mix visually or read the packaging to ensure it contains plenty of small, white, popcorn-like specks. These specks are perlite, a volcanic rock that is heated until it expands, creating thousands of tiny air pockets that never collapse.
You want a mix where perlite or porous gray pumice makes up at least 10% to 15% of the total volume. These hard particles physically push the organic matter apart, creating pathways for excess water to drain out and allowing oxygen to reach the roots.
🌱 GROWING TIP
Squeeze Test for Perfect Texture
Grab a handful of moistened potting mix and squeeze it into a ball in your palm. When you open your hand and poke the ball with your index finger, it should instantly crumble apart. If it stays in a hard, muddy clump, it lacks sufficient perlite or bark.
4. Select Coconut Coir for Better Moisture Retention
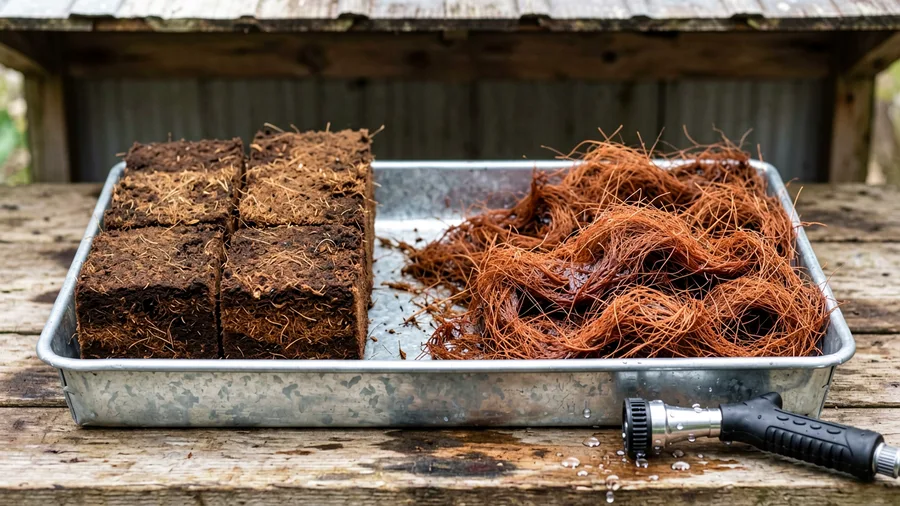
Choose an eco-friendly potting mix that incorporates coconut coir, which is the processed fiber extracted from coconut husks. Coir has a more neutral pH range of 6.0 to 6.8 compared to peat moss, making it highly hospitable for most annual flowers and vegetables.
Coconut coir absorbs water much faster than dried peat moss, eliminating the annoying hydro-phobic crust that sometimes forms on the top layer of neglected pots. It rewets evenly from a dry state without requiring specialized chemical wetting agents.
5. Avoid Mixes Containing Heavy Composted Sewage Sludge
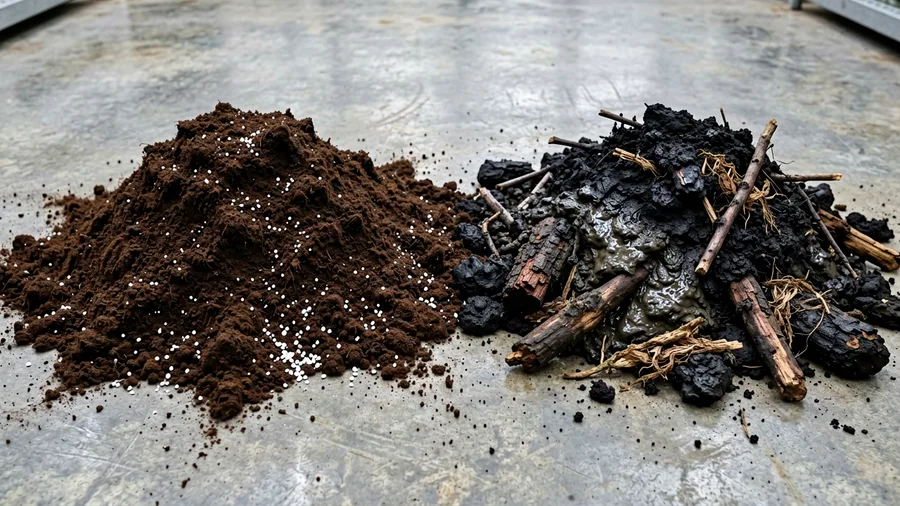
Scan the fine print on the back of the bag for terms like "composted forest products," "biosolids," or "regional organic materials." Cheap, generic mixes often replace high-grade peat and coir with heavy, poorly aged wood waste and municipal biosolids.
These cheap fillers continue to break down rapidly inside your pots, a process that robs the soil of nitrogen and causes the overall soil level in your container to drop drastically by midseason. Stick to reputable brands like FoxFarm, Sun Gro, or organic Miracle-Gro formulations.
Premium vs Economy Mixes
💪 Base Material
Sphagnum Peat / Coir
🌬️ Aeration
15% Coarse Perlite
🪵 Fillers
None (No Biosolids)
🪲 Longevity
Full Growing Season
Pro Recommendation
Spend the extra five dollars per bag to secure a peat-and-perlite base that keeps roots healthy.
6. Match the Blend to Your Specific Plant Type
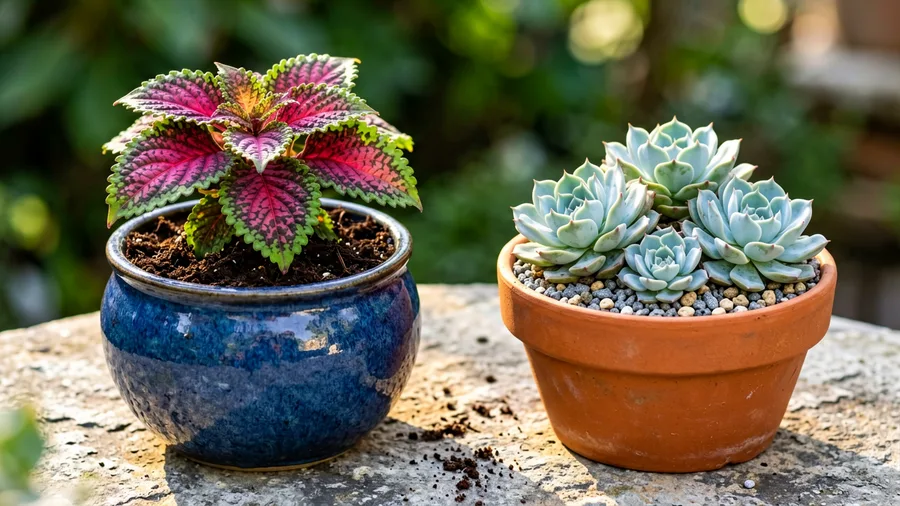
Tailor your potting mix choice directly to the water requirements of the plants you intend to grow. Standard moisture-retaining potting mixes work beautifully for thirsty annuals like petunias, calibrachoa, and leafy vegetables.
If you are potting up succulents, cacti, or Mediterranean herbs like rosemary and lavender, buy a dedicated "Cactus and Succulent" mix instead. These specialty blends swap out a massive portion of the organic peat for sharp builder's sand, expanded shale, and fine gravel to mimic desert conditions.
7. Identify Starter Fertilizers in the Mix
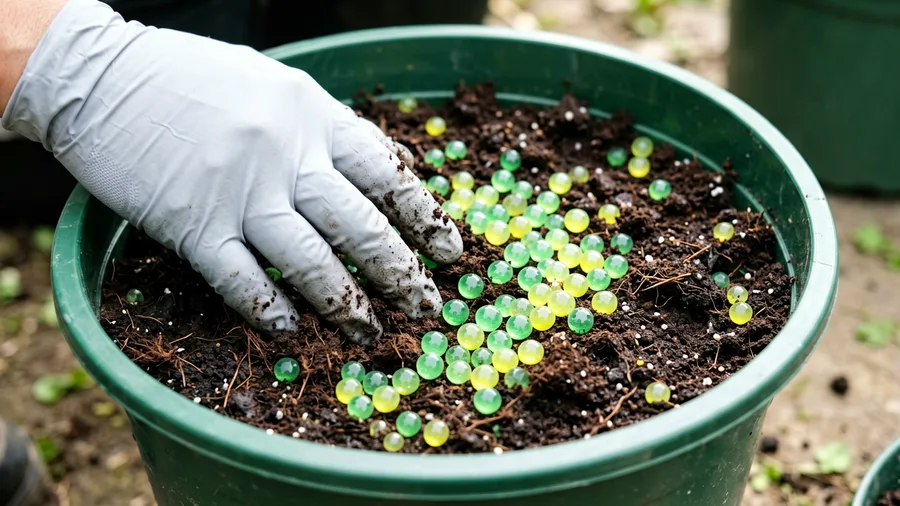
Read the guaranteed analysis panel to see if the manufacturer included a low-dose starter fertilizer charge. Many retail brands blend in a light synthetic fertilizer ratio (such as 0.05-0.11-0.08) to help young seedlings establish quickly.
Know exactly what is in your bag so you do not accidentally double-fertilize your plants during the first week of planting. If the bag boasts "feeds for up to 6 months," it contains polymer-coated time-release prills that dissolve slowly with each watering.
8. Pick Unfertilized Organic Mixes for Complete Control
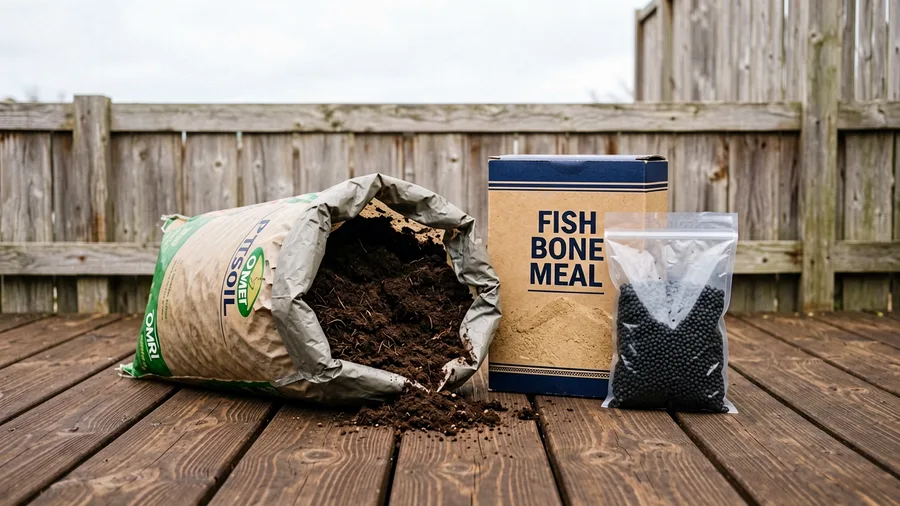
Purchase an unfertilized, organic-certified potting mix if you prefer to manage your plant nutrition manually. Organic brands carry the OMRI (Organic Materials Review Institute) seal prominently on the front of the packaging.
Using a blank-slate organic mix allows you to customize the nutrient profile using specific organic amendments like alfalfa meal, kelp meal, and bat guano. This prevents synthetic chemical salt buildup, which can burn sensitive root tips in hot summer weather.
⚠️ COMMON MISTAKE
Watch the Expiration Date on Feed Mixes
Avoid buying bags of potting mix with built-in fertilizer that have been sitting wet outside at the garden center all winter. Moisture triggers the slow-release coatings early, releasing a massive surge of salts that can shock and kill new plants instantly.
9. Add Coarse Aged Pine Bark for Moisture Control
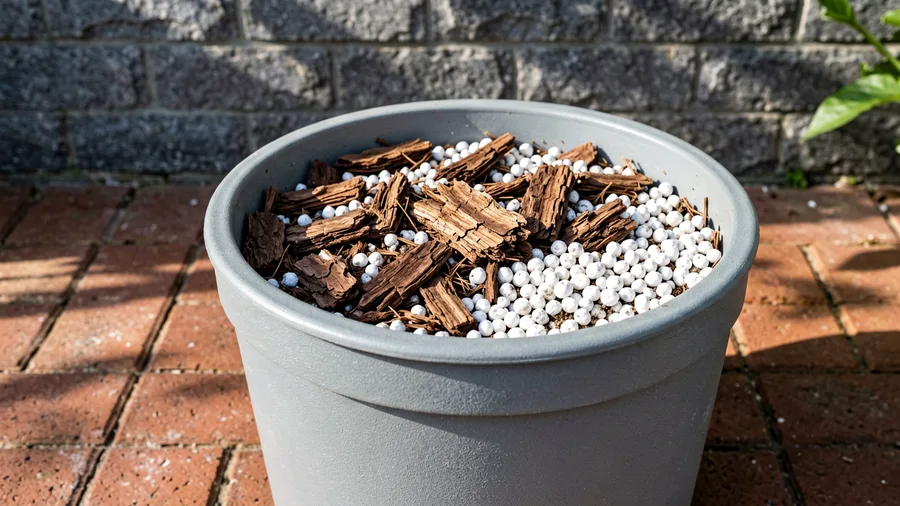
Select a potting mix that includes composted bark or fine pine nuggets if you are planting incredibly large patio containers. Pine bark adds structural longevity to the mix, preventing the natural settling that happens over two or three years.
The irregular, flat shapes of aged pine bark create unique internal micro-channels. These channels shed excess gravitational water rapidly while holding onto internal moisture that roots can draw from during intense, dry heatwaves.
10. Incorporate Earthworm Castings for Natural Microbes
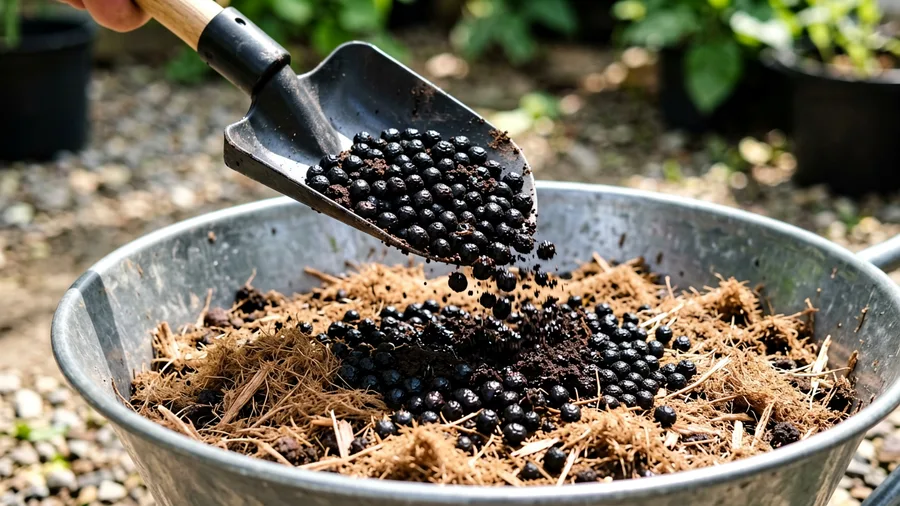
Look for premium mixes that list earthworm castings or buy a small bag of pure castings to blend in yourself at a 1:10 ratio. Worm castings provide an incredibly rich source of humus, trace minerals, and beneficial bacteria.
Introducing these living microbiology elements into an otherwise sterile bagged mix helps convert organic fertilizers into forms your plants can easily absorb. It also improves the natural disease resistance of vulnerable container root systems.
🧴 How to Prepare Your Container Mix
Dump Mix Into Tub
Pour the dry bagged potting mix into a clean plastic tub or a wheelbarrow.
Add Water Slowly
Pour warm water over the dry medium while tossing it with a trowel.
Check Hydration Level
Squeeze the mix until it feels like a wrung-out sponge with no water dripping.
Fill the Container
Scoop the pre-moistened mix loosely into your pots without packing it down.
11. Steer Clear of Extreme Moisture Control Additives
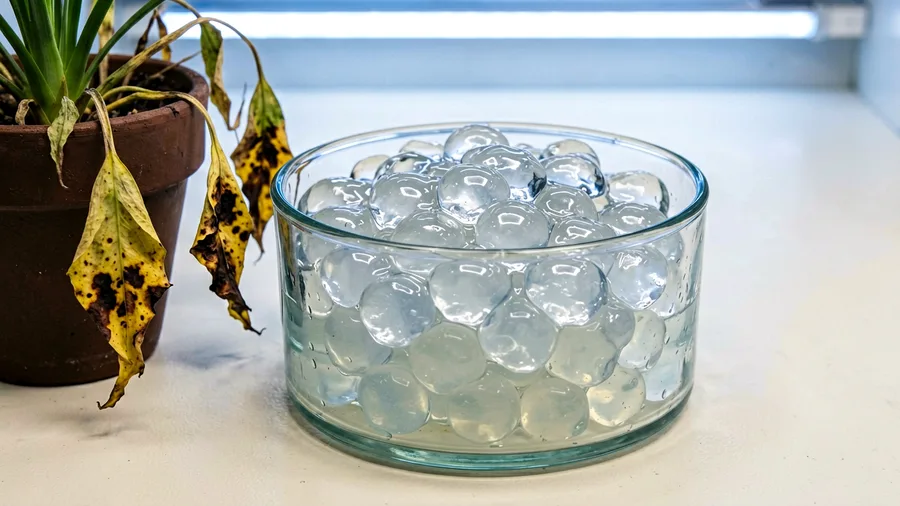
Avoid commercial mixes that utilize synthetic hydrogels or water-absorbing crystal polymers if you live in a region with heavy, frequent summer rainfall. These synthetic crystals swell up into slick gelatinous blobs when wet.
During prolonged rainy periods, these hydrogels remain perpetually saturated, completely filling the critical air gaps in your container soil. This waterlogging cuts off all oxygen delivery to the roots, turning the bottom of your pot into an anaerobic dead zone.
12. Buy Sterile Mixes to Block Weed Seeds
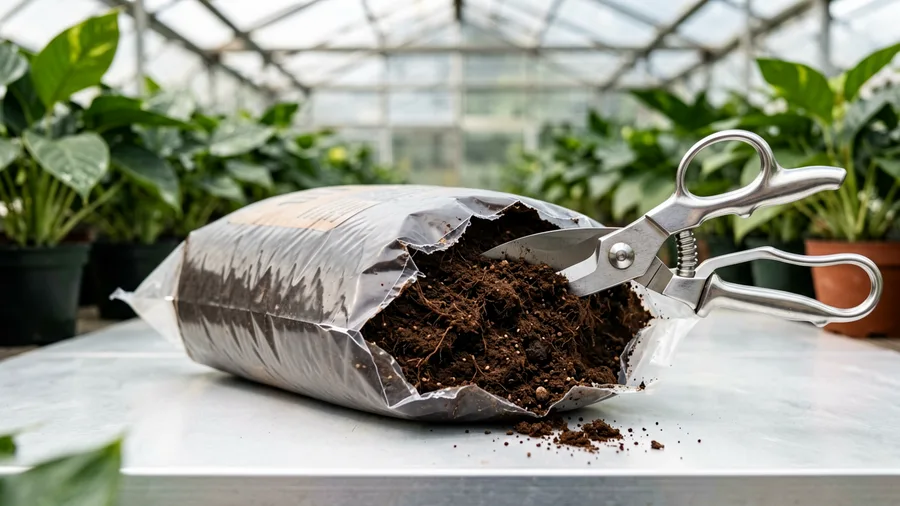
Ensure your chosen potting mix is completely weed-free and sterile by purchasing commercially bagged products that are processed under heat. High-quality mixes undergo a pasteurization process to destroy weed seeds, fungal spores, and insect larvae.
Do not use unpasteurized backyard compost or raw leaf mold in your containers. Using unrefined yard waste introduces crabgrass seeds, fungus gnats, and root-destructive nematodes directly into your isolated patio pots, creating immediate maintenance headaches.
13. Calculate the Total Volume Before Shopping
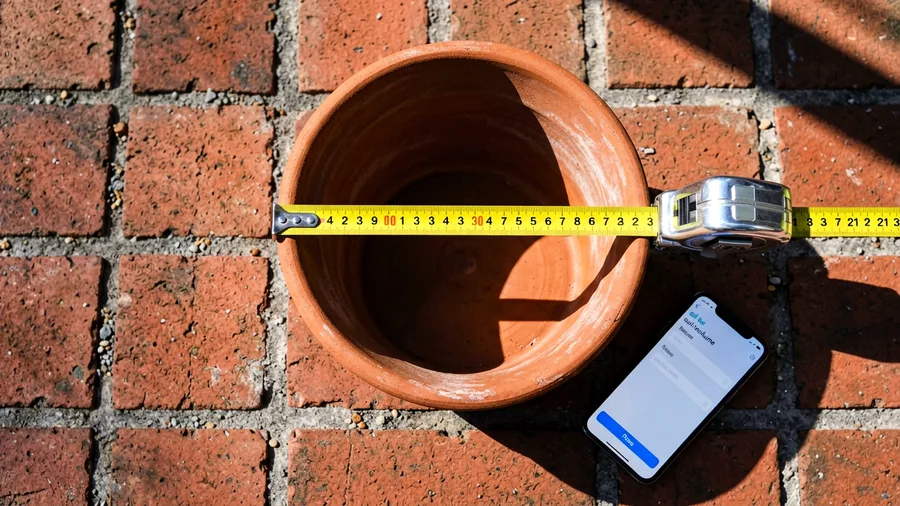
Measure the top diameter and depth of your empty patio containers with a standard tape measure before driving to the nursery. Potting mix is sold by volume, measured in cubic feet or dry quarts, not by weight.
A standard 14-inch patio planter requires roughly 0.5 to 0.7 cubic feet of soil to fill completely. Keep a cheat sheet on your smartphone so you can buy exactly enough bags in a single trip, avoiding frustrating mid-planting shortages.
Quick Volume Reference Guide
14. Lighten Massive Pots with Agricultural Vermiculite
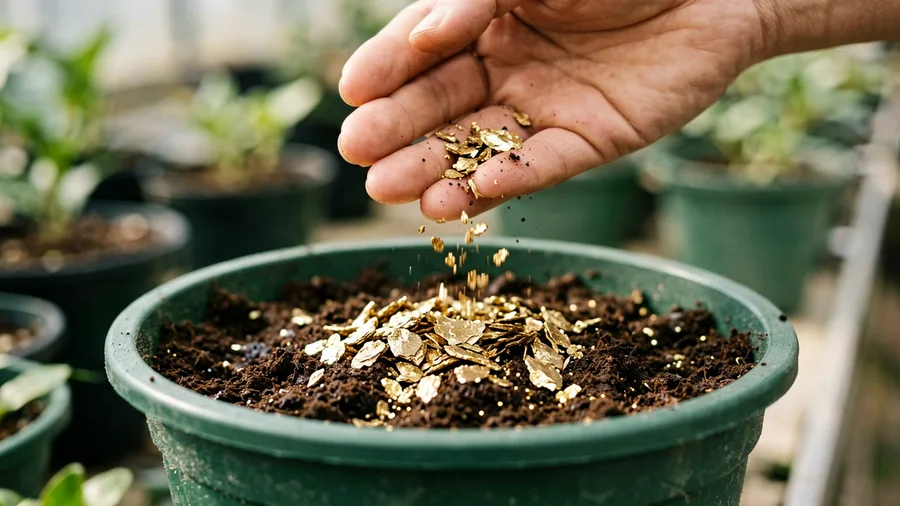
Incorporate gold-colored vermiculite flakes if you are planting delicate, shallow-rooted species or managing hanging baskets that threaten to pull away from their wall brackets. Vermiculite is a mica-like mineral that expands under high heat.
It is significantly lighter than sand or gravel and excels at holding water-soluble nutrients within the root zone, preventing them from washing straight out of the bottom drainage holes during routine daily watering routines.
15. Refresh Old Soil Rather Than Reusing It Whole
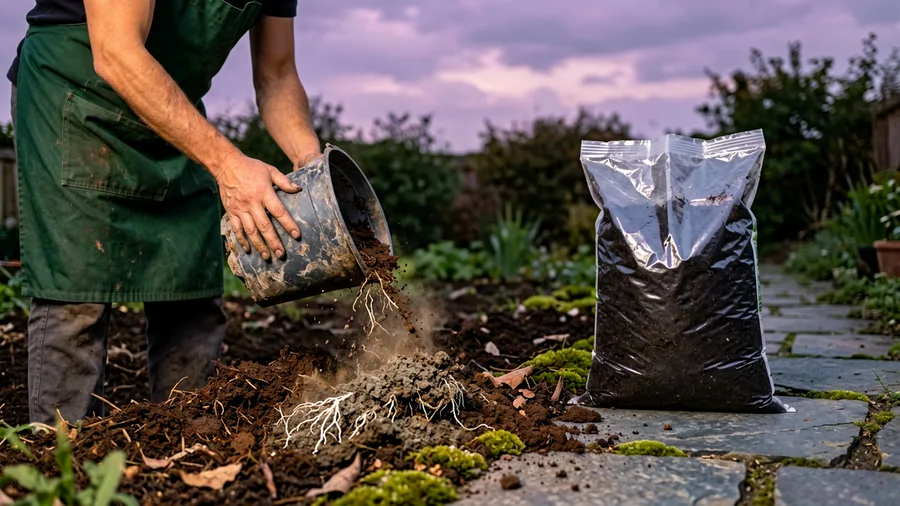
Dump out the top half of last year's spent container soil into your vegetable garden beds instead of planting straight back into it. Used potting mix loses its structural bounce, air capacity, and nutrient content after a full season of root growth.
Mix 50% fresh, premium bagged potting soil into the remaining old base material to restore porosity and structure. Toss the combined materials thoroughly with a sturdy hand fork and add a fresh dose of organic fertilizer to restart the engine.
Soil Management Choices
Fresh Premium Mix
- Maintains high oxygen porosity
- Free from diseases and pests
- Drains perfectly during heavy rain
- Provides balanced water retention
Reused Uncut Old Soil
- Compacts tightly like concrete
- Harbors overwintered plant pests
- Stagnates water, causing root rot
- Lacks minerals and microbial life
Avoid These Mistakes
Frequently Asked Questions
Can I mix normal backyard garden soil into my containers?
No, you should never add standard backyard garden soil to your container pots. Native soils contain heavy clay and silt particles that quickly compact into a dense mass under container conditions, suffocating root structures.
What is the difference between potting soil and potting mix?
Potting soil sometimes contains real dirt or field soil mixed with organic matter. Potting mix is a completely soilless medium made up entirely of sterile ingredients like peat, coir, bark, and perlite for superior drainage.
How often do I need to completely replace my container potting mix?
For small pots and annual displays, replace the mix completely every spring. For massive patio planters, you can simply replace the top 6 inches of media with fresh potting mix and compost to restore structure.
Why is my brand new potting mix repelling water when I water it?
This happens because dried sphagnum peat moss is naturally hydrophobic. To fix this issue, pour warm water into the dry mix inside a bucket and mix it thoroughly by hand, letting it sit for ten minutes before filling your pots.
Final Thoughts
Your container displays should remain vibrant, porous, and perfectly drained throughout the intense summer heat by avoiding heavy filler soils and selecting a premium peat-or-coir-based medium. Take a few minutes to measure your empty pots right now, calculate your total volume needs, and head to the nursery to purchase a high-quality, lightweight mix.
Upgrade Your Summer Containers Today
Pick up a fresh bag of premium, coarse potting mix and give your patio containers the structural foundation they need to thrive.

John Smith is the founder and CEO of Karaoke Machines Guru. He is a karaoke tutor and karaoke enthusiast and has been passionate about karaoke since he was a child. He also writes about karaoke-related tips, guides, and product reviews on this website.
He overlooks the whole website and makes sure that everything is running smoothly. Learn more!