
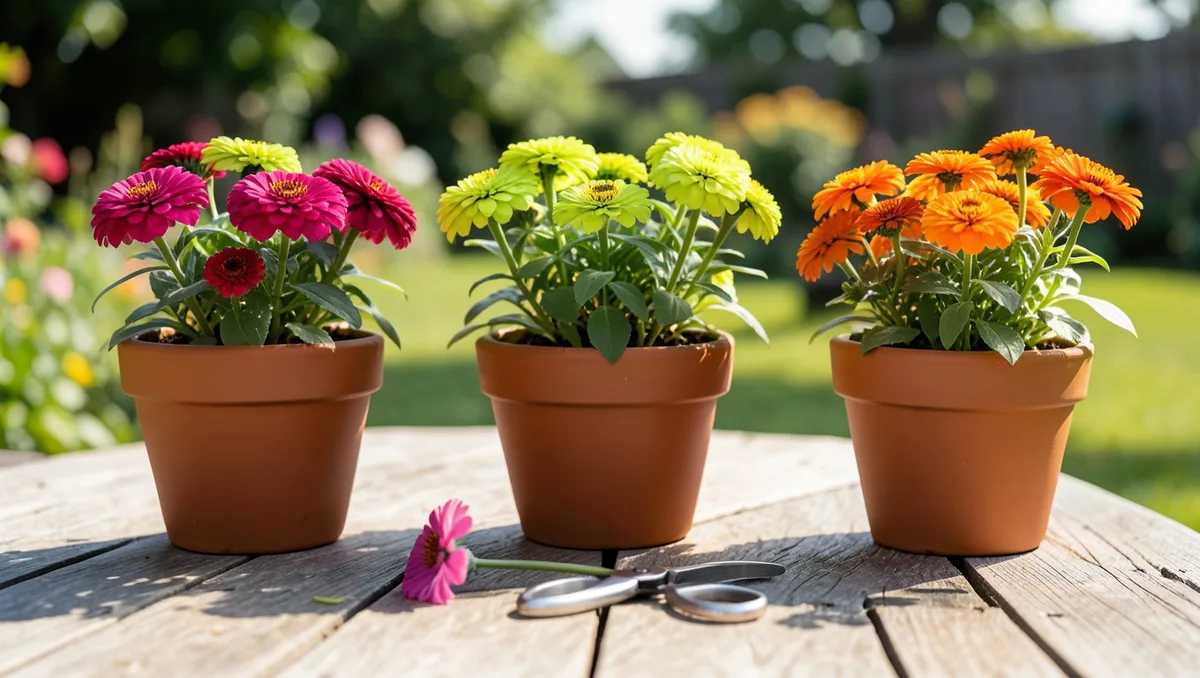
You do not need a massive backyard garden plot to grow a sea of vibrant, butterfly-magnet zinnias this summer. These sun-loving annuals thrive remarkably well in containers, provided you give their roots the right depth and avoid the soggy soil conditions that trigger powdery mildew. Growing them from seed gives you access to stunning varieties like the massive Benary's Giant or the compact, multi-toned Queen Lime Series, which you rarely find at local nurseries.
This guide walks you through the exact linear process of planting, sprouting, and managing potted zinnias from day one until the first frost. By tracking your progress against specific plant milestones and adjusting your care routine as the summer heat intensifies, you will secure a non-stop supply of crisp, multi-layered blooms perfect for backyard viewing or cutting for indoor arrangements.
Zinnia Container Gardening Basics
1. Select Compact or Dwarf Seed Varieties
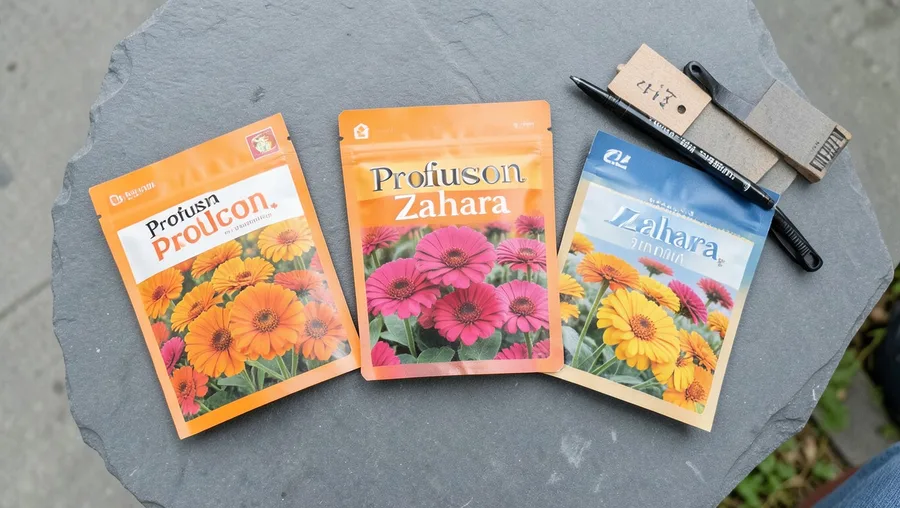
Buy seed packets specifically labeled as dwarf or compact varieties if you want a bushy, low-maintenance container display. Look for the Profusion Series, Zahara Series, or Thumbelina mix, which naturally top out between 8 and 18 inches tall and do not require staking to stay upright in a pot.
Avoid tall cutting varieties like Benary's Giant or State Fair unless you have a heavy, wide-bottomed container and plan to install support stakes. Tall varieties easily topple over in summer windstorms when grown in lightweight pots, snapping the main stems at the soil line.
2. Pick a Heavy Container with Drainage
Choose a pot that measures at least 12 inches in diameter and 12 inches deep for three dwarf zinnia plants, or a smaller 8-inch pot for a single plant. Opt for heavy unglazed terracotta or thick fabric grow bags rather than cheap, thin plastic pots that retain too much moisture and heat up quickly in midday sun.
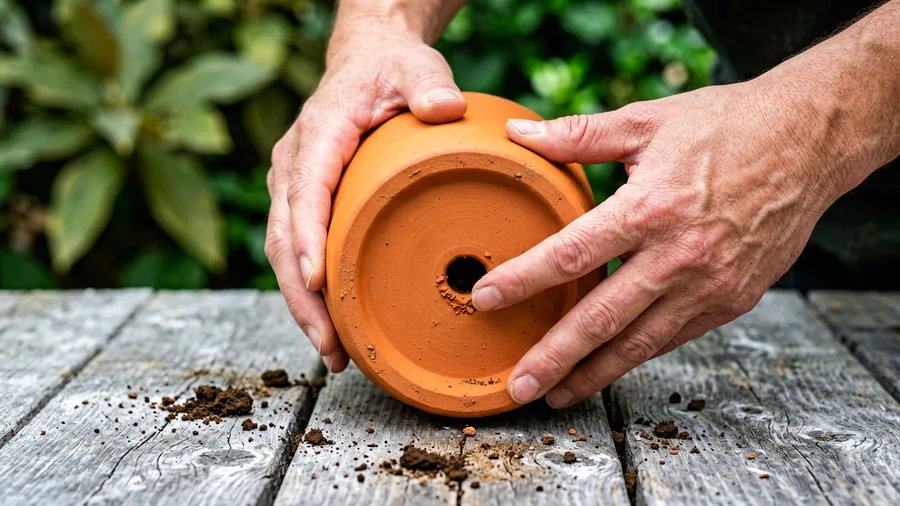
Flip the pot over and verify it has at least one drainage hole at least half an inch wide. Zinnias have sensitive root systems that rot within days if water pools at the bottom of the container, so clear out any plastic manufacturing punch-outs before adding soil.
Pre-Planting Preparation Checklist
-
Verify container drainage holes Clear away any plastic debris or obstructions from the bottom hole.
-
Moisten the potting mix Dampen the soil in a separate bucket until it feels like a wrung-out sponge.
-
Check your outdoor thermometer Ensure nighttime outdoor temperatures consistently stay above 50 degrees Fahrenheit.
3. Fill the Pot with Premium Potting Mix
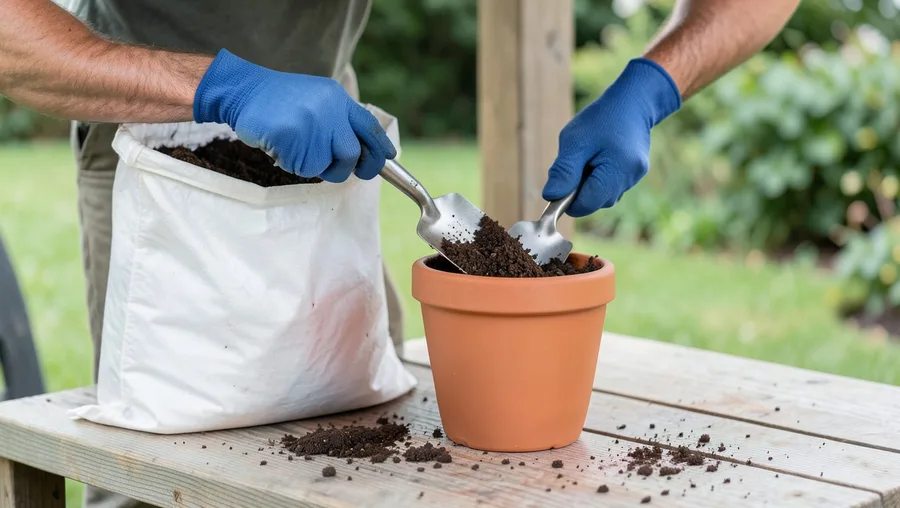
Fill your selected container to within one inch of the top rim using a lightweight, peat-based or coco coir-based potting soil mixed with perlite. Do not use dense garden soil or topsoil dug straight from your yard, as it packs down tightly in a container, choking off oxygen and preventing water from draining cleanly.
Tap the sides of the pot firmly with your hands to settle the mix and eliminate any large hidden air pockets, but do not press down or compact the soil with your palms. Leave the top inch of space empty so water does not spill over the sides later when you water your plants.
4. Space and Depth the Seeds Accurately
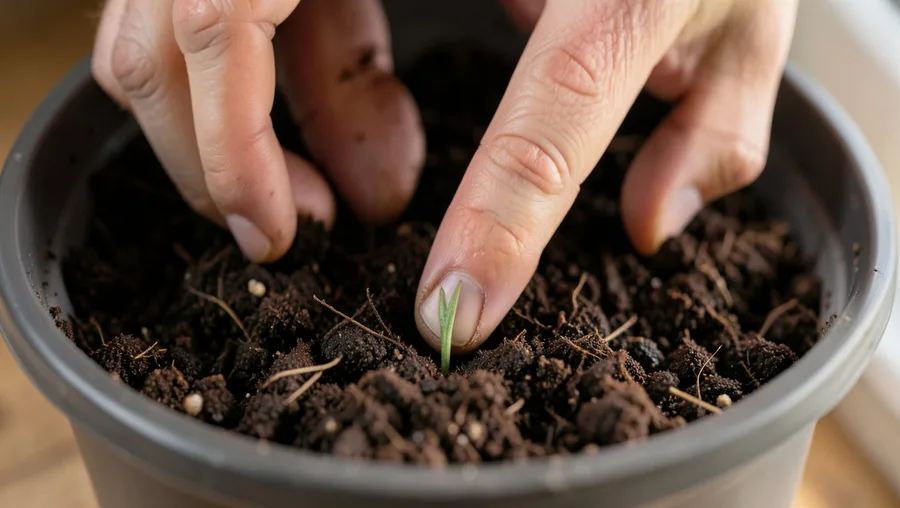
Poke small holes into the damp soil exactly one-quarter inch deep, spacing them roughly 4 to 6 inches apart across the surface of the container. Drop one individual zinnia seed into each hole, ensuring the flat seed lies flat or slightly angled against the bottom of the indentation.
Pinch the surrounding loose potting soil gently over the top of the holes to cover the seeds entirely, then press down very lightly with your fingertip to ensure firm seed-to-soil contact. Zinnias need complete darkness to trigger germination, so do not leave any part of the pale brown seed exposed to light.
5. Mist the Soil with a Spray Bottle
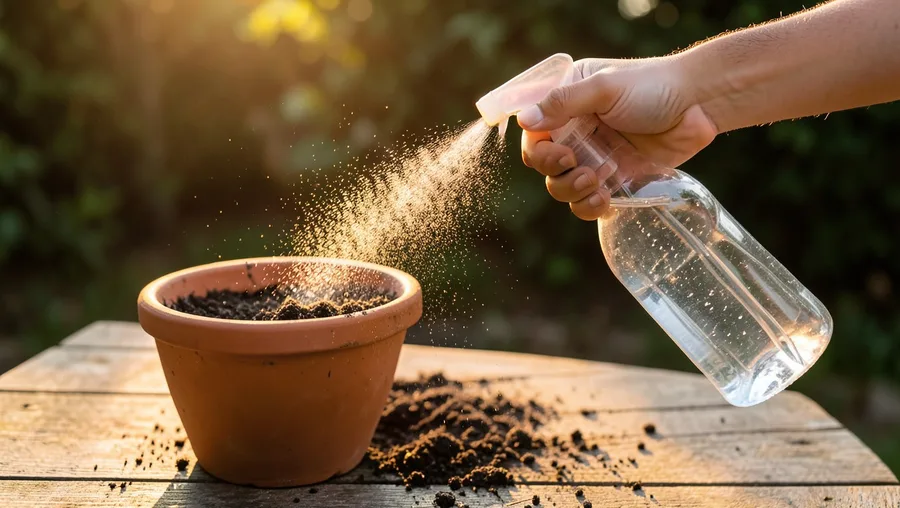
Saturate the top layer of soil using a manual hand-pump spray bottle set to a fine mist pattern immediately after burying your seeds. Avoid using a heavy watering can or a garden hose nozzle at this stage, because a strong stream of water washes the small seeds out of their holes or buries them too deeply.
Spray the surface until the top two inches of soil feel thoroughly wet but not muddy or pooled with standing water. Spraying evenly prevents dry pockets from forming around the seed coats, which can halt the germination process mid-way through.
🌱 GROWING TIP
Speed Up Sprouting with Bottom Heat
Place your newly planted pots on top of a specialized seed-starting heat mat set to 75 degrees Fahrenheit. This consistent bottom warmth triggers germination within 3 to 5 days, nearly twice as fast as pots left in a cool room.
6. Provide Intense Overhead Light After Sprouting
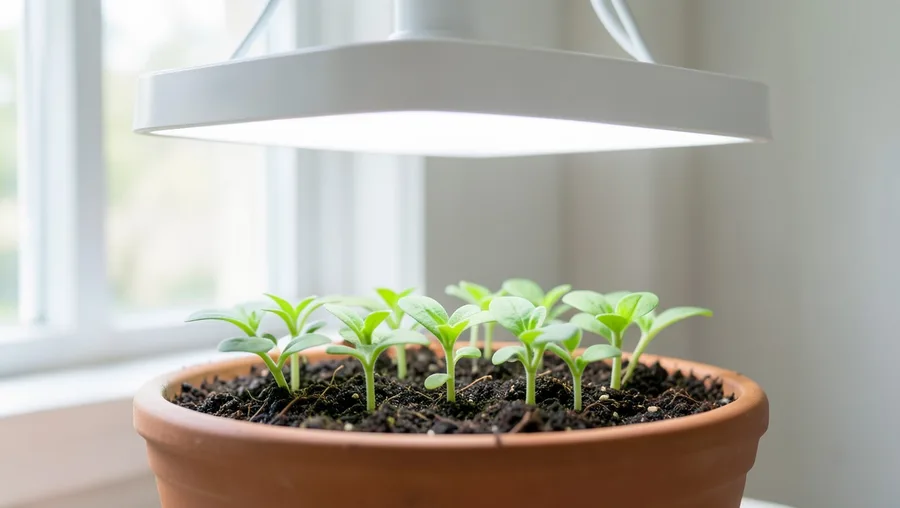
Move the container directly under a bright T5 LED grow light or onto your sunniest south-facing windowsill the moment you see the first green loops break through the soil surface. Keep the grow lights positioned just 3 to 4 inches above the tips of the seedlings, leaving them turned on for 14 to 16 hours every day.
Watch for pale, skinny, leaning stems, which indicate your seedlings are starved for light and stretching toward the nearest light source. Seedlings that grow too tall and leggy early on will develop weak, floppy main stalks that cannot support heavy flower heads later in summer.
7. Thin out the Weakest Zinnia Seedlings
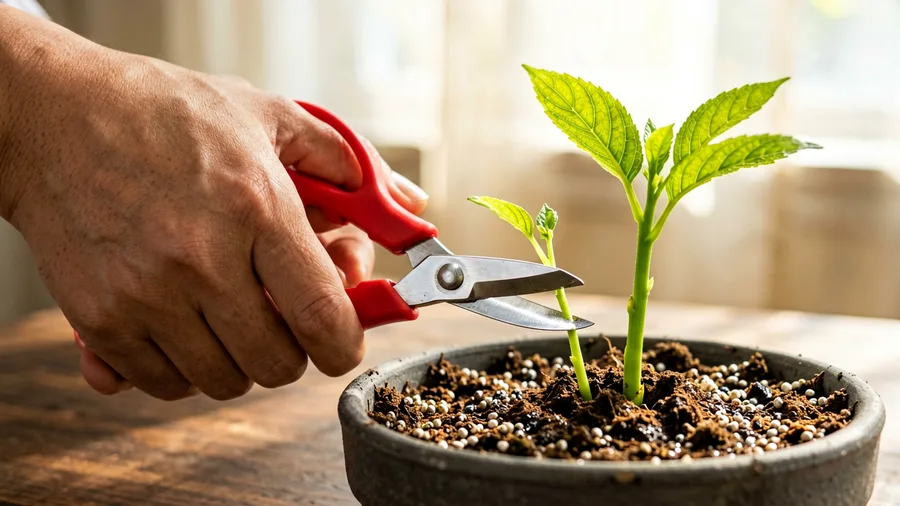
Clip away the weakest, smallest, or most crooked seedlings using a sharp pair of micro-tip pruning shears once the plants develop their first set of true, textured leaves. Snip the unwanted stems cleanly right at the soil line rather than pulling them out by the roots.
Yanking seedlings out by hand disrupts the fragile, interlocking root networks of the neighboring zinnias you want to keep, which can stunt their growth. Space the remaining healthy seedlings so there are only two or three robust plants left in a 12-inch container.
8. Acclimate Pots to the Outdoor Elements
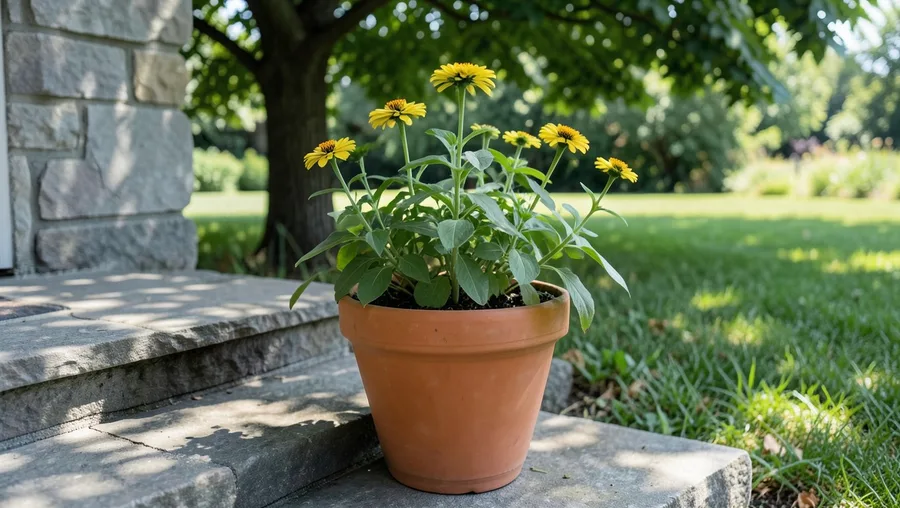
Harden off your indoor-started pots over a period of 7 days before leaving them outside permanently, starting once spring frost risks pass entirely. Place the container in a sheltered, fully shaded location out of direct wind for two hours on the first day, then bring it back indoors.
Extend the outdoor duration by one additional hour each consecutive day, gradually moving the pot into morning sunlight over the course of the week. This slow transition hardens the tender leaf cuticles, protecting them from getting bleached white or scorched by intense midday ultraviolet rays.
⚠️ COMMON MISTAKE
Never Skip the Hardening Off Step
Moving indoor seedlings directly into full all-day summer sun will shock the foliage, causing the leaves to dry up, turn paper-white, and drop off within 48 hours. Always ease them outside over a week.
9. Position Containers in Maximum Daily Sunlight
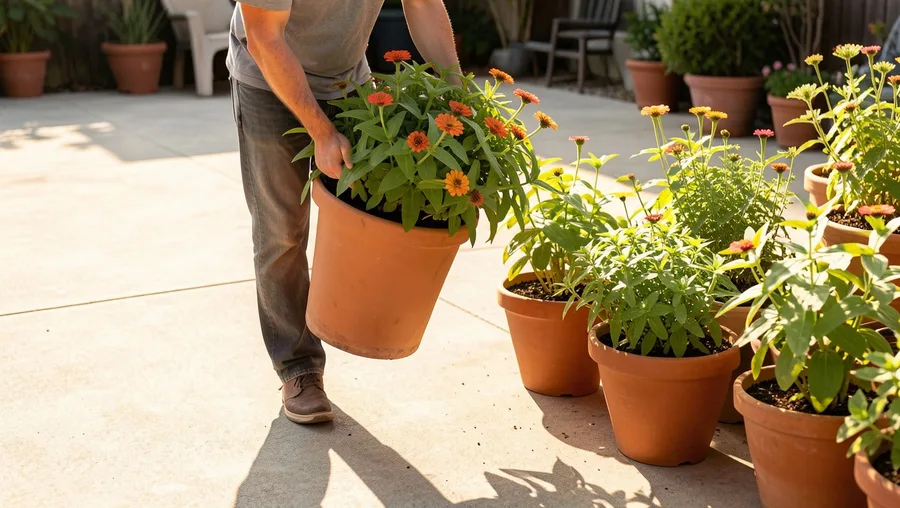
Set your hardened-off pots in an outdoor location that receives a minimum of 6 to 8 hours of uninterrupted, direct sunlight every day, such as a south-facing deck, patio, or driveway. Zinnias are native to hot, bright regions of Mexico and cannot grow dense foliage or bright pigments when trapped in partial shade.
Avoid placing containers tight up against solid brick walls or solid wood fences where air circulation drops to zero. Good air movement around the pot carries away excess humidity from the leaves, which is your best defense against devastating fungal spores.
10. Water Deeply at the Base of Stems
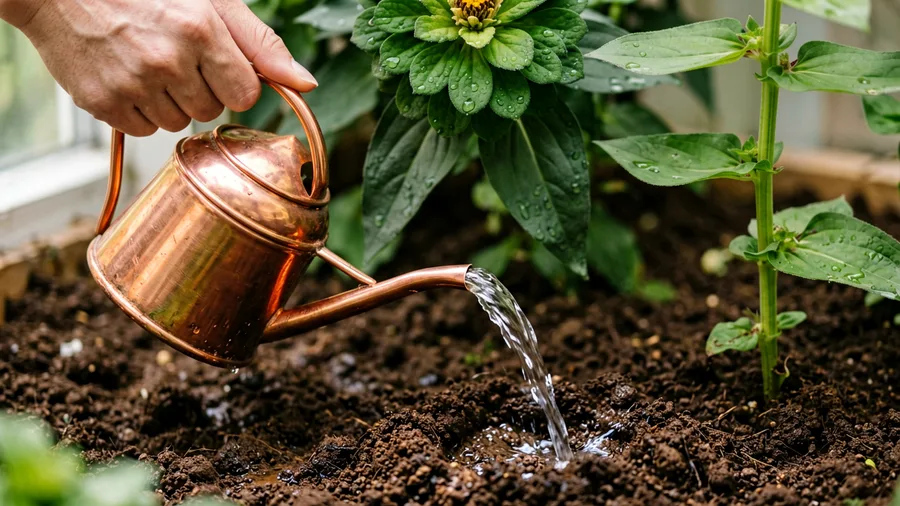
Check the soil moisture every single morning by poking your index finger two inches deep into the potting mix. Pour water thoroughly over the soil surface using a long-necked watering can until water runs freely out of the bottom drainage holes if the soil feels dry at that depth.
Keep the water stream low and close to the ground, directing it straight to the root zone while keeping the leaves, stems, and opening flower buds completely dry. Wet leaves combined with warm summer nights create a prime breeding ground for powdery mildew and black spot fungi.
11. Pinch the Central Growing Tips Early
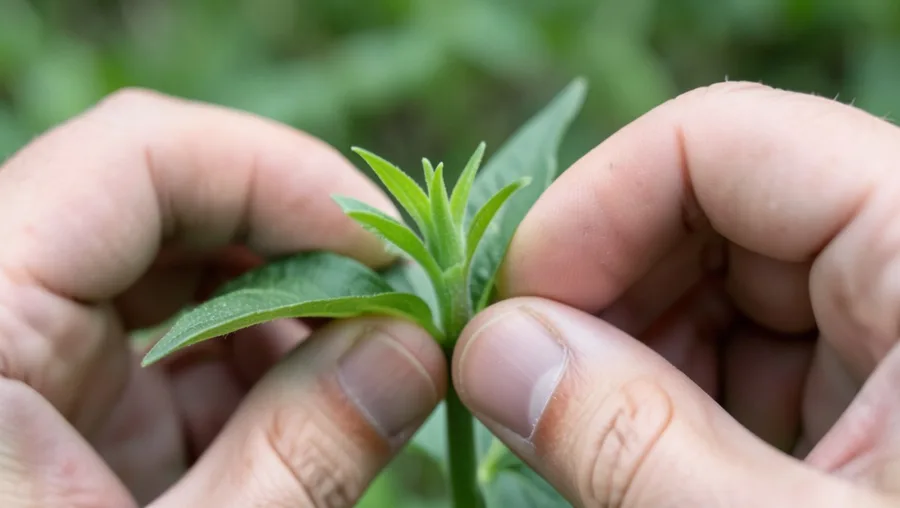
Pinch off the top of the central main stem using your thumbnail and index finger once your young zinnia plants grow between 8 and 12 inches tall and feature roughly three to four sets of leaves. Snip the main stem cleanly down just above the highest set of side leaves.
Removing this dominant central growth tip forces the plant to redirect its energy away from vertical growth and into dormant side nodes. This results in a much bushier, sturdier potted plant that yields dozens of lateral flower stems rather than a single tall, lonely blossom.
12. Apply a High-Phosphorus Liquid Fertilizer
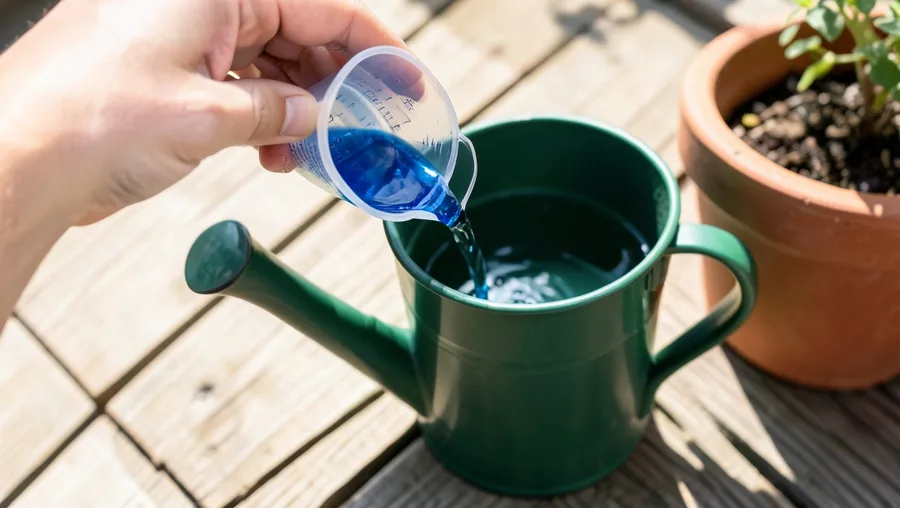
Feed your potted zinnias every two weeks using a water-soluble liquid fertilizer with an N-P-K ratio of roughly 1-2-1, such as a 5-10-5 bloom booster formula. Mix the liquid concentrate into your watering can according to the manufacturer package instructions, always applying it to damp soil rather than bone-dry mix.
Avoid using high-nitrogen fertilizers like standard lawn foods or pure fish emulsions, which promote lush, deep green leaves but suppress flower bud development. Phosphorous and potassium are necessary to build strong flower stems and vibrant petal pigments over a long blooming season.
💡 PRO TIP
Always Water Before Feeding Your Plants
Never apply liquid fertilizer to dry potting soil. Pouring nutrients onto dehydrated roots can cause chemical root burn, leading to crispy brown leaf edges and sudden wilting. Water with plain water first.
13. Monitor and Control Destructive Garden Pests
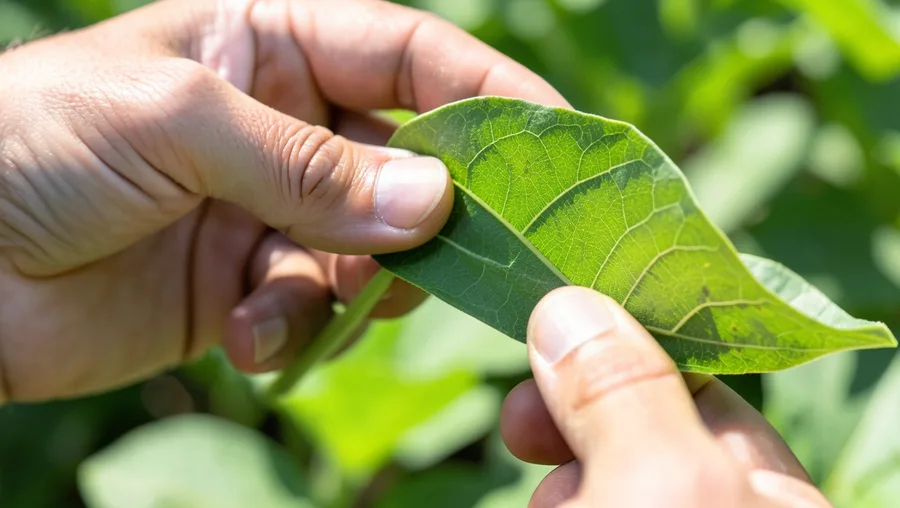
Inspect the undersides of zinnia leaves twice a week for common container pests like spider mites, aphids, and destructive Japanese beetles. Look for fine webbing on the leaf joints or clusters of small, soft-bodied green insects sucking sap from the tender new stem tips.
Blast aphids off the sturdy stems with a sharp, direct stream of water from your garden hose, or spray heavy infestations with an organic insecticidal soap or pure neem oil mixed with water. For large Japanese beetles, manually pick them off the petals with your fingers and drop them into a bucket of soapy water.
14. Deadhead Faded Blooms to Induce Flushes
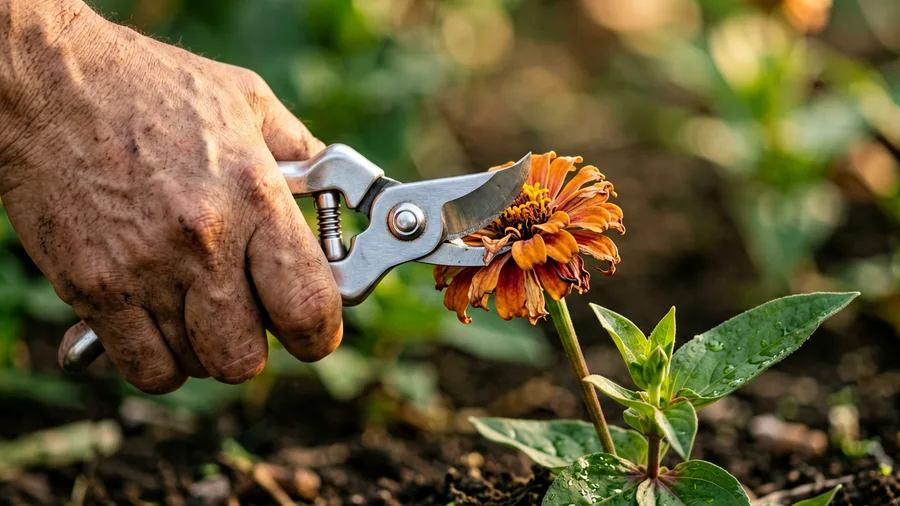
Cut off spent, drying, or brown-edged flower heads at least once a week as soon as they lose their bright colors and begin forming seeds. Trace the flower stem down past the bloom to the next set of leaves or side buds, and make a clean, 45-angle snip using sharp bypass pruners.
Leaving old flower heads on the plant tells the zinnia to stop making new flowers and instead pour its energy into ripening seeds. Constant deadheading breaks this cycle, tricking the plant into generating a continuous supply of fresh flower buds all through late summer.
15. Harvest Fresh Cut Flowers Correctly
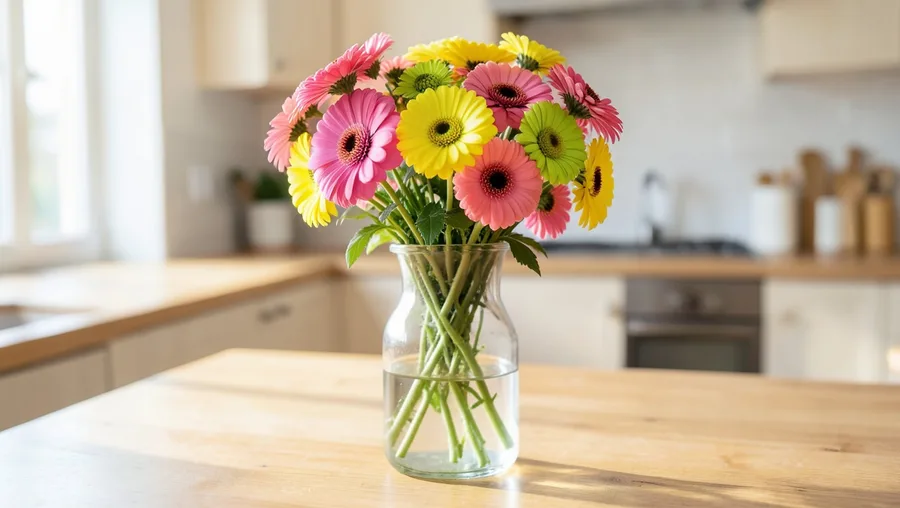
Snip fresh zinnia blooms for indoor flower arrangements in the cool hours of early morning when the stems are fully hydrated and rigid. Perform the wiggle test before cutting: grab the stem 3 inches below the flower head and shake it gently; if the stem bends or flops, the flower is too young and will wilt immediately in a vase.
Cut stems that stay stiff and rigid, slicing them at a sharp angle to maximize water intake. Strip away all leaves that fall below the water line of your indoor vase, as submerged foliage rots quickly, releasing bacteria that shortens the life of your cut flowers.
Fixing Common Container Zinnia Errors
Frequently Asked Questions
How long does it take for a potted zinnia to bloom from seed?
Most container zinnia varieties take between 60 and 75 days to produce their first open bloom after planting the seed. You can shorten this timeline slightly by using a heating mat during the germination stage and providing intense overhead grow light for 14 hours a day.
Why are the lower leaves on my potted zinnias turning yellow and brown?
Yellowing or browning lower leaves usually indicate either a lack of nitrogen in the soil or an overwatering issue that is drowning the root system. Check that your container's drainage holes are clear and allow the top two inches of potting mix to dry out fully before you water again.
Can I grow tall cutting zinnias in small patio pots?
Tall cutting zinnias like the Benary's Giant series are not recommended for small pots because they develop top-heavy stems that quickly tip light containers over in the wind. If you want to grow tall varieties, use a heavy, wide-bottomed ceramic pot that is at least 15 inches wide and insert sturdy bamboo stakes early.
What should I do if my zinnia leaves develop white powdery spots?
White powdery spots indicate powdery mildew, a common fungal infection caused by high humidity and wet foliage. Cut off the worst-affected leaves immediately using sanitized pruners, move the pot to a position with better air circulation, and spray the remaining leaves with an organic copper fungicide.
Final Thoughts
Your potted zinnias should now showcase dense, sturdy side branching and a constant supply of thick, multi-layered flowers that hold their vibrant colors for weeks. To keep this display running smoothly until the first autumn frost, check the container moisture every morning and snip off old blooms the moment they start to fade. Snap a photo of your container layout now to help you select your favorite seed colors and sizes for next spring's planting setup.

John Smith is the founder and CEO of Karaoke Machines Guru. He is a karaoke tutor and karaoke enthusiast and has been passionate about karaoke since he was a child. He also writes about karaoke-related tips, guides, and product reviews on this website.
He overlooks the whole website and makes sure that everything is running smoothly. Learn more!