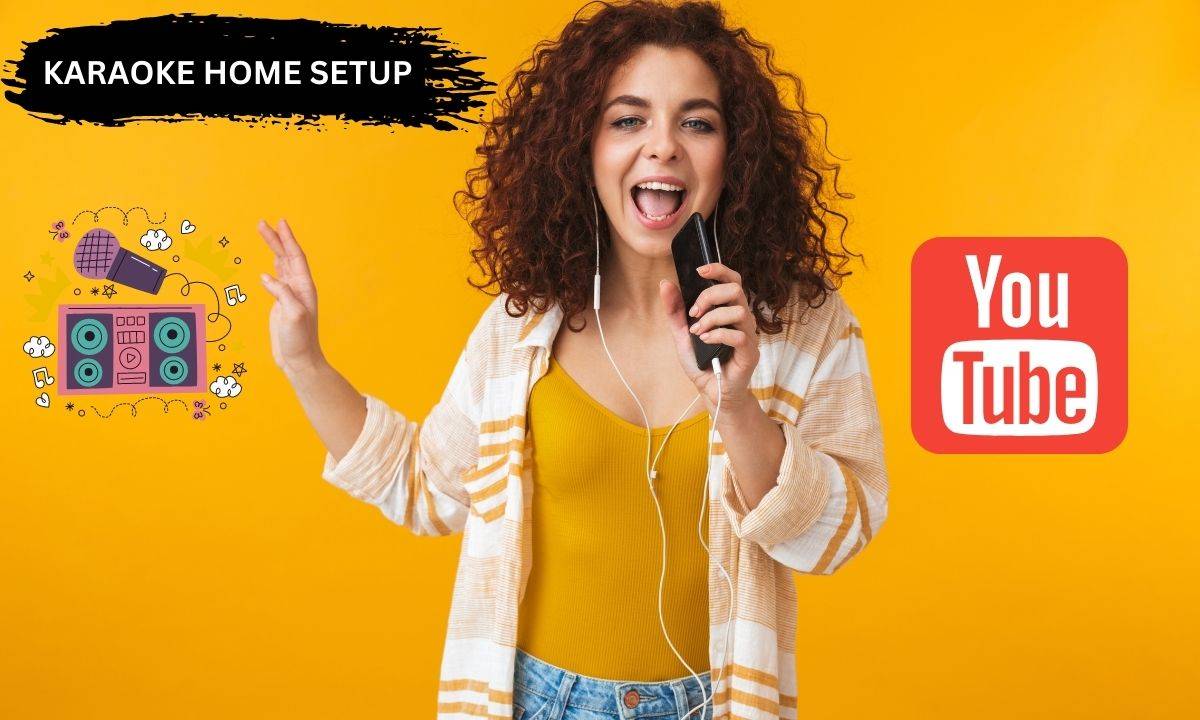
Do you miss the karaoke nights at your favorite bar or restaurant? Well, fear not! With the power of technology and YouTube, you can now set up your own home karaoke system and sing to your heart’s content.
Setting up a home karaoke system using YouTube is easier than you might think. You don’t need any fancy equipment or technical knowledge. All you need is a device to play the YouTube videos, a screen to display the lyrics, and a microphone to sing into.
The best part? You can choose from a vast selection of songs on YouTube, from classic ballads to current chart-toppers. You can even find karaoke versions of your favorite songs, complete with lyrics and backing tracks.
Imagine singing your favorite songs in the comfort of your own home, without having to worry about being judged by strangers. You can practice your vocals, experiment with different styles, and have fun with your friends and family.
So, what are you waiting for? Follow our step-by-step guide to set up your own home karaoke system using YouTube and get ready to sing your heart out!
Tools Needed To Do Karaoke via YouTube
You can set up your home karaoke system with these five items:
- Speakers (Go with Edifier R1280DBs Bookshelf Speakers, if you don’t have any)
- Mixer (I prefer Sound Town Mixer or Rybozen Karaoke Mixer)
- Microphone or set of microphones
- YouTube player
- Streaming device (You can choose any between Chromecast, Roku, or Amazon Fire Stick)
Home Karaoke Setup Using YouTube | Step-by-Step Guide
Let’s get started with the step-by-step guide to setting up your home karaoke system via Youtube.
Step 1. Get the Speakers
First, you need speakers. Most homes these days have speakers already. If you have a surround sound system, that’s even better.
If you don’t have any speakers, you can buy some that are not too expensive. (Affordable option is Edifier R1280DBs but if you want a much better option you can go with ELAC Debut 2.0, both will do the job)
Step 2. Get the Mixer
The mixer is important for your karaoke system. You need a mixer with a microphone and HDMI inputs.
There are many mixers you can buy, and you can choose one that fits your budget.
The Rybozen Karaoke Mixer is a good choice for this karaoke setup. This mixer is not very costly and has two microphone inputs and one HDMI input, which is great for home use.
Step 3. Get the Microphone
The microphone is another important component of your karaoke system. You can use any standard microphone that is compatible with your mixer.
If you don’t have a microphone, you can buy one online or from your local store.
You do not need to purchase a new microphone if you are buying one of the above mixers (as they come with two microphones).
Step 4. Choose The Device to Play YouTube Songs
You can use any device that has a YouTube app to play your karaoke songs. You can use your smartphone, tablet, or PC to play the songs.
The device must be able to cast the video into a streaming device. If you have an iPhone, iPad, or Samsung smartphone, you can use them to play songs. Just make sure you have the YouTube app installed on your device.
Step 5. Get the Streaming Device
The streaming device is the final component of your karaoke system. You can use any streaming device that has an HDMI output to connect to your mixer.
Chromecast, Roku, and Amazon Fire Stick are popular streaming devices that you can use. Connect the streaming device to your mixer’s HDMI input.
Step 6. Connect the Devices
Now that you have all the devices, it’s time to connect them. Make sure that all the devices are turned off before you start connecting them. Connect the microphone to the mixer’s microphone input.
Connect the streaming device to the mixer’s HDMI input. And, then connect the mixer’s HDMI output to the TV or AV receiver. Finally, connect the speakers to the AV receiver or the mixer.
Step 7. Turn on the Devices
Once you have connected all the devices, turn them on in this order: AV receiver, streaming device, mixer, and TV.
Make sure that the AV receiver is set to the correct input source. For example, if you have connected the audio output of the TV to the HDMI 1 input of the AV receiver, then you need to select the HDMI 1 input on the AV receiver. This can usually be done using the remote control for the AV receiver.
It’s important to make sure that the AV receiver is set to the correct input source, otherwise, you won’t be able to hear any audio from your home theater system.
Step 8. Play Your Karaoke Songs
Now you’re ready to play your karaoke songs. Open the YouTube app on your device and search for the karaoke song you want to sing.
Cast the video to the streaming device, and the video will appear on your TV. Start singing and have fun!
Frequently Asked Questions
Can I use Karaoke Machine for Youtube?
Karaoke machines can now be used with YouTube, allowing users to access an endless selection of songs. This means you can enjoy karaoke at home without having to purchase a huge collection of karaoke tracks.
If you’re planning to set up a home karaoke system using YouTube, it’s important to choose the right karaoke machine. Here are five of the best karaoke machines for YouTube:
- KaraoKing Karaoke Machine (Best with everything)
- FanFun Karaoke Machine (A great affordable option)
- Singing Machine iSM1030BT
Can you do karaoke streams on YouTube?
Yes, you can definitely do karaoke streams on YouTube. In fact, many people have turned to YouTube as a platform for sharing their love of karaoke with the world. However, there are certain guidelines and rules (Read Here) that you need to follow in order to avoid copyright infringement issues. For example, you can’t just use any song you want without permission, as this would violate the copyright of the song’s owner.
To avoid copyright issues, it’s best to use karaoke tracks that have been specifically licensed for use on YouTube. You can find many karaoke tracks that are already licensed by performing a simple search on YouTube itself. There are also several websites (one is Karaoke Version – We are not affiliated with this site) that offer licensed karaoke tracks that you can use for your karaoke streams.

John Smith is the founder and CEO of Karaoke Machines Guru. He is a karaoke tutor and karaoke enthusiast and has been passionate about karaoke since he was a child. He also writes about karaoke-related tips, guides, and product reviews on this website.
He overlooks the whole website and makes sure that everything is running smoothly. Learn more!