
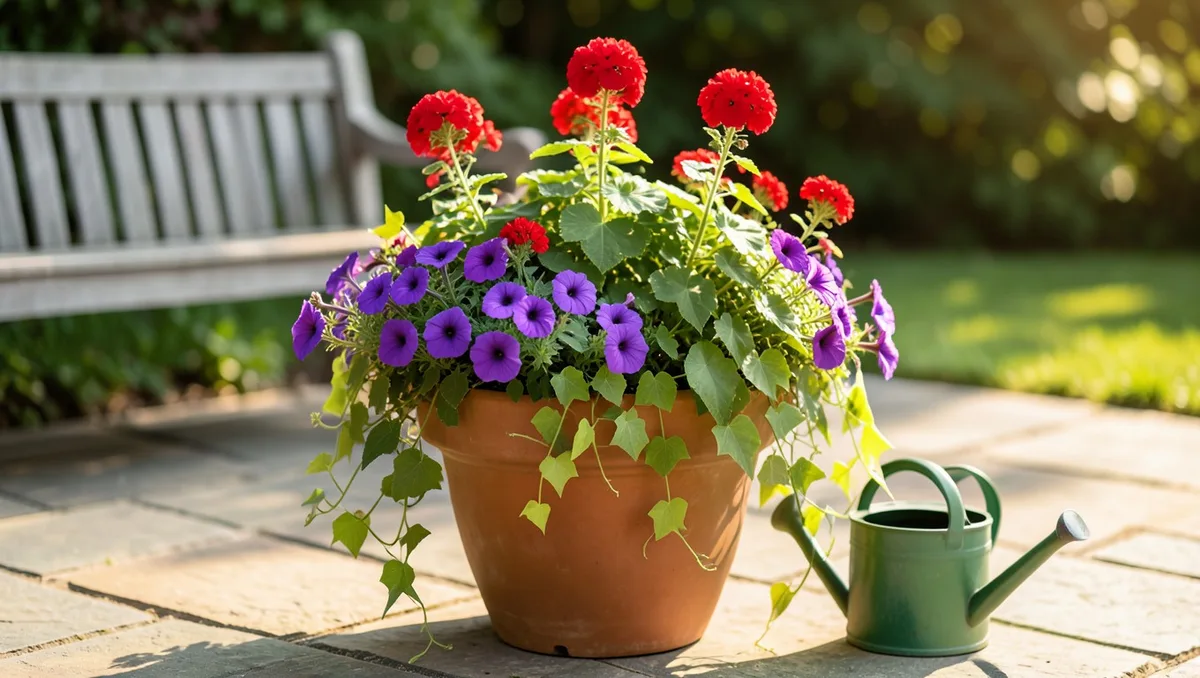
Baking afternoon heat and relentless midday glare will quickly turn a generic patio planter into a crispy, brown disappointment. Most potted flowers fail by mid-July not from a lack of care, but because the wrong varieties were crowded into shallow, uninsulated containers with poor soil. To get a vibrant, dense display that thrives until the first autumn frost, you must match high-heat varieties with the correct potting engineering.
This guide walks you through the exact structural layers, soil amendments, and strategic plant groupings needed to build a resilient full-sun container. By shifting from random garden-center impulse buys to a systematic layout plan, your outdoor pots will stay lush and packed with blooms through the most intense summer heatwaves.
Project Overview
1. Select a Container with Substantial Volume
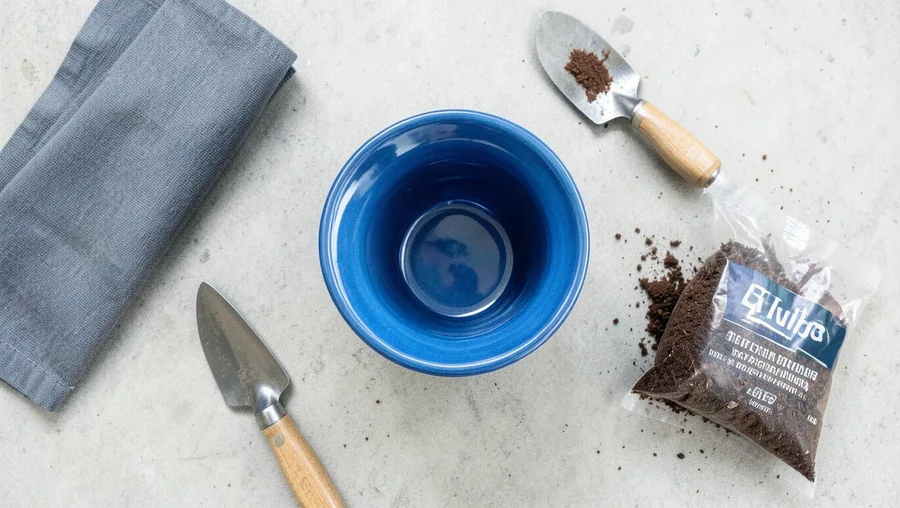
Choose an outdoor pot that measures at least 16 to 20 inches in diameter at the top rim. Small pots hold an inadequate volume of soil, which causes the root zone to overheat and dry out within a few hours under direct summer sun. Large containers act as a thermal buffer, insulating delicate roots from extreme temperature swings.
Opt for heavy materials like thick-walled terra cotta, glazed ceramic, or durable polyurethane resin. If you choose traditional porous terra cotta, line the interior walls with a plastic garbage bag punctured at the bottom to slow down evaporation while maintaining essential drainage.
2. Verify and Expand Bottom Drainage Holes
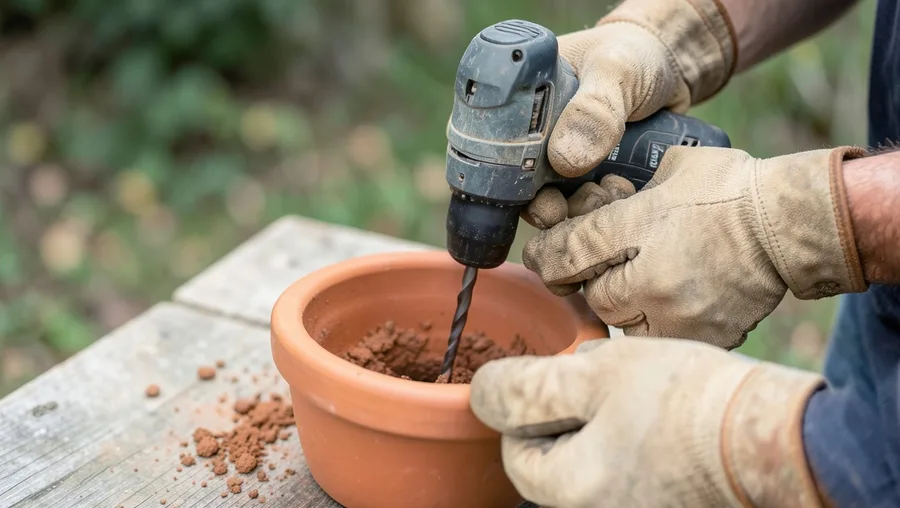
Flip your chosen container upside down to inspect the existing drainage layout before adding any materials. A full-sun planter requires at least one central hole measuring 1 inch in diameter, or several half-inch holes spaced evenly across the base. Without adequate exit points, water pools at the bottom, rotting the root system.
Use a power drill equipped with a masonry bit for ceramic or clay pots, or a standard spade bit for plastic and resin containers to widen restrictive openings. Drill slowly without applying heavy downward pressure to avoid cracking the base of brittle materials.
3. Cover Drainage Holes with Mesh Screening
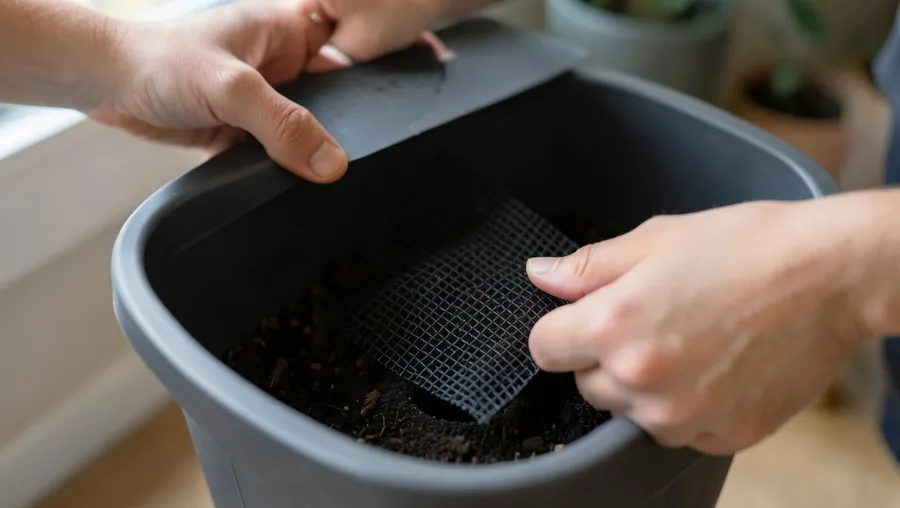
Cut a small square of flexible fiberglass window screening or landscaping fabric measuring roughly 3 by 3 inches. Place this piece directly over each drainage hole at the bottom of the container. This screen keeps your potting medium inside the vessel instead of flushing out onto your patio during heavy watering sessions.
Skip the old-fashioned advice of filling the bottom third of the pot with gravel, packing peanuts, or broken pottery shards. These materials create a fake water table that forces moisture to sit directly in the root zone, increasing the likelihood of root rot diseases.
💡 Tip: Avoid using metal hardware cloth as it will rust quickly and stain your patio surfaces over time.
Prep Phase Completion Check
-
Check pot diameter Ensure it measures at least 16 inches across the top rim.
-
Clear the drainage path Confirm holes are drilled open and covered with mesh screening.
-
Position the heavy pot Move the container to its final sunny location before filling with heavy soil.
4. Blend a Lightweight Moisture Retaining Soil Mix
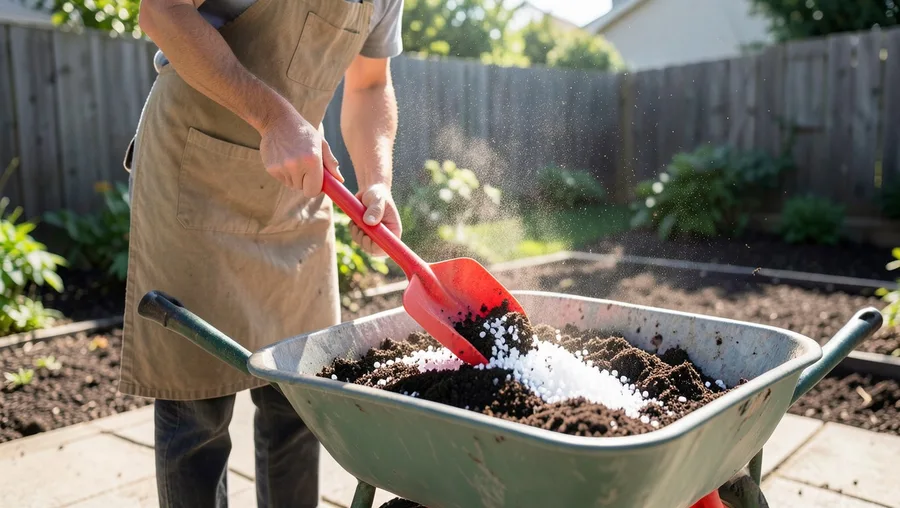
Fill your planter using a dedicated, high-grade commercial potting soil formulated with peat moss, perlite, and pine bark. Never shovel native backyard garden soil or heavy topsoil into your pots because it packs down tightly, suffocating root systems and preventing water movement.
Stir a coarse moisture-retaining amendment like vermiculite or coco coir directly into your potting mix at a ratio of four parts soil to one part amendment. This adjustment keeps the root environment damp and aerated during days with triple-digit temperatures.
5. Incorporate Slow Release Fertilizer Granules
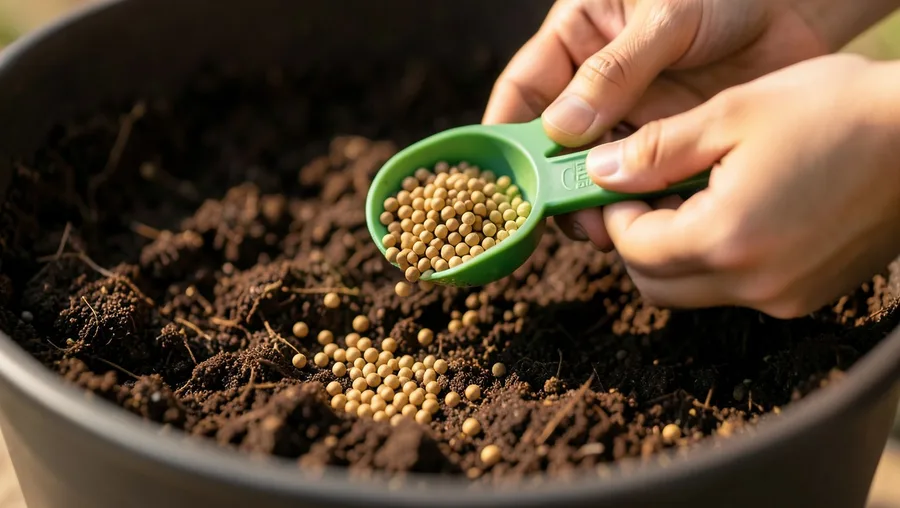
Scatter a balanced, polymer-coated slow-release fertilizer like Osmocote Smart-Release into the top 6 inches of the potting mix. Use roughly 3 tablespoons of granules for a 16-inch container, thoroughly blending them into the dry dirt before adding any water.
Full-sun annuals are heavy feeders that burn through nutrients rapidly as they pump out nonstop flowers. These coated granules rely on temperature and moisture levels to release tiny doses of food consistently over a 4 to 6-month window, preventing a mid-summer growth crash.
6. Map Out a Thriller Filler Spiller Layout
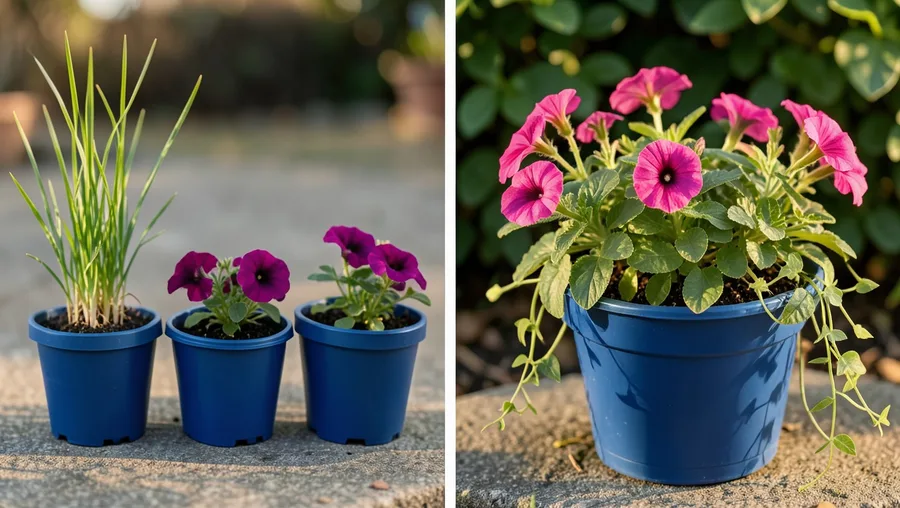
Arrange your potted plants using the professional three-tier composition system to ensure a full, balanced look from every angle. Position a single eye-catching focal plant with strong upward architecture directly in the center or back of the container to act as your Thriller.
Surround that central specimen with mounding, mid-height flowers to serve as Fillers, which hide the bare lower stems of your main plant. Complete the composition by planting trailing varieties along the inside edge of the container rim to act as Spillers that cascade downward.
Select Your Sun-Loving Plant Combinations
7. Install a Structural Centerpiece as Your Thriller
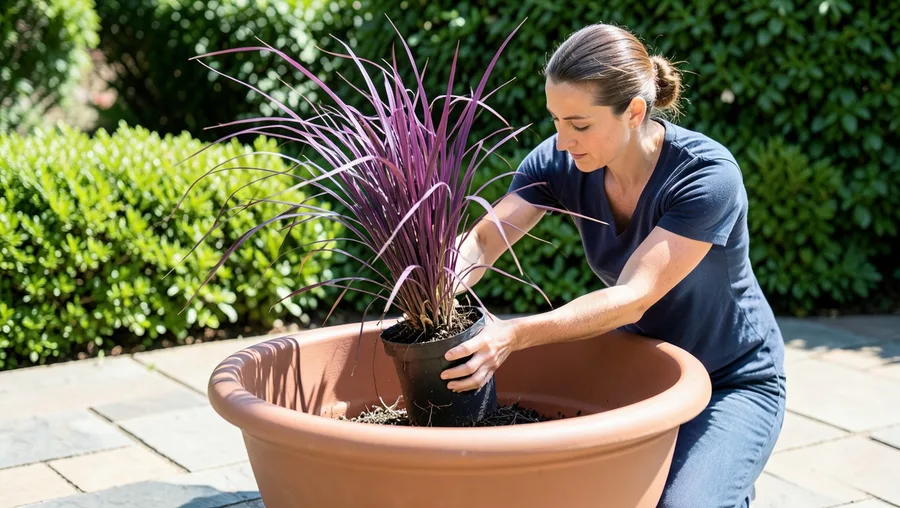
Plant a high-impact, heat-tolerant specimen like Purple Fountain Grass, Canna Lily, or a structured hybrid Salvia in the exact center of the pot. Dig a deep planting pocket so the top surface of the plant's root ball rests 2 inches below the top edge of the container.
Gently tease the outer roots of the plant with your fingers if they are tightly wound or bound to the shape of the nursery pot. Press the soil down firmly around the base of the crown to eliminate empty air pockets without burying the main stems too deep.
8. Pack the Middle Layer with Heat Tolerant Fillers
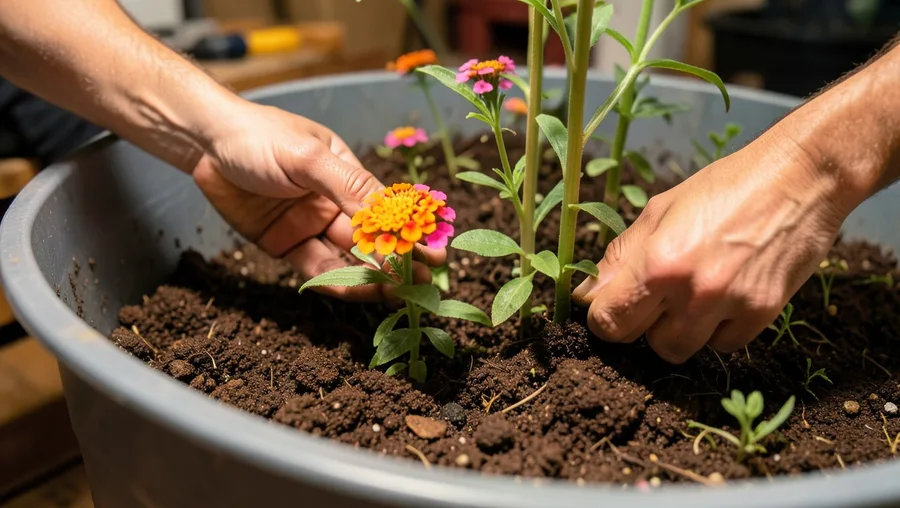
Surround your central structural plant with dense, heavy-blooming sun varieties such as Lantana, Profusion Zinnias, or SunPatiens. Space these filler plants roughly 4 to 6 inches apart from each other, weaving them around the central core to build a thick, solid mid-tier dome of foliage.
Mix contrasting textures rather than just mixing different colors. For example, pair the rough, coarse leaves of a bright yellow Lantana with the fine, needle-like foliage of a purple Angelonia to create visual depth that prevents the design from looking flat.
9. Tuck Cascading Spillers Along the Container Rim
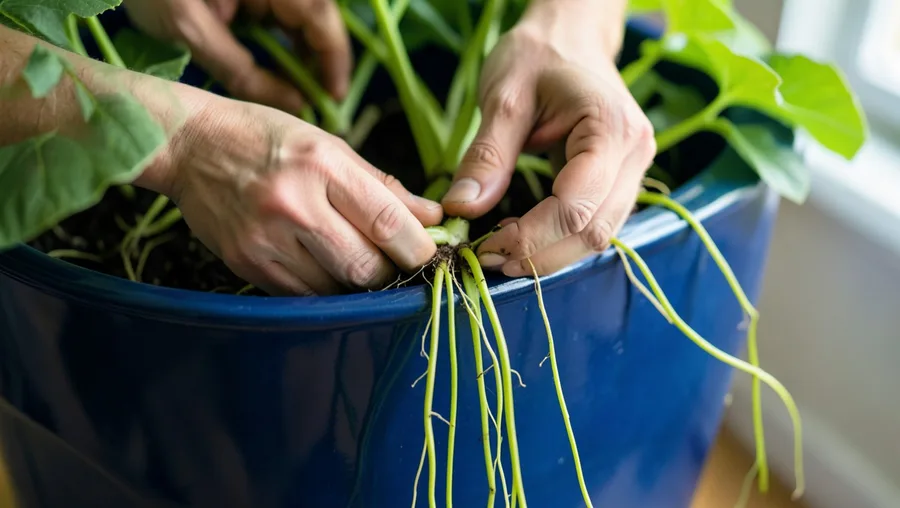
Insert trailing accents like Sweet Potato Vine, Dichondra Silver Falls, or Calibrachoa along the outermost perimeter of your arrangement. Angle the root balls slightly outward toward the lip of the pot to encourage the vine stems to grow down over the sides immediately.
Space these spillers evenly, placing them directly into the small open gaps left between your mid-tier filler plants. As they grow, these trailing varieties soften the hard edge of the planter rim and create an attractive vertical cascade of color.
10. Backfill and Firm the Remaining Soil Gaps
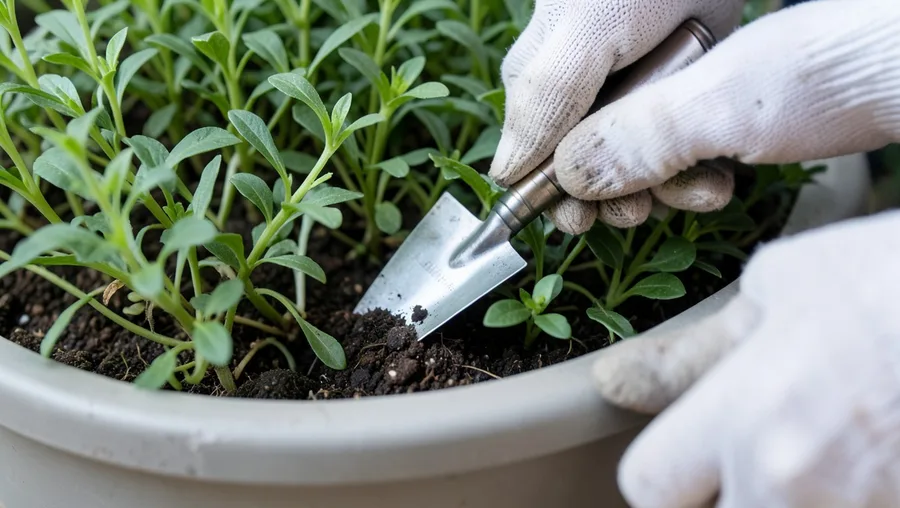
Spoon fresh potting soil mixture into all the remaining open spaces and hollow gaps between your newly positioned root balls. Use a narrow hand trowel to work the dirt down between the dense root systems without bruising or pinching the delicate flower stems.
Press down firmly using your knuckles to pack the loose dirt down around each plant crown. Leave an empty, uniform 1.5-inch headspace gap between the top surface of the finished soil layer and the upper edge of the rim to keep water from spilling over the side during irrigation.
11. Soak Thoroughly Until Water Runs Freely Out the Bottom
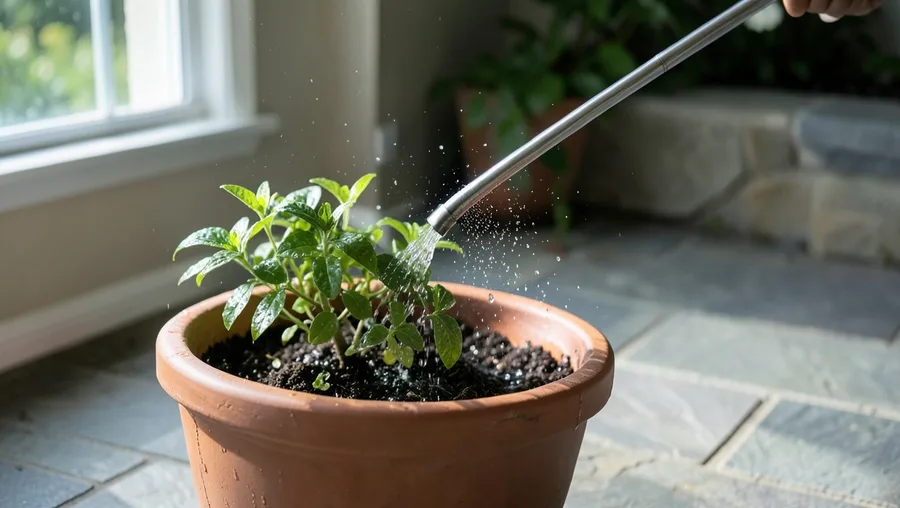
Apply water directly to the soil surface using a watering can fitted with a gentle rose spray nozzle or a garden hose wand set to a low-pressure shower pattern. Pour water continuously until you see it pouring freely out of the drainage holes at the base of the pot.
This initial deep saturation settles the loose soil around the fresh roots, closing hidden air pockets that cause roots to dry out. Expect the soil level to drop slightly after this first soaking; add a few extra scoops of potting soil to any spots that sink noticeably.
12. Apply a Layer of Shredded Bark Mulch
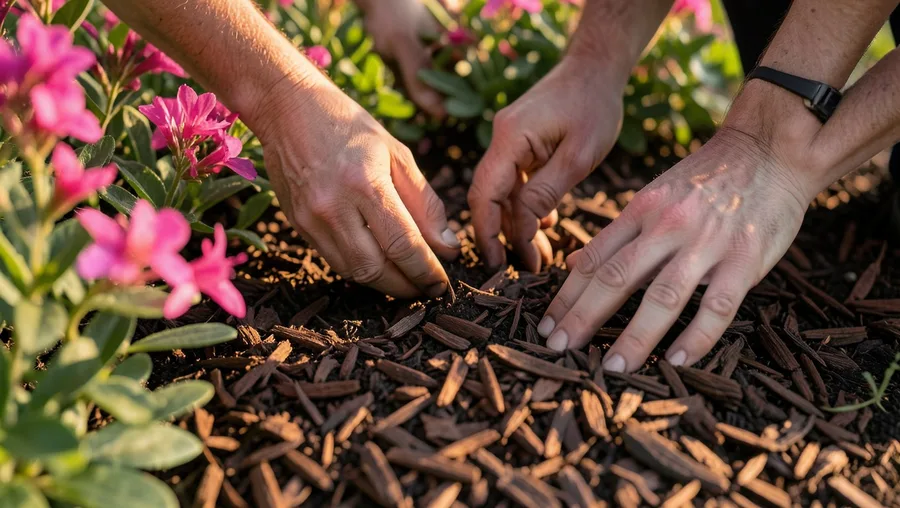
Spread a uniform 1-inch layer of finely shredded cedar or pine bark mulch across the open soil surface around the base of your plants. Keep the mulch pulled back roughly half an inch away from the main green flower stems to prevent moisture from causing stem rot problems.
Mulch functions as an insulating blanket for your potted plants, lowering soil evaporation rates by up to 50 percent under strong afternoon sun. This simple layer keeps the top root zone moist and prevents the soil from forming a hard, crusty surface layer.
💡 Tip: Use natural, undyed brown mulch. Artificially dyed red or black mulches contain chemicals that can leach into your potting soil.
13. Establish a Strict Morning Watering Cadence
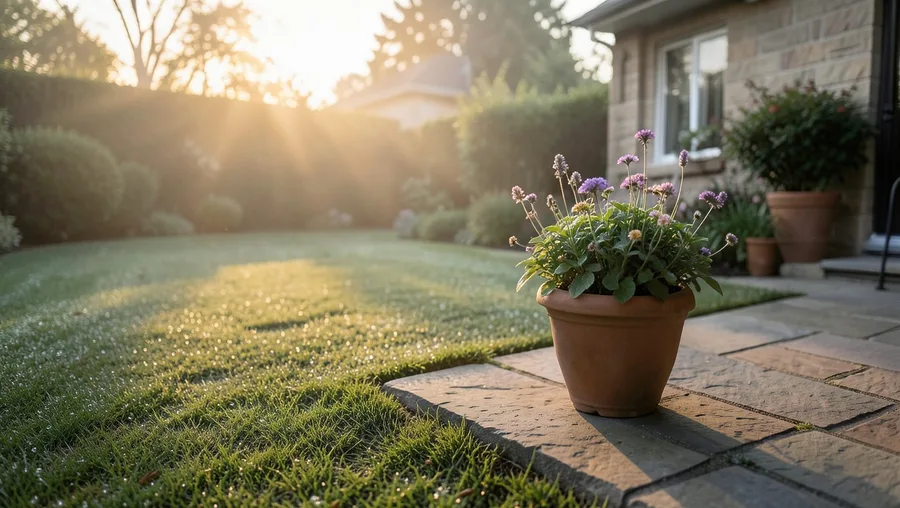
Irrigate your sun pots early in the morning before 9:00 AM before the heat of the day sets in. Watering early allows the plant foliage to dry completely in the morning air, which stops fungal diseases from spreading, and ensures the roots are hydrated before peak heat hits.
Check moisture levels daily by pushing your index finger 2 inches deep into the soil mix. If the soil feels dry and warm at that depth, soak the container thoroughly; during high-heat periods in August, large full-sun containers will require soaking every single day.
14. Feed Weekly with Water Soluble Bloom Booster
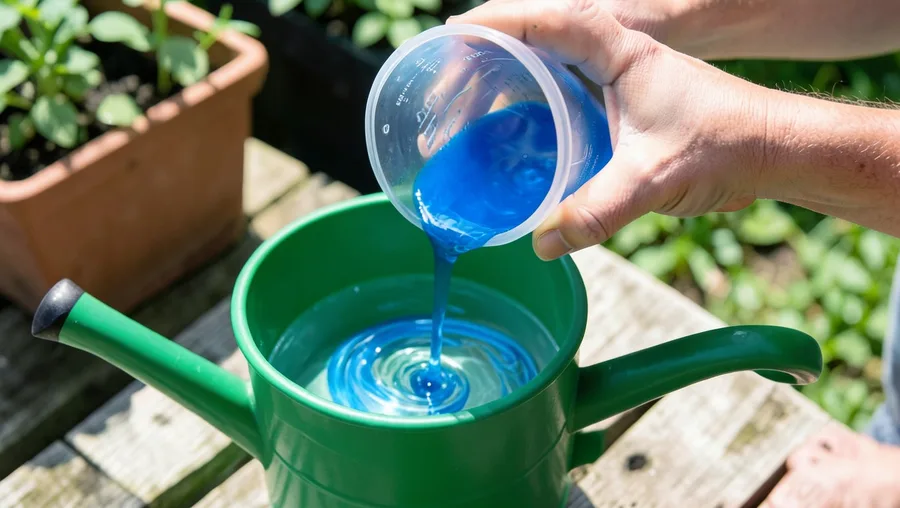
Mix a high-phosphorus water-soluble fertilizer like Miracle-Gro Bloom Booster into your watering can at half the package strength once every seven days. Apply this liquid solution directly to the damp soil immediately after your regular morning watering session.
Frequent watering flushes vital nutrients out through the bottom drainage holes of pots. Regular liquid feedings keep nutrient levels steady, giving plants the extra energy needed to continuously produce new flower buds after older blooms fade away.
15. Pinch and Deadhead Flowers to Force New Buds
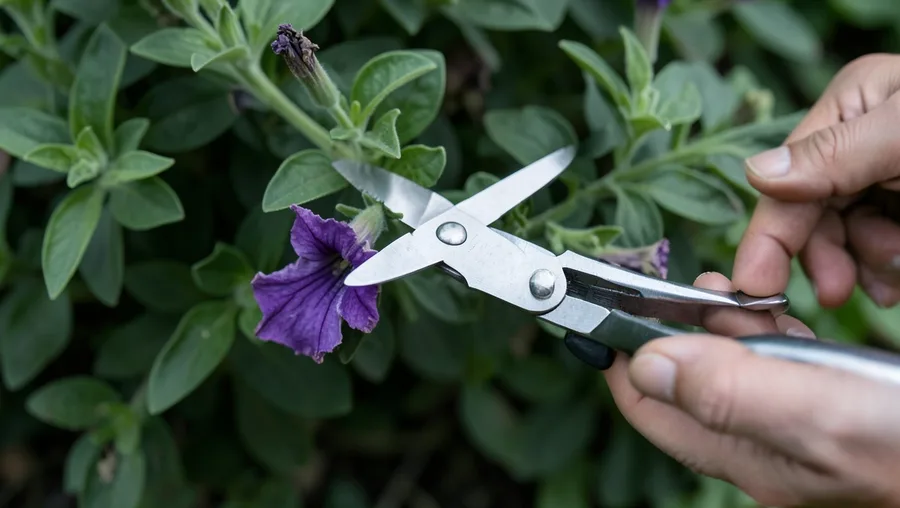
Snip off faded, wilting flower heads every week using sharp pruning shears or by pinching the stems cleanly with your thumb and forefinger. Follow the spent flower stem down past the old bloom base and make your cut just above the next set of fresh green leaves.
Removing old blooms stops plants from wasting energy on seed production. Regular pruning forces the plant to channel its resources into creating fresh new flower spikes and dense side branches, keeping your summer container looking compact, fresh, and full of color.
Summer Container Troubleshooting
Final Thoughts
Your full-sun flower pots should now feel heavily saturated, deeply mulched, and solidly packed with heat-resistant varieties arranged in a balanced structural hierarchy. Check the soil moisture depth again in 24 hours to establish your morning watering baseline, and prepare to start your weekly liquid fertilizer routine in fourteen days.

John Smith is the founder and CEO of Karaoke Machines Guru. He is a karaoke tutor and karaoke enthusiast and has been passionate about karaoke since he was a child. He also writes about karaoke-related tips, guides, and product reviews on this website.
He overlooks the whole website and makes sure that everything is running smoothly. Learn more!