
Nothing matches the heartbreak of waiting a full season for your hydrangeas to pop, only to end up with nothing but a bush of green leaves. The culprit is almost always a well-intentioned set of bypass pruners used at the wrong time of year. Because different hydrangea varieties produce their flower buds at completely opposite times of the season, a technique that makes one shrub explode with color will strip another of its blooms entirely.
To get perfect flowers every year, you must treat your hydrangeas based on their specific wood-blooming habits. This guide walks you through the 15 exact rules for identifying your shrub, mastering your cuts, and timing your maintenance so you never accidentally slice away next summer's display.
Pruning Guide at a Glance
1. Identify Your Hydrangea Species First
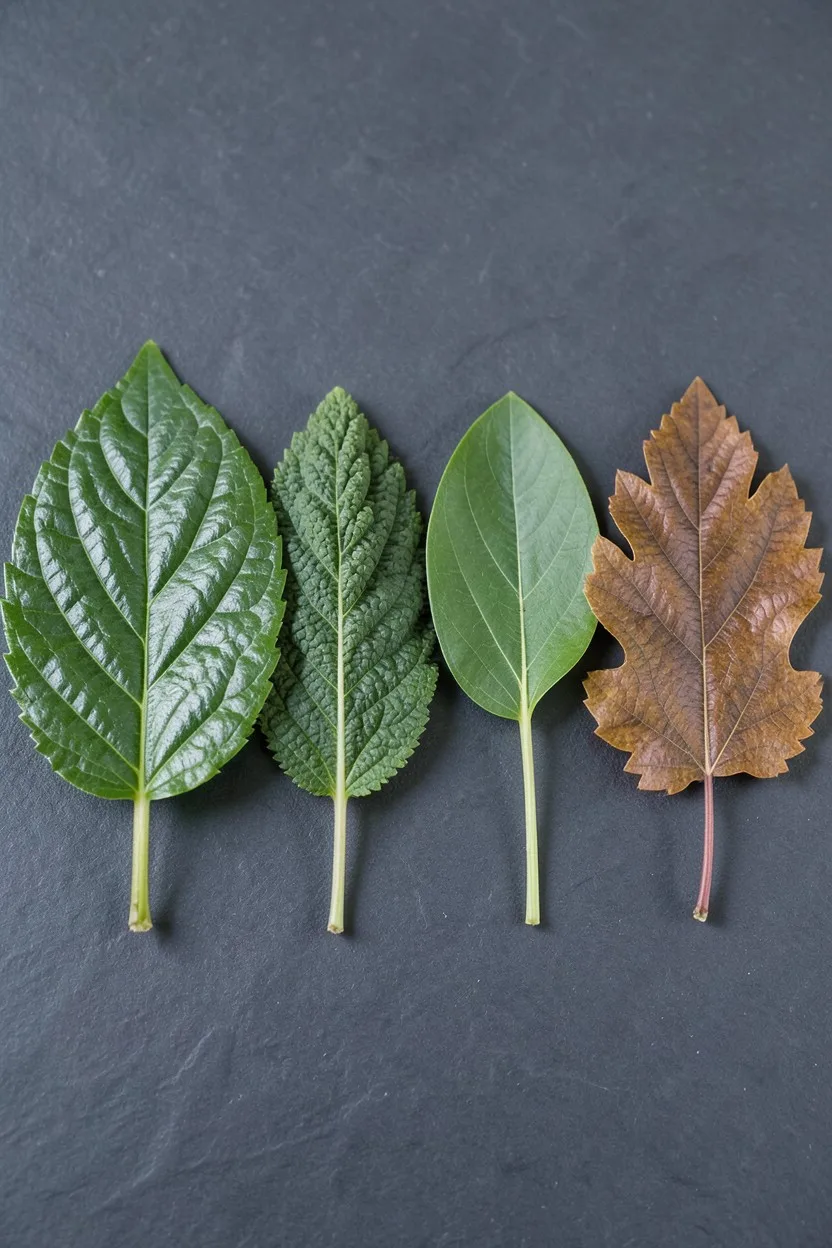
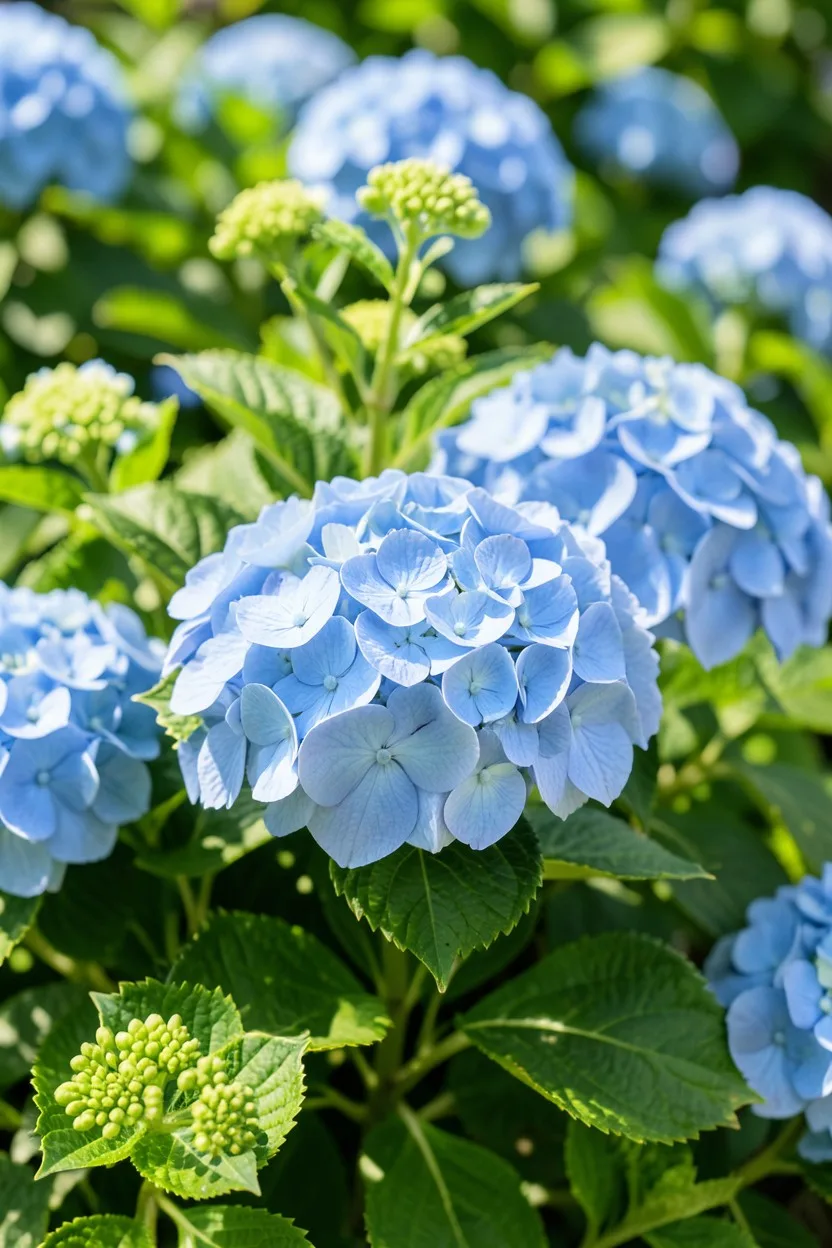
Before making a single cut, you must look closely at your plant's leaves and growth habit to identify the exact species. Bigleaf hydrangeas feature thick, shiny, egg-shaped leaves with serrated edges and yield classic blue or pink mophead flowers. Panicle varieties present long, cone-shaped flower heads that transition from white to lime green or dusty pink, supported by rough, matte leaves.
Smooth hydrangeas form floppy, round mounds with thin, heart-shaped leaves, while oakleaf varieties are unmistakable due to their deeply lobed leaves that resemble a classic red oak tree. Mistaking a bigleaf for a smooth hydrangea means cutting it to the ground in winter, which completely destroys your entire summer bloom cycle.
2. Determine Old Wood vs New Wood Growth
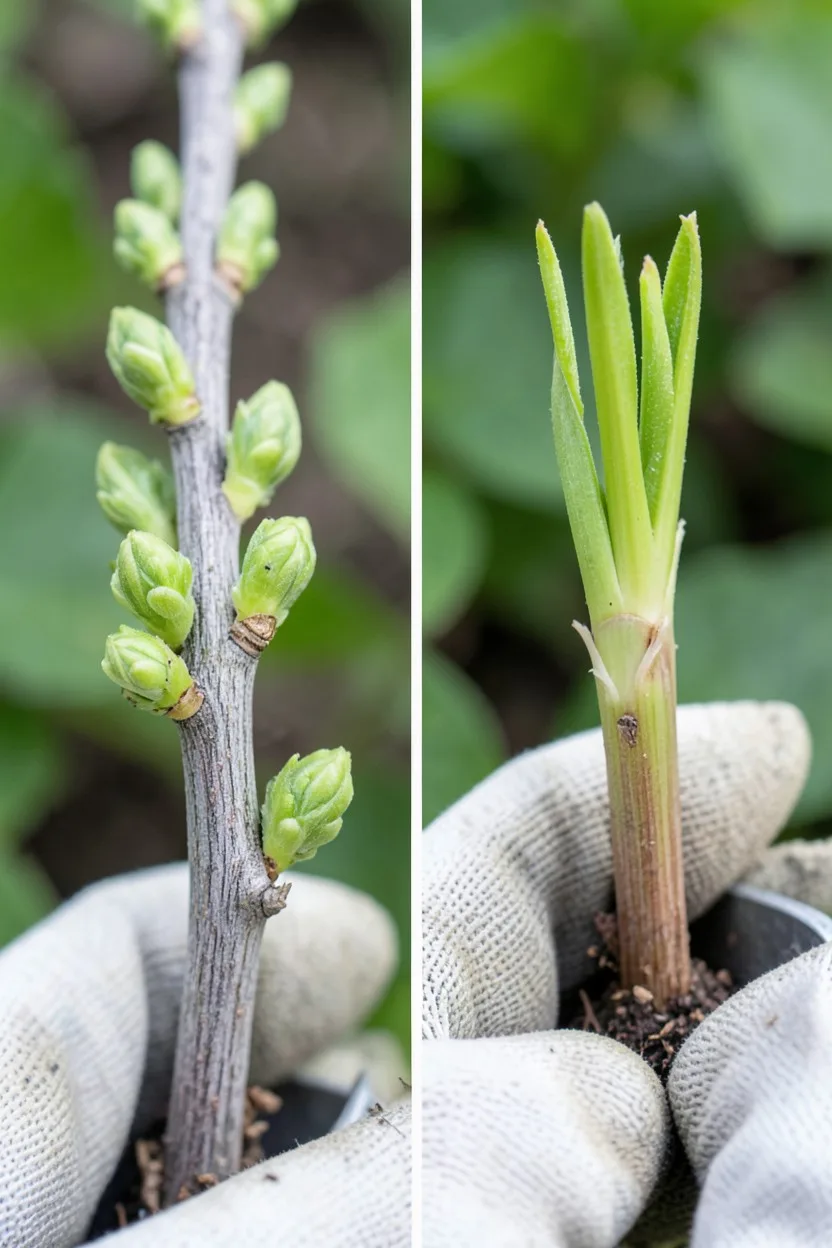
Hydrangeas fall into two categories that dictate your entire maintenance schedule: those that bloom on old wood and those that bloom on new wood. Old wood plants develop their flower buds for the following year during the current late summer, meaning those buds sit on the stems all through autumn, winter, and spring before opening.
New wood plants are completely different because they wake up from winter dormancy, push out fresh green stems in spring, and then develop buds on that brand-new growth for a midsummer show. If you cut old-wood bloomers in late winter, you throw away every single flower bud. If you cut new-wood bloomers in winter, they simply grow fresh stems and flower beautifully right on schedule.
Match Your Hydrangea to the Right Rule
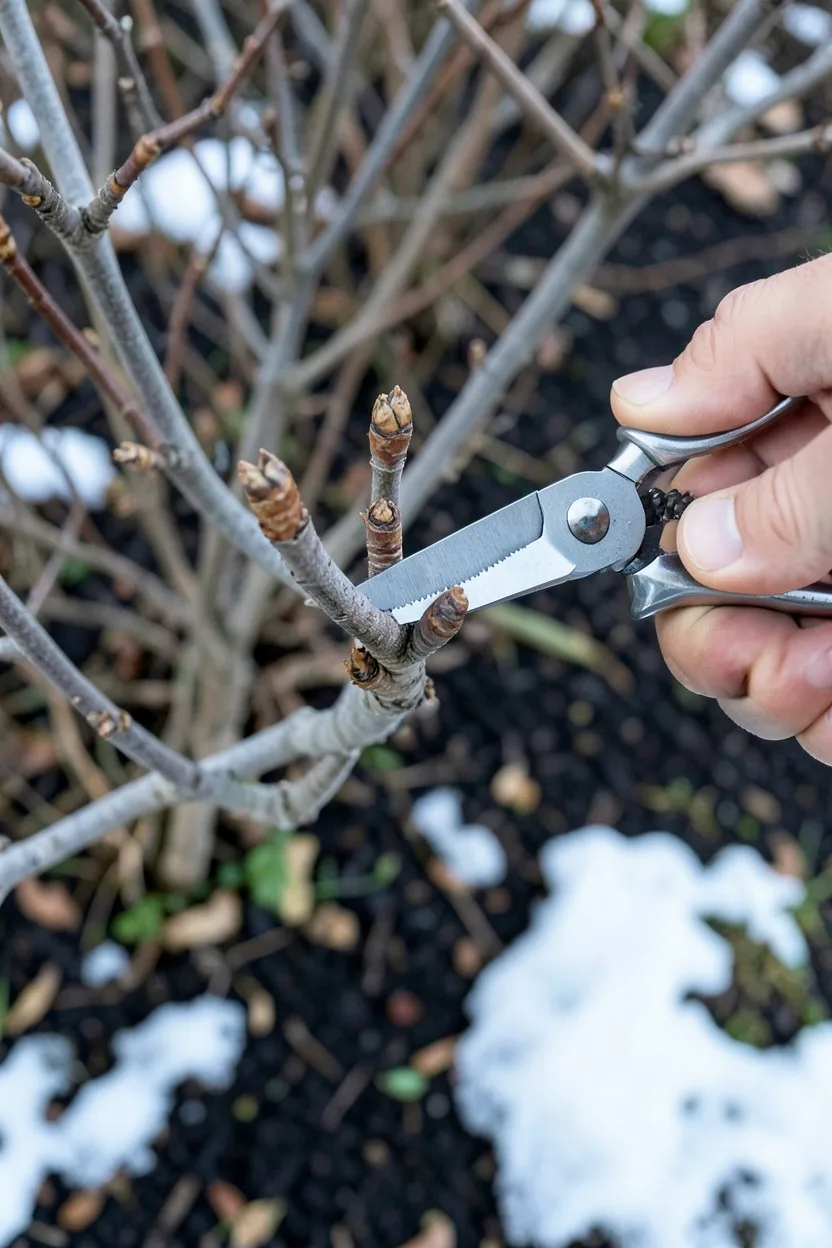
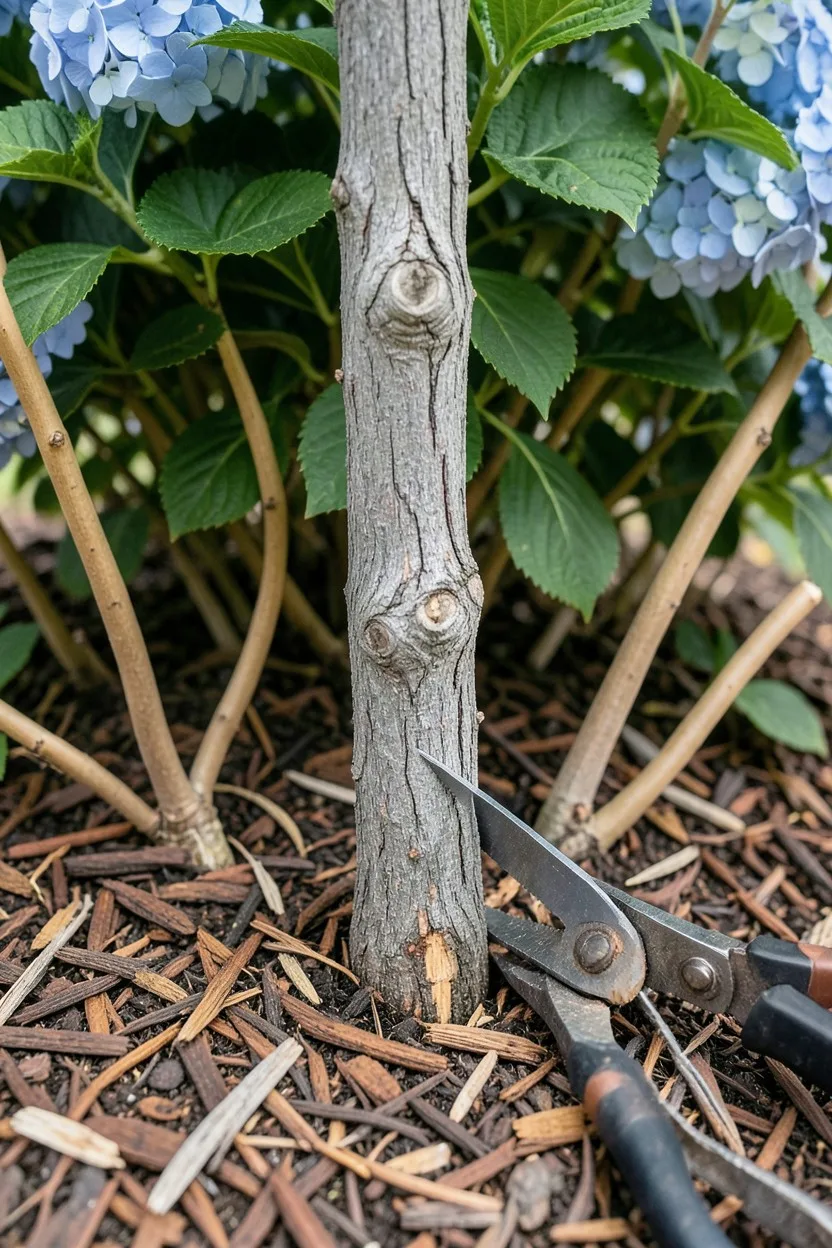
3. Sanitize and Sharpen Pruning Tools
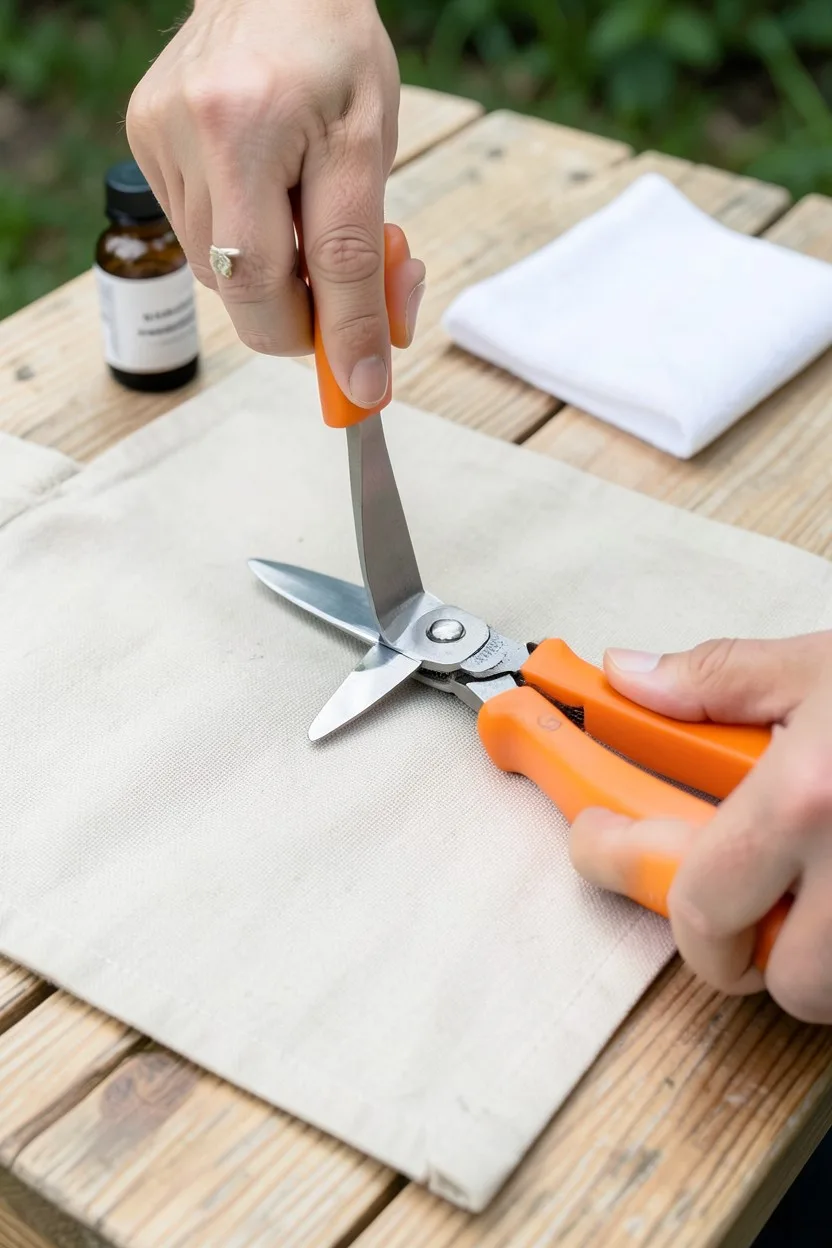
Dirty, dull tools tear through plant tissue instead of slicing it cleanly, leaving ragged stem ends that serve as an open invitation for fungal infections and pests. Wipe down your bypass pruners with a clean rag soaked in isopropyl rubbing alcohol before moving between individual shrubs. Avoid anvil-style pruners entirely, as their broad blade crushes the delicate water-transporting cambium layer inside the stems.
Sharpen your blades using a diamond sharpening file, maintaining the original factory bevel angle of the tool. Clean cuts close up rapidly, preventing dieback and ensuring that the dormant buds sitting directly below your cut remain healthy and ready to emerge.
💡 Tip: Dip your blades in alcohol between every single shrub to stop the spread of hidden plant diseases.
4. Prune Bigleaf Hydrangeas in Late Summer
Time your maintenance for bigleaf hydrangeas immediately after their large colorful blooms begin to fade and turn paper-thin, which typically happens in late July or August. You have a very narrow window of opportunity because these plants immediately begin setting their tiny, invisible flower buds for next summer along the current stems.
If you wait until late autumn or early spring to shape these bushes, you will strip away the wood holding those precious buds. Cut the spent flower stems back to the first pair of healthy, plump green leaves sitting directly below the faded bloom structure to keep the plant compact without losing a single flower next year.
Bigleaf Hydrangea Spec Sheet
🪵 Wood Type
Old Wood Only
📅 Pruning Window
July to August
✂️ Cut Depth
To first leaf pair
🌸 Flower Shape
Mophead / Lacecap
5. Cut Panicle Varieties in Late Winter
Panicle hydrangeas produce their large, cone-shaped blooms entirely on new wood, making them incredibly forgiving and easy to maintain. Perform your heavy structural pruning during late winter or the very early weeks of spring while the plant remains completely dormant and leafless. This hard pruning triggers a flush of vigorous, straight spring stems that carry massive flower heads.
Cut the entire framework back by roughly one-third of its total height, always slicing cleanly at a 45-degree angle just above a prominent node where two buds face outward. This outward-facing orientation prevents the interior of the shrub from becoming congested with crossing branches as it grows.
6. Manage Smooth Hydrangeas for Strong Stems
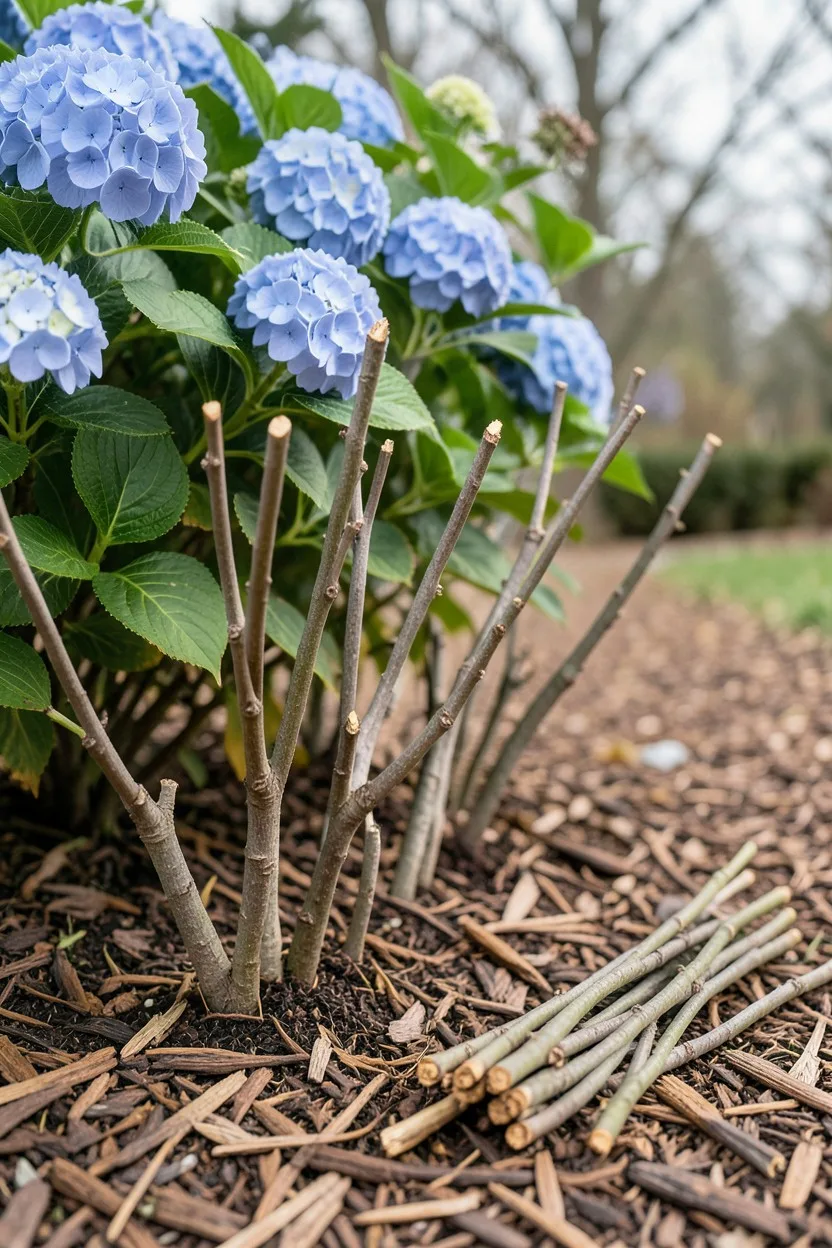
Smooth hydrangeas like the classic Annabelle bloom beautifully on brand-new spring growth, but their massive, heavy flower heads frequently flop over into the mud after summer rainstorms. To prevent this, cut the stems down to roughly 12 to 18 inches above the ground in late winter rather than chopping them flat to the soil line.
Leaving a low, sturdy woody framework of old growth creates a rigid supportive cradle that holds up the heavy new flowering stems as they erupt in spring. Use sharp bypass pruners to slice through the thin, hollow stems without crushing them, creating a clean foundation for the season.
7. Leave Oakleaf Hydrangeas Mostly Untouched
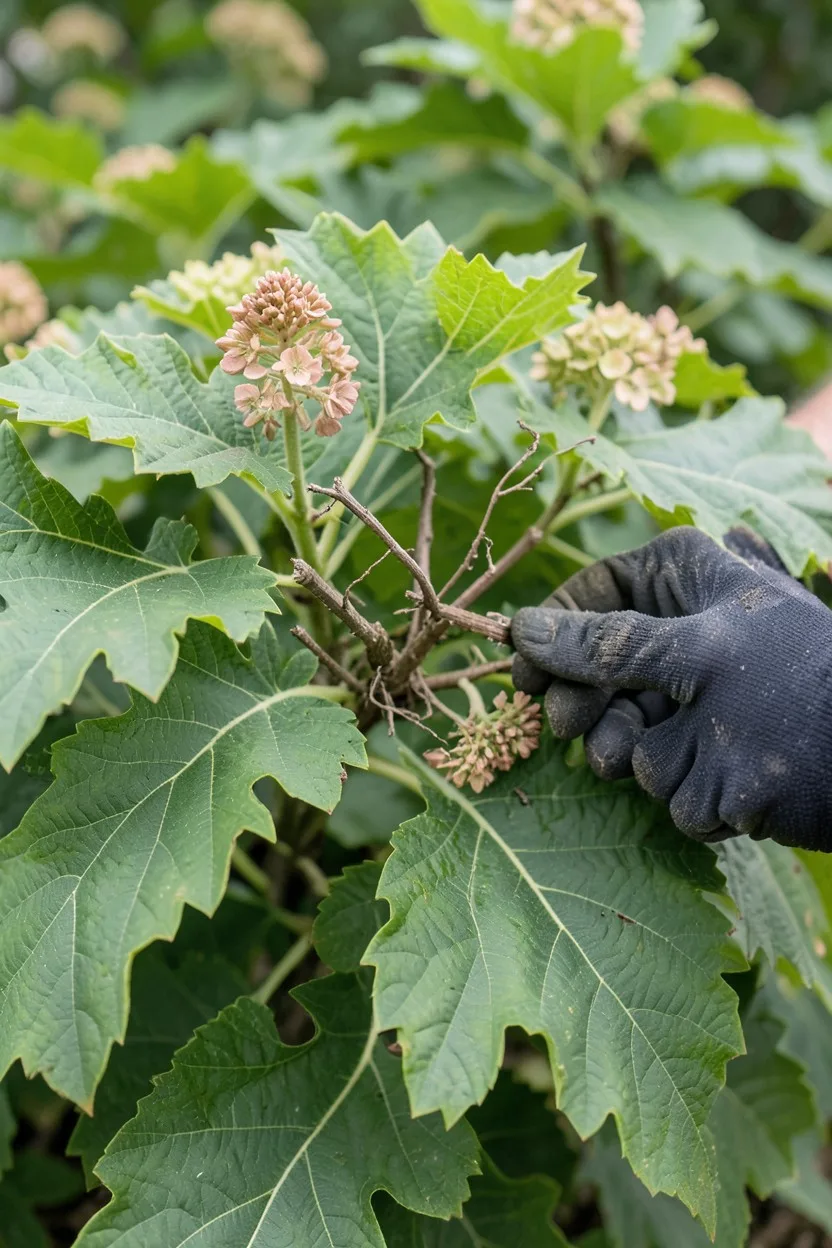
Oakleaf hydrangeas require almost no regular pruning throughout their lives and look their absolute best when allowed to develop their natural, architectural shape. Because they produce flowers exclusively on old wood, limit your intervention to removing dead, broken, or diseased branches in the early weeks of spring.
If your oakleaf hydrangea has outgrown its garden space, cut back the offending branches immediately after the white-to-crimson flowers fade in late summer. Avoid shearing the outer edges of the plant uniformly, as this destroys the beautiful, rugged silhouette of the exfoliating bark and removes the top terminals where next year's blooms are stored.
💡 Tip: Oakleaf bark naturally peels off in beautiful papery layers—leave this alone, as it provides winter interest.
8. Handle Reblooming Remontant Hydrangeas Carefully
Modern reblooming hydrangeas produce an initial flush of flowers from old wood buds in early summer, followed quickly by a second wave of blooms on new wood stems in late summer. Because they utilize both growth habits simultaneously, aggressive pruning will drastically reduce your flower count.
Remove dead wood from the base of the plant in early spring to clean up its appearance, but leave all living stems intact until they bloom. In midsummer, remove dead flower heads immediately down to the next node to force the plant to divert its energy into developing fresh, flower-bearing spring growth for the second autumn show.
9. Apply the One-Third Renovation Rule
If you have an old, overgrown, woody bigleaf or oakleaf hydrangea that has turned into an unproductive tangle of sticks, use the one-third renovation strategy to restore it over three years. In early spring, select the oldest, thickest, grayest canes and cut them all the way down to within two inches of the ground.
Leave the younger, vigorous wood completely untouched to provide flowers for the current summer. This deep cut stimulates the crown to push out brand-new vegetative shoots from the root system, completely renewing the plant's wood structure over a rolling three-year cycle without forcing you to sacrifice a season of blooms.
📅 Your Year-Round Hydrangea Pruning Schedule
Late Winter (Feb/March)
Cut panicle and smooth hydrangeas back hard to stimulate robust new flowering stems.
Early Spring (April)
Remove dead, hollow sticks from bigleaf and oakleaf varieties after green leaves show up.
Mid Summer (June/July)
Enjoy the first wave of old-wood blooms and deadhead spent flowers to keep plants neat.
Late Summer (August)
Shape bigleaf and oakleaf bushes immediately after blooming before they set next year's buds.
10. Remove the Three Ds Constantly
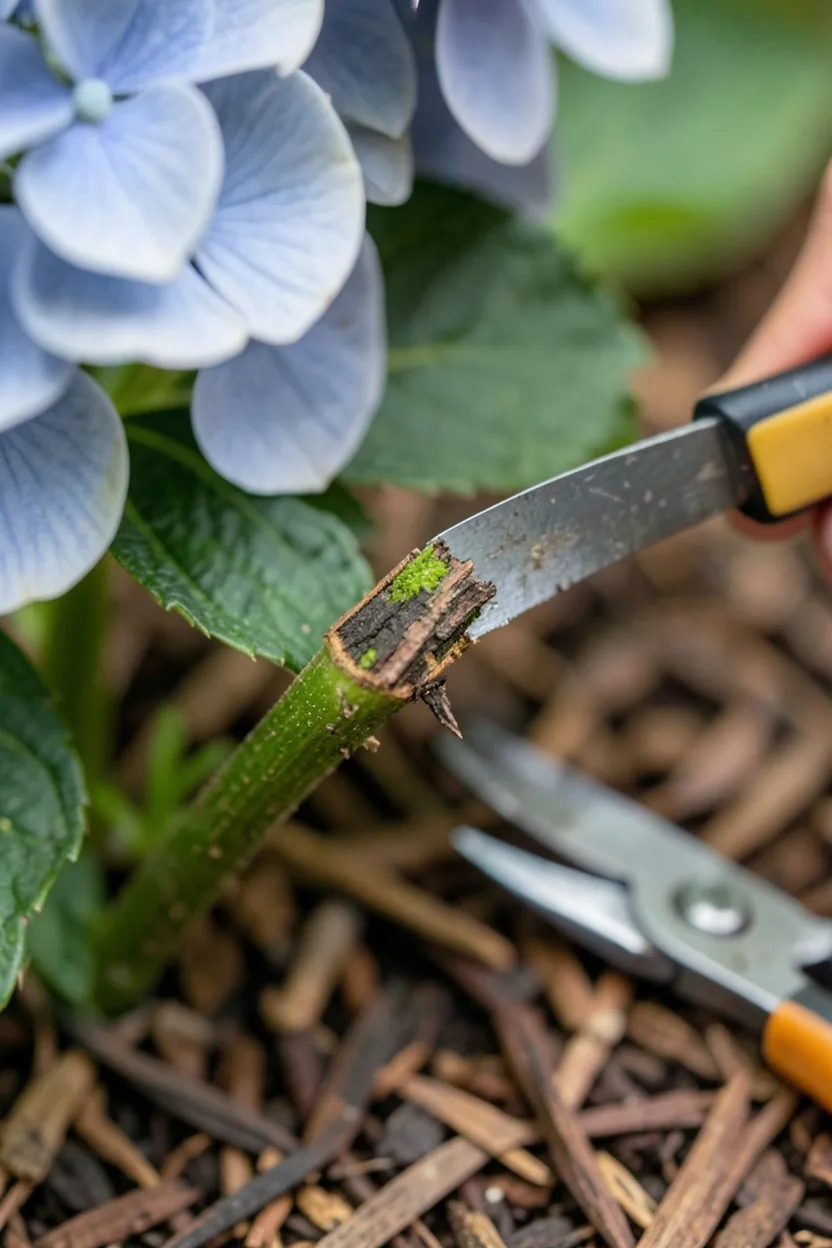
Regardless of the species or the month, you can always prune out wood that falls under the category of the Three Ds: Dead, Damaged, or Diseased. In early spring, wait until the plant begins to leaf out so you can easily distinguish between truly dead sticks and live branches.
Scrape the bark lightly with your thumbnail; if the tissue underneath is a bright, moist green, the branch is alive and should be saved. If it is dry, brittle, and brown throughout, cut it completely out at the base of the plant to improve airflow and allow sunlight to reach the crown.
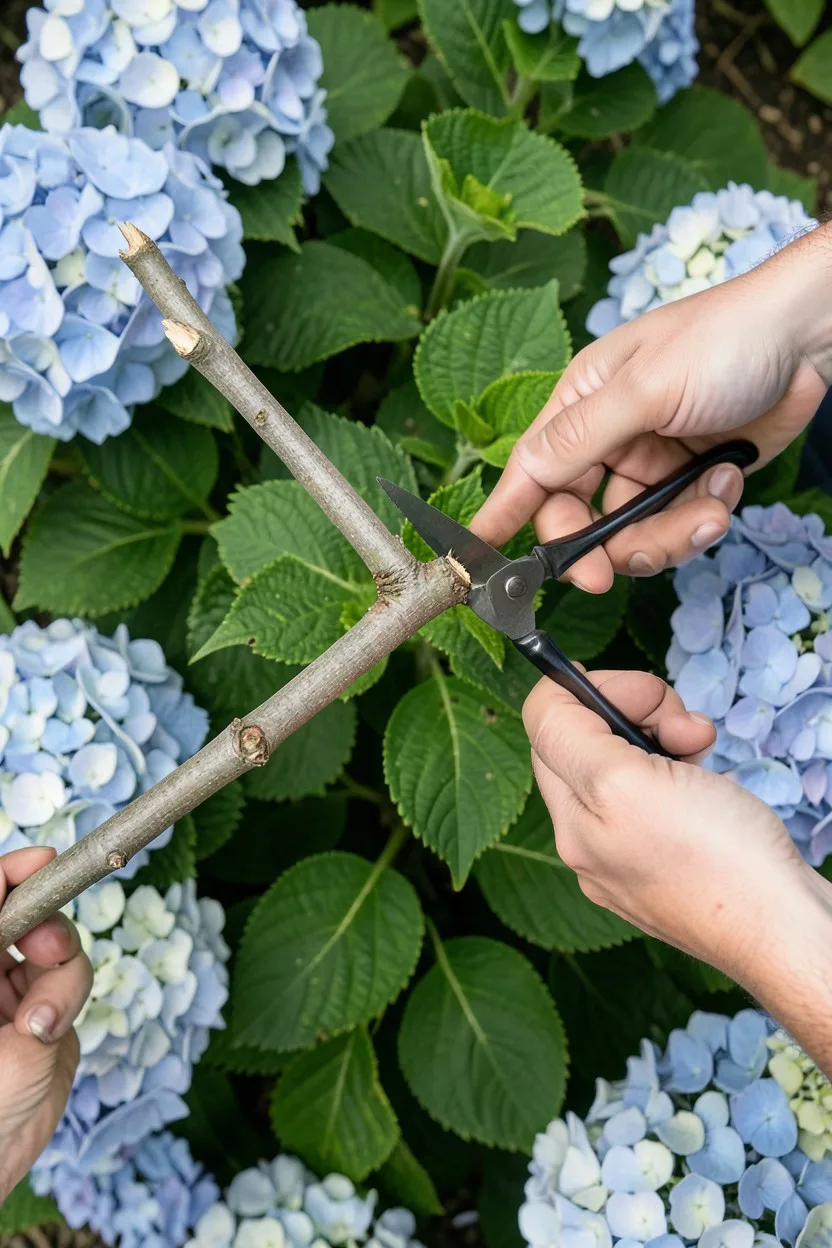
11. Angle Every Single Cut Perfectly
Every cut you make on a hydrangea stem should sit at a distinct 45-degree angle slanting away from the nearest bud node. Never make a flat, horizontal cut across a branch, as water from rain and dew will pool on top of the flat surface, rotting the stem tip and killing the underlying buds.
Avoid cutting too close to the bud, which can nick and dry out the delicate tissue, and do not leave a long stub above the node, which will simply wither and invite fungal pathogens. Position your blade exactly one-quarter inch above the node, slanting the high side of the cut over the bud.
12. Open Up the Congested Center
A dense, tangled interior limits airflow and blocks morning sunlight from reaching the inner leaves, creating a humid microclimate where powdery mildew and leaf spot thrive. Look down into the center of your hydrangea bush and locate any branches that cross directly over each other or rub together when the wind blows.
Remove the weaker or more poorly positioned branch of the pair entirely at its origin point. Thinning out these weak, spindly internal twigs diverts the root system's energy away from maintaining useless interior foliage and directs it into producing massive, robust blooms on the outer perimeter.
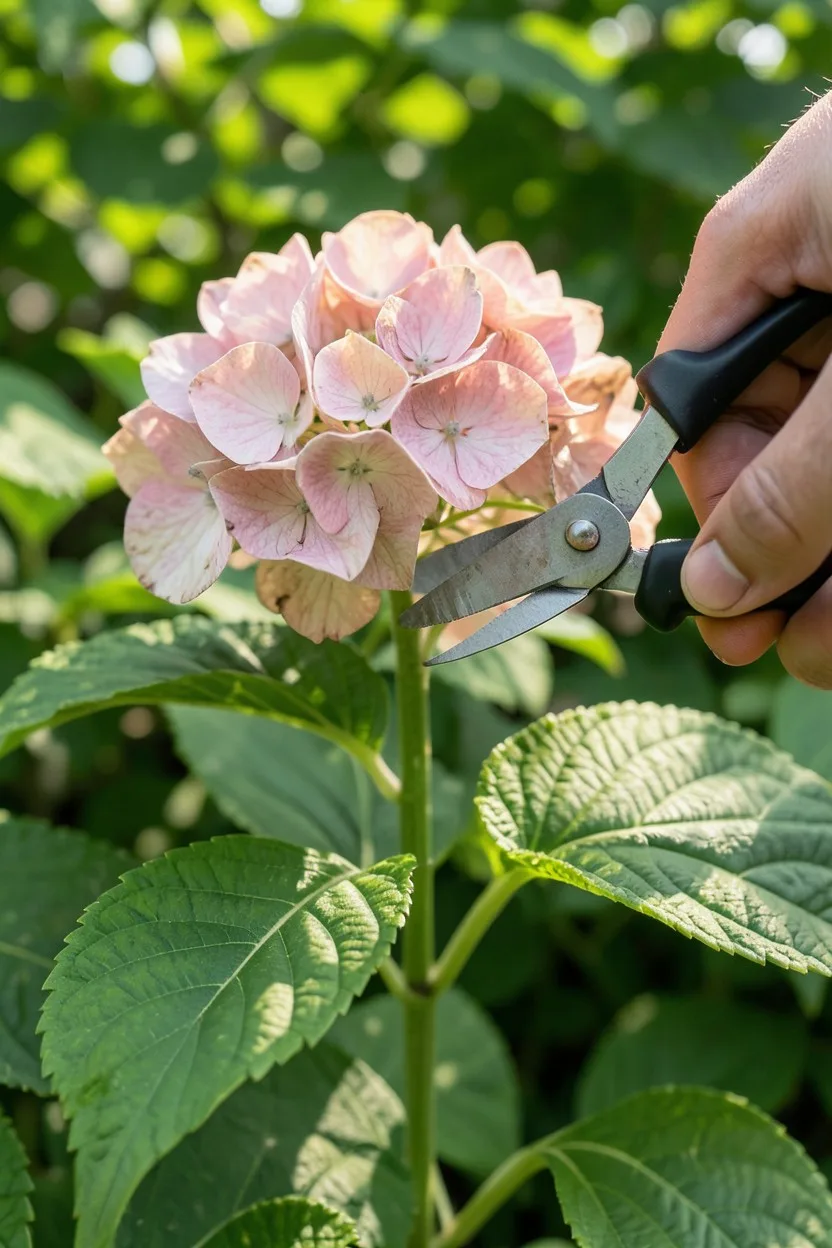
13. Differentiate Deadheading from Actual Pruning
Deadheading is the simple aesthetic removal of faded, brown flower heads, and it can be performed safely on any hydrangea variety at any time of the year. To deadhead without losing next year's blooms, clip the stem immediately below the base of the flower structure, well above the first set of true leaves.
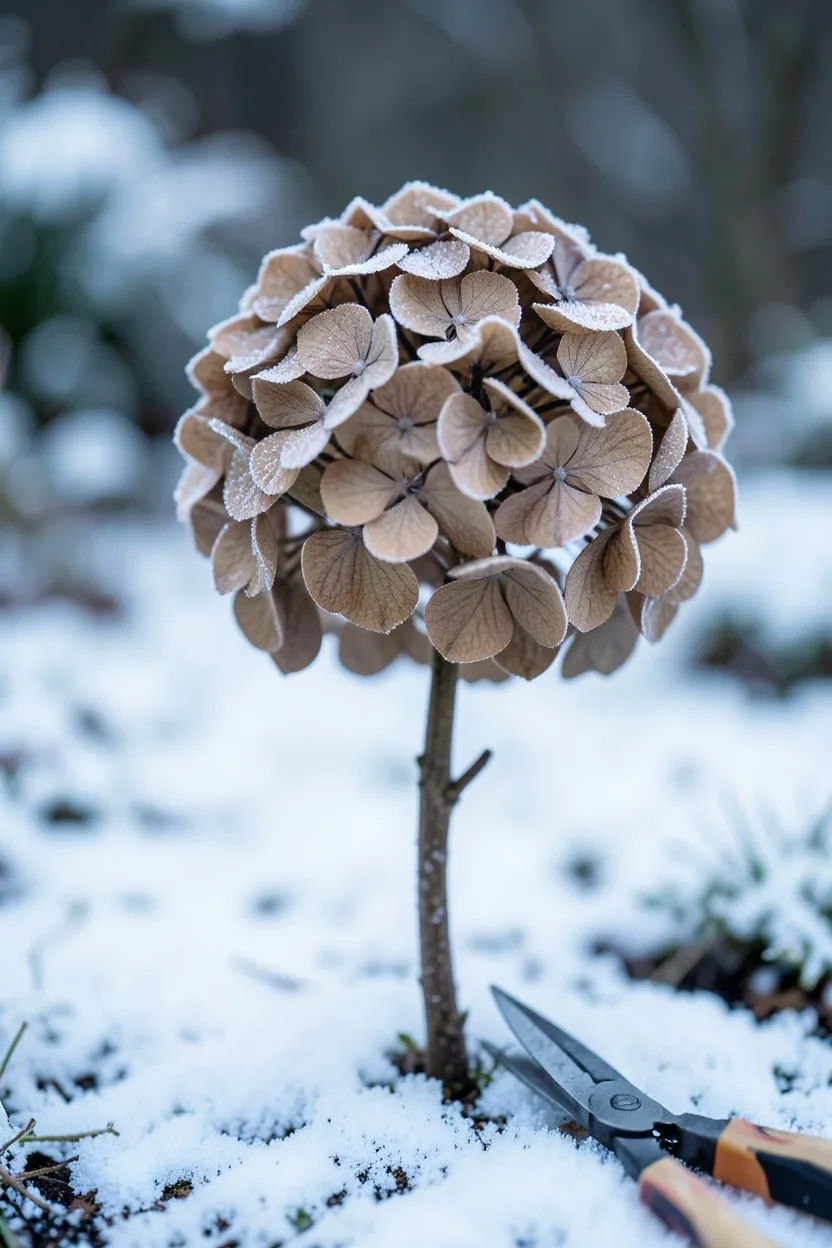
Do not cut down into the thick woody stem below during autumn or spring on bigleaf varieties, as that wood contains the active buds. Leaving faded blooms on the plant through the winter provides an attractive structural element in snowy weather and helps insulate the terminal buds from hard freeze damage.
💡 Tip: Keep faded flower heads on the plant all winter long to act as natural armor for the tender buds underneath.
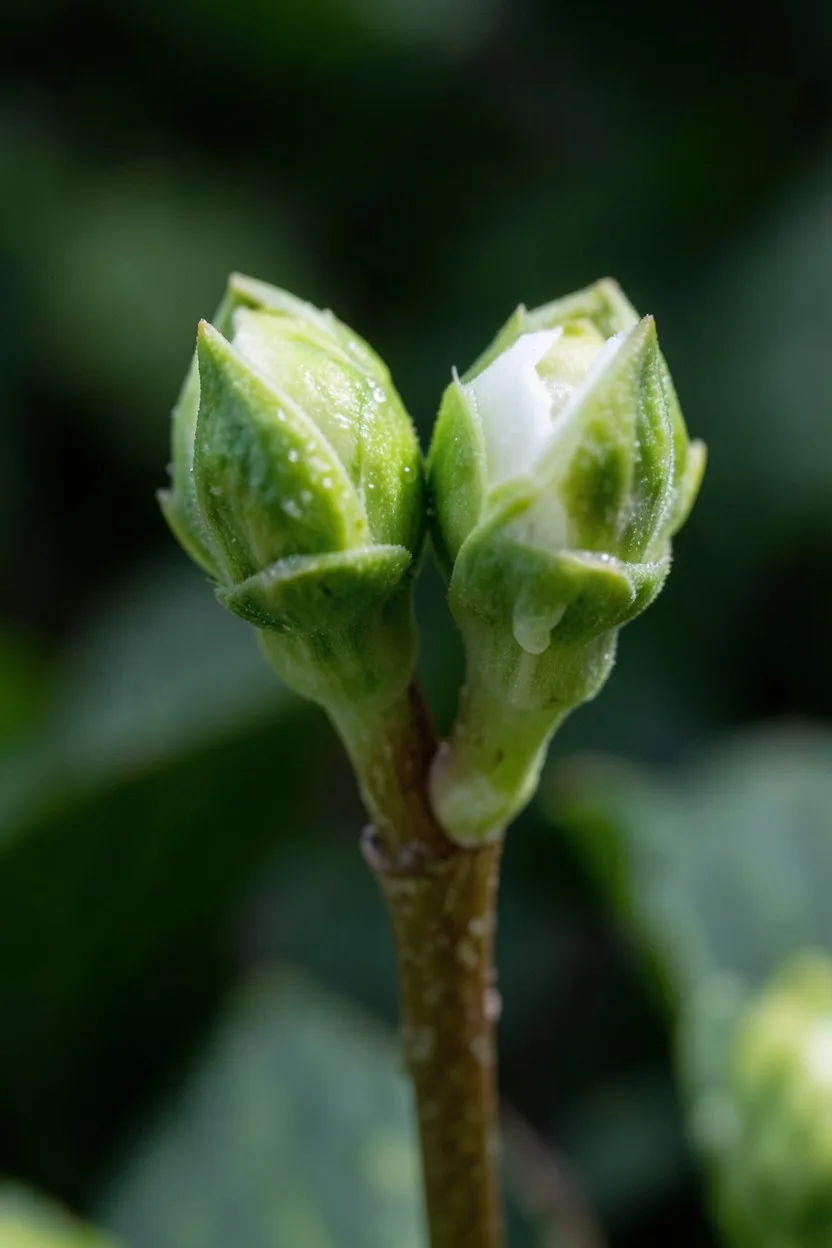
14. Recognize Frost Damage Before Cutting
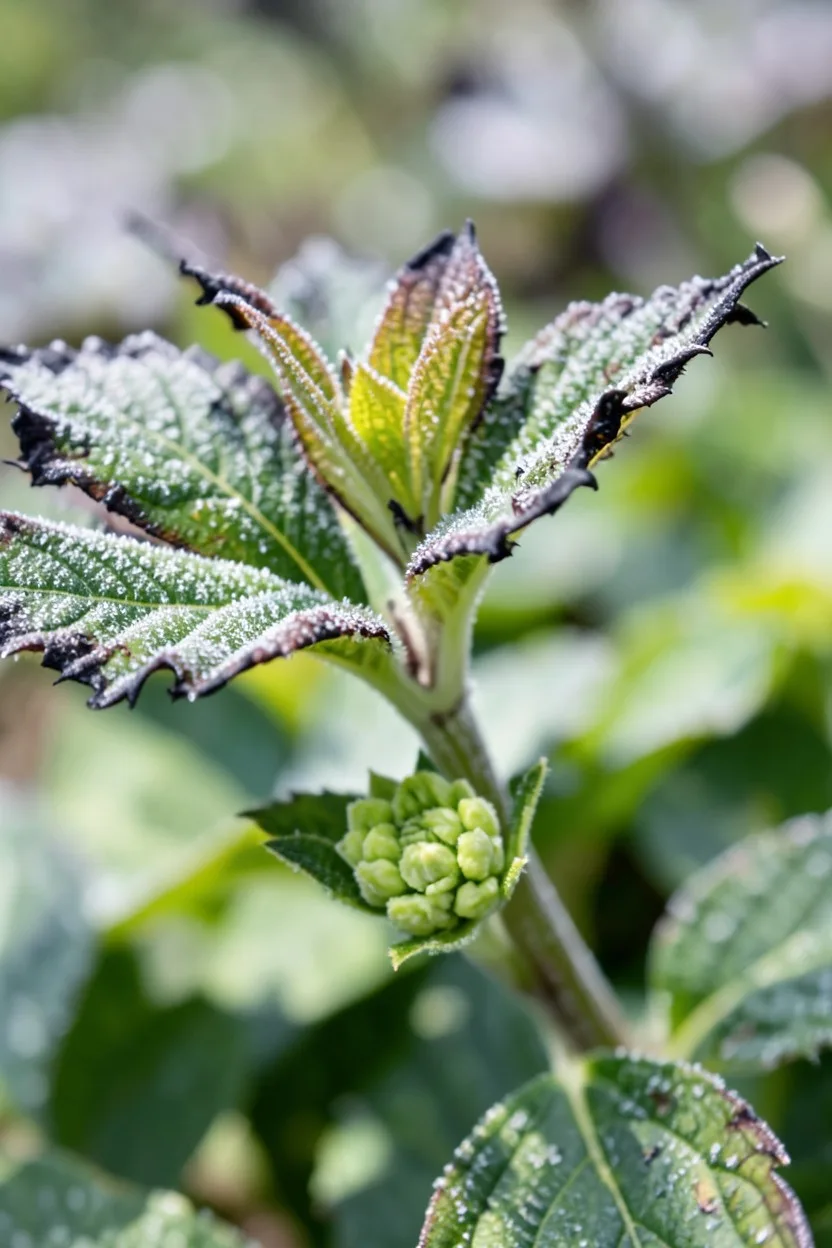
Late spring frosts can easily zap the tender new green leaves and flower buds expanding on old-wood hydrangeas, turning them a mushy, translucent black color overnight. Do not panic and run out to cut the blackened tips off immediately after a cold snap hits your area.
Wait until late May or early June when the plant finishes its spring growth push to see exactly which stems recover. Often, the main terminal bud dies but secondary buds located further down the same stem survive the freeze and will emerge to produce beautiful midsummer flowers if you leave them alone.
15. Feed Your Hydrangeas Post Pruning
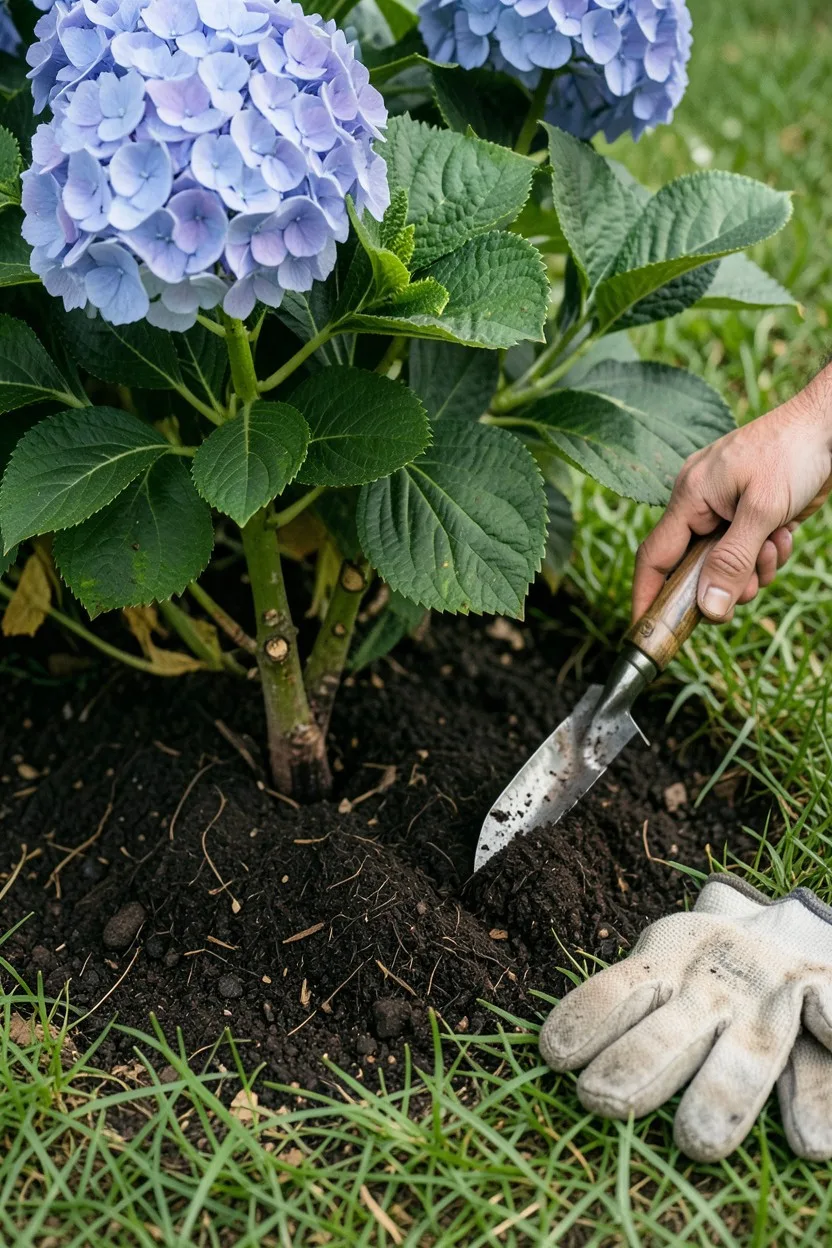
Pruning triggers an immediate metabolic response, causing the plant to use its energy stores to heal cuts and push out new growth. Once you finish pruning your new-wood varieties in spring, apply a two-inch layer of organic compost or a balanced, slow-release fertilizer around the base of the shrub to supply essential nutrients.
Keep the fertilizer six inches away from the main stems to avoid burning the bark. Water the area deeply with a garden hose to dissolve the nutrients and wash them down into the root zone, ensuring the plant has the fuel it needs to build strong wood and brilliant flower heads.
Avoid These Common Pruning Errors
Final Thoughts
Your hydrangeas should now have a clean, balanced framework of productive wood that is ready to push out a massive display of summer flowers without any bare patches. Take five minutes right now to check your garden beds, verify which species you own, and mark the correct pruning window directly onto your calendar so you never lose your blooms again.

John Smith is the founder and CEO of Karaoke Machines Guru. He is a karaoke tutor and karaoke enthusiast and has been passionate about karaoke since he was a child. He also writes about karaoke-related tips, guides, and product reviews on this website.
He overlooks the whole website and makes sure that everything is running smoothly. Learn more!