When an outdoor container plant outgrows its home, it sends you clear distress signals. You will notice water pooling on the top soil surface without sinking in, roots creeping out of the bottom drainage holes, and stunted leafy growth despite regular feeding. Inside that pot, a dense, swirling mass of wood-hard roots is choking out the soil, starving the plant of oxygen and water.
Fixing a severely root-bound plant requires more than just dropping it into a larger vessel. You need to actively break the root memory, prune away dead tissue, and set up a nutrient-rich foundation in the new container so your specimen can thrive for seasons to come.
Project Overview
1. Water the Plant Deeply One Day Before
Pour water into the current container until it runs freely out of the bottom drainage holes 24 hours before you plan to repot. Hydrated root tissue is significantly more pliable and resilient than dry, brittle root tissue, which snaps easily under stress. The moisture also slick-coats the inside wall of the current pot, making it much easier to slide the dense mass out without ripping the main root structure.
Dry soil binds directly to porous materials like raw terracotta or unglazed ceramic. If you attempt to pull a bone-dry, root-bound plant, you will leave the vital outer feeder roots cemented to the old pot walls, shocking the plant.
2. Select a New Pot Two Sizes Larger
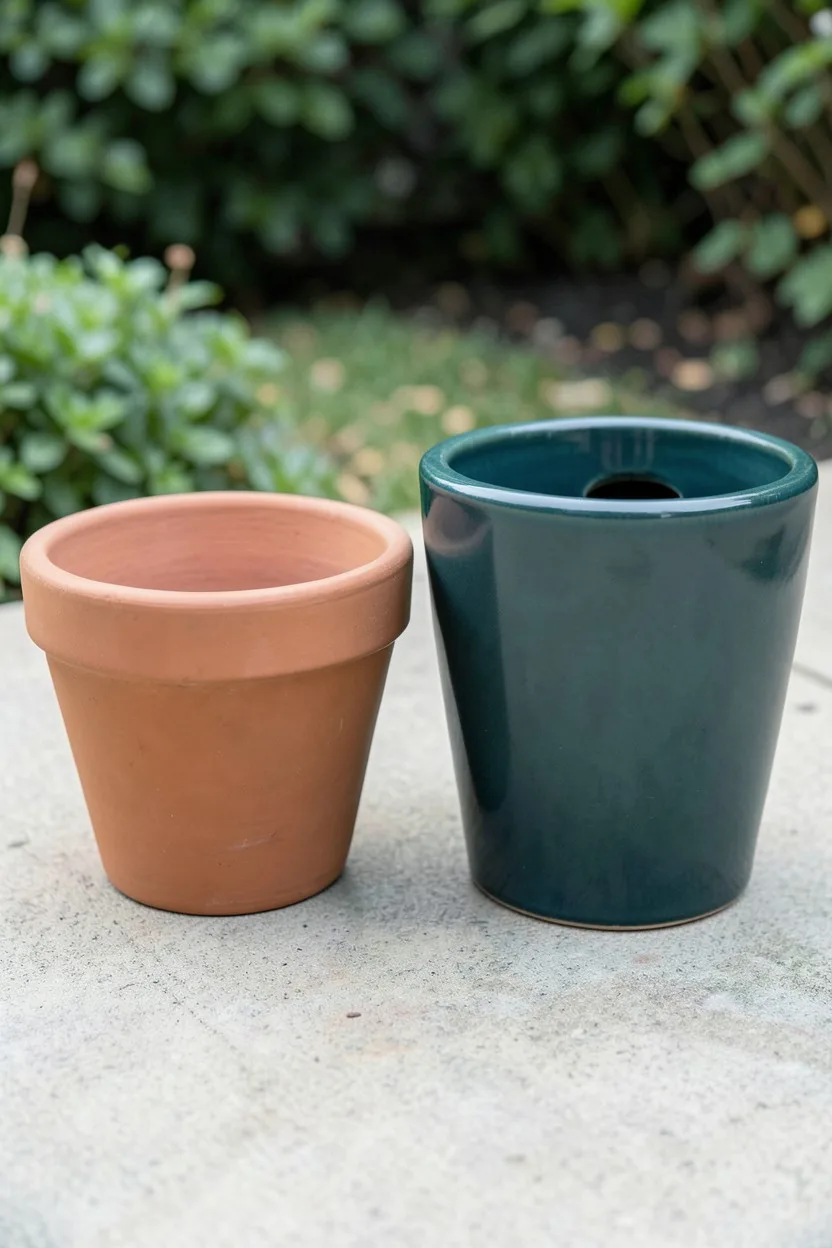
Measure the diameter of your current container and select a replacement that is exactly 2 to 3 inches wider across the top rim. If your plant is currently in a 10-inch pot, move it up to a 12-inch or 13-inch vessel. Going any larger creates an empty zone of excess soil around the roots that stays waterlogged for too long, rotting the roots.
Choose a heavy material like thick-walled glazed ceramic, stone composite, or durable terracotta for outdoor plants. Top-heavy shrubs or perennials require substantial baseline weight to prevent summer wind gusts from tipping the entire setup over on your patio.
3. Verify the Drainage Configuration
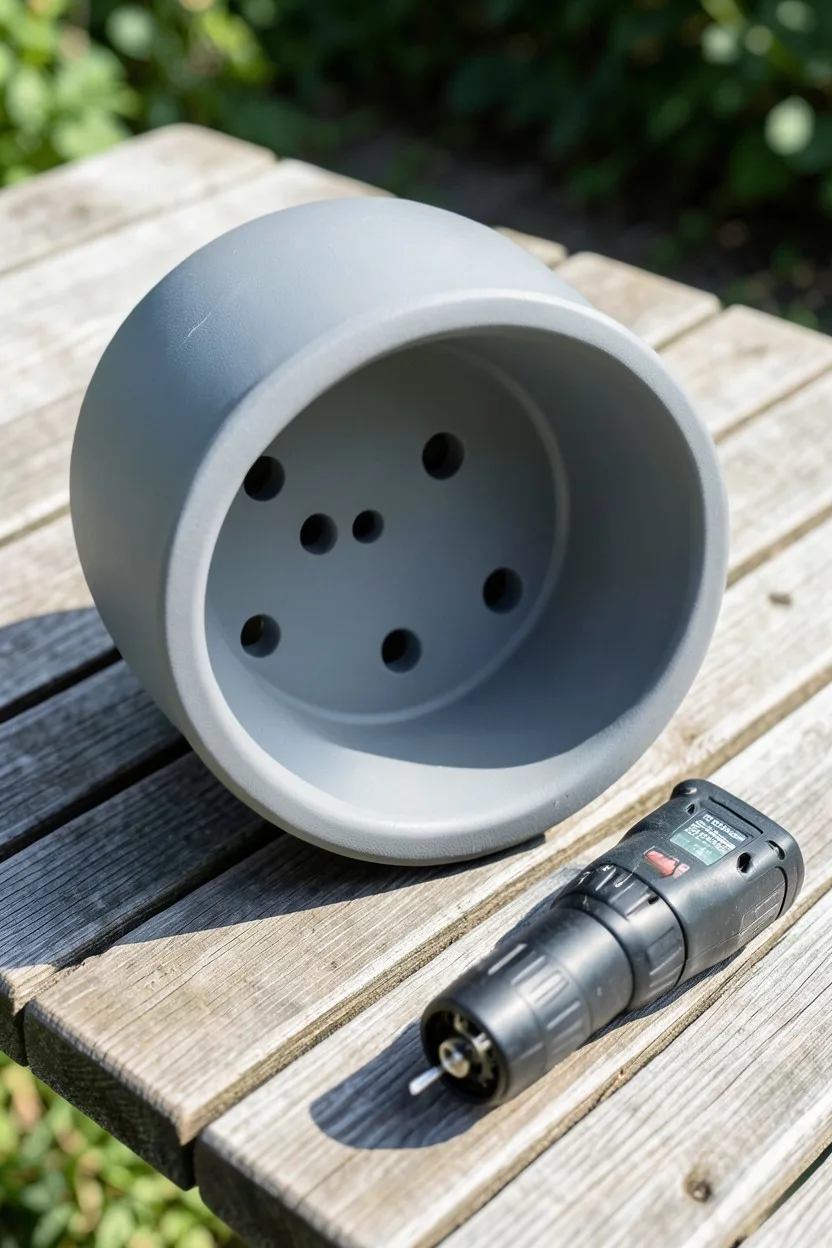
Flip the new container over and inspect the base to ensure it has at least one clear drainage hole measuring a minimum of a half-inch in diameter. For larger pots over 14 inches, look for vessels with three or more drainage points. Never trust pots sold as outdoor planters that feature solid, sealed bases unless you drill them out yourself.
Stagnant water at the base of an outdoor container cuts off oxygen to the root zone entirely. This creates an anaerobic environment that breeds root rot fungi, melting away the new root growth you are trying to stimulate.
💡 Tip: If using plastic or resin pots without holes, drill them out using a 1/2-inch spade bit at low speed to avoid cracking the base.
Before You Extract the Plant
-
Sterilize your pruning shears Wipe blades with 70% isopropyl alcohol to prevent transferring soil pathogens.
-
Prepare the workspace Lay down a heavy plastic tarp or work directly on a clean lawn or potting bench.
-
Check your potting mix Ensure you have a fresh bag of high-drainage outdoor potting soil, not heavy topsoil.
-
Gather drainage screens Have a piece of fine mesh or a curved pottery shard ready to cover the new drainage hole.
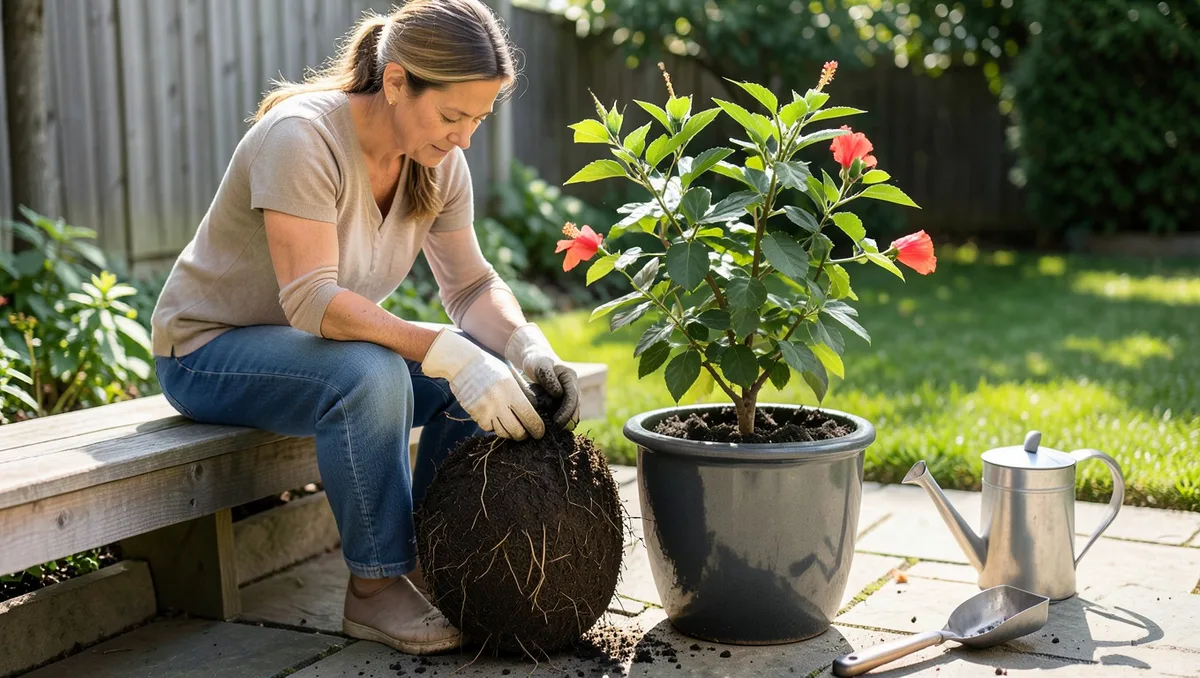
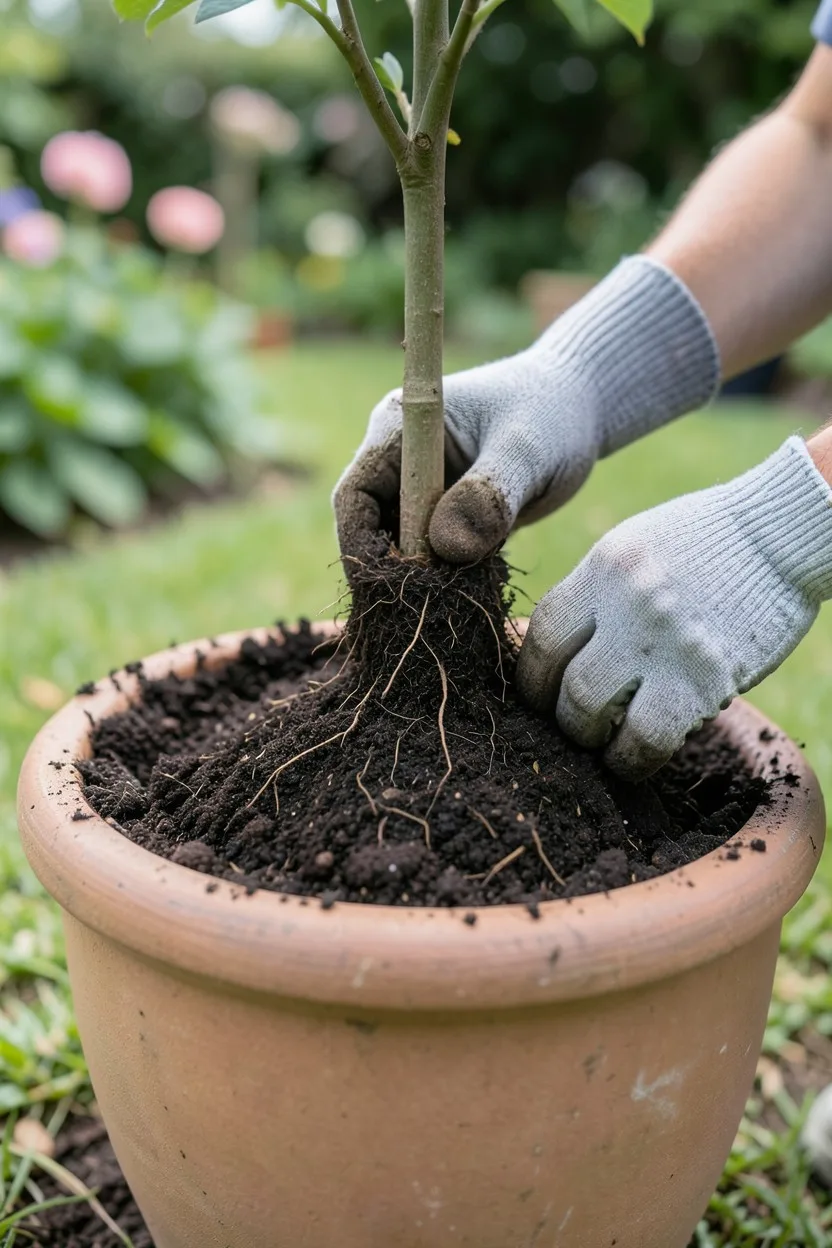
4. Extract the Plant Safely from the Pot
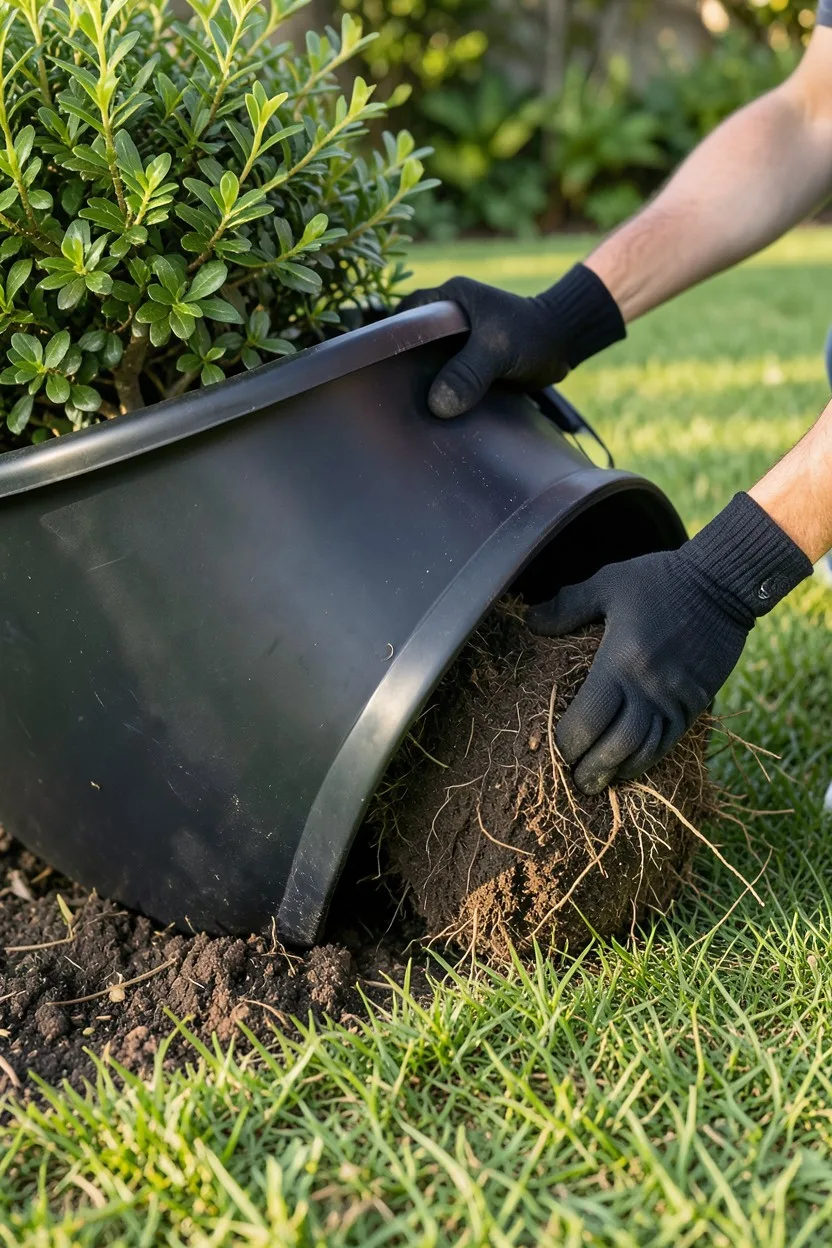
Place the container flat on its side on a stable surface like a lawn or a tarp. Place your hands firmly on the main base of the plant stems, right at the soil line, and use your other hand to pull the base of the pot away from the root ball. Never yank or jerk the plant out by its top branches, which can tear the main trunk away from the crown.
If the mass refuses to move, apply firm pressure to the outside walls of the pot to flex the container material and break the internal suction. For rigid terracotta pots, slide a long, thin serrated knife or a flexible metal drywall joint knife down along the inside edge to slice the bound roots free.
5. Assess the Severity of the Root Mass
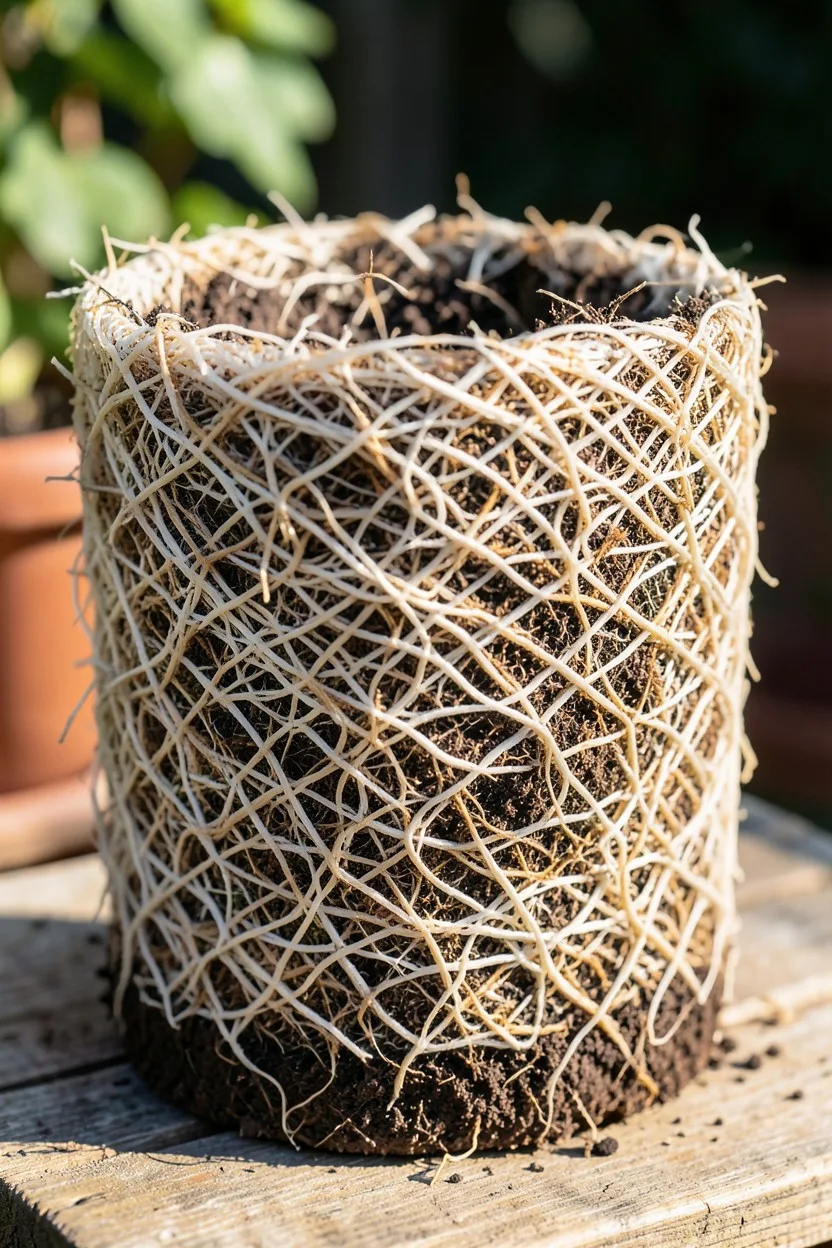
Examine the exposed root ball to determine the necessary level of intervention. A mildly root-bound plant shows a visible network of roots growing along the outside of the dirt, but soil is still clearly visible. A severely root-bound specimen forms a solid, white or light brown woody cage of roots with zero visible exterior soil.
Look closely for soft, black, or foul-smelling sections at the very bottom of the mass. These are dead or rotting roots that must be excised completely before the plant goes into fresh soil, as they will otherwise continue to decay and compromise healthy tissue.
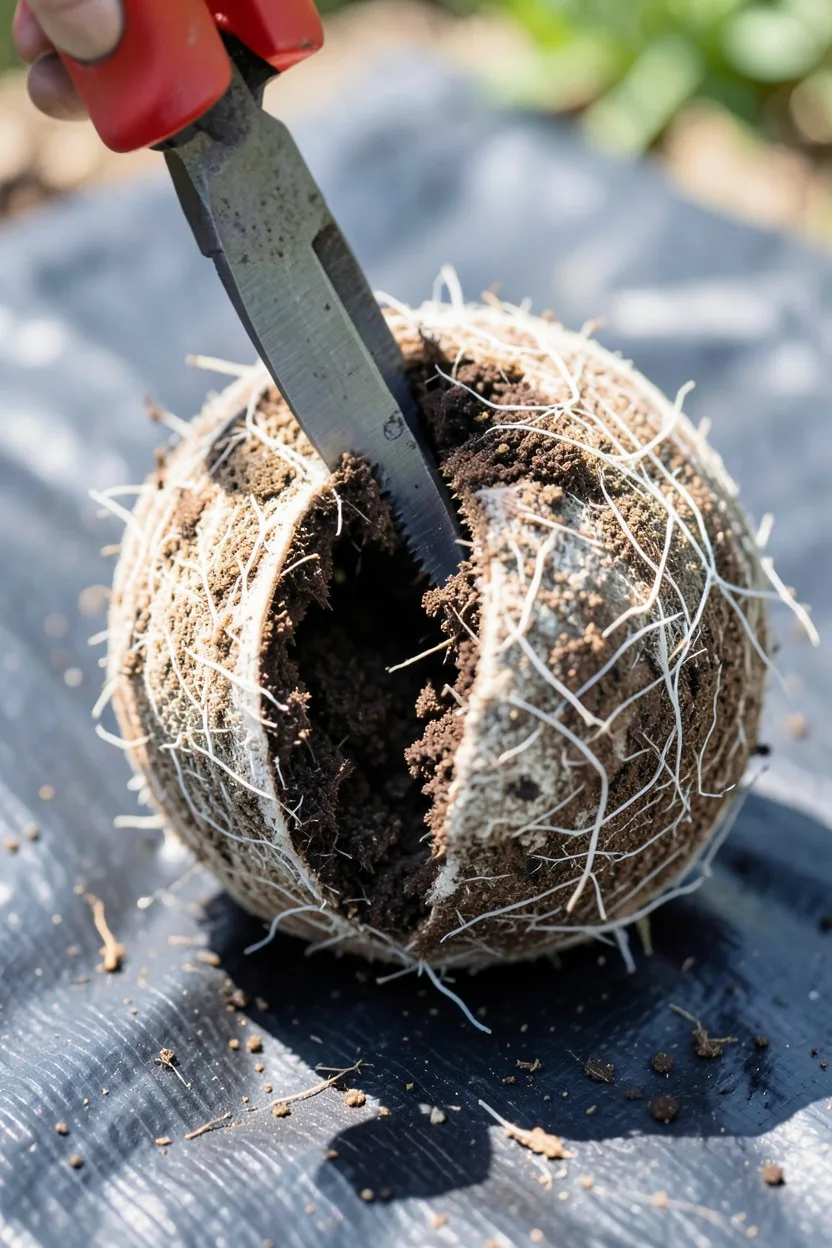
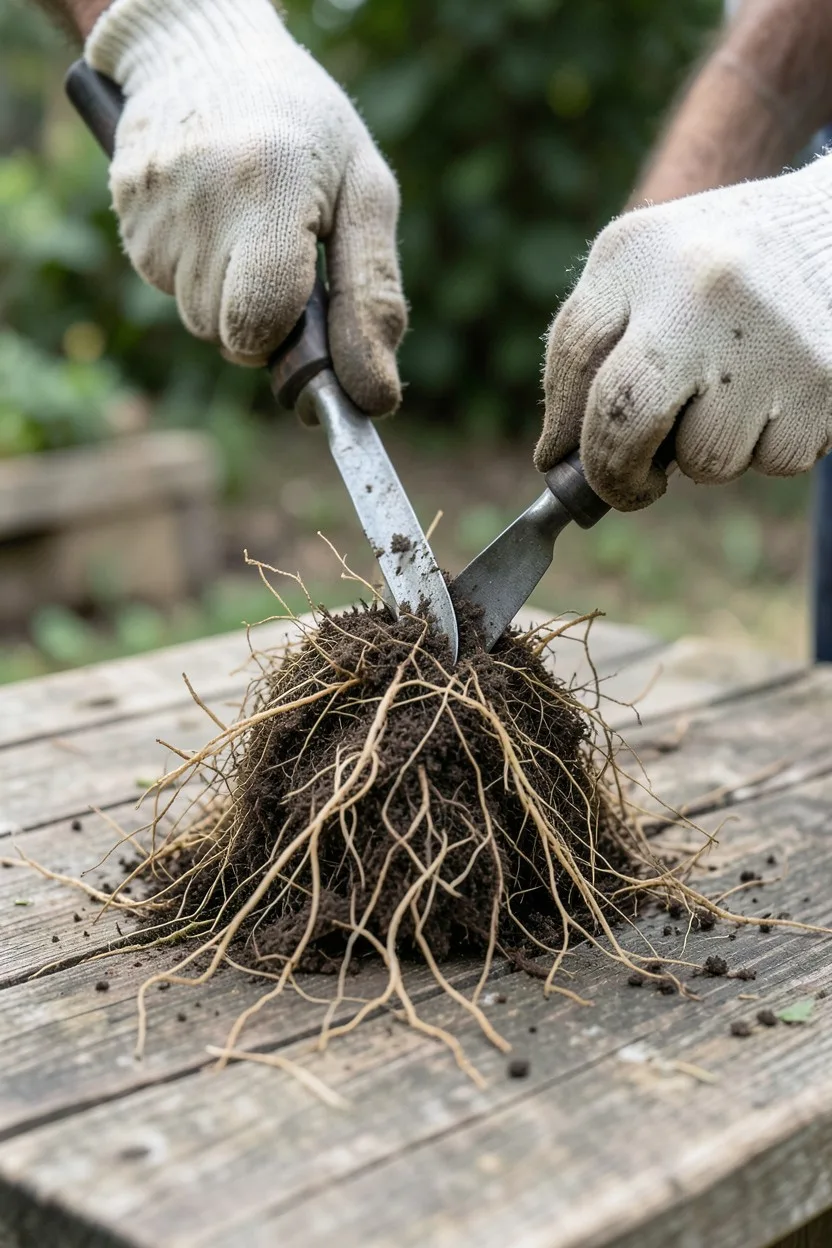
6. Slice the Bottom Root Ring Clean Off
Take a sharp, serrated soil knife or clean pruning shears and slice away the bottom half-inch to one inch of the root ball if it has formed a thick, matted pancake at the base of the pot. Roots that coil tightly at the absolute bottom of a container lose their directional memory and will continue to grow in a useless circle even inside a larger container.
Cut straight across the bottom in a clean, flat plane. Do not worry about losing these bottom fibers; removing this matted dead zone forces the plant to trigger fresh, vigorous, outward-seeking lateral root systems from its core.
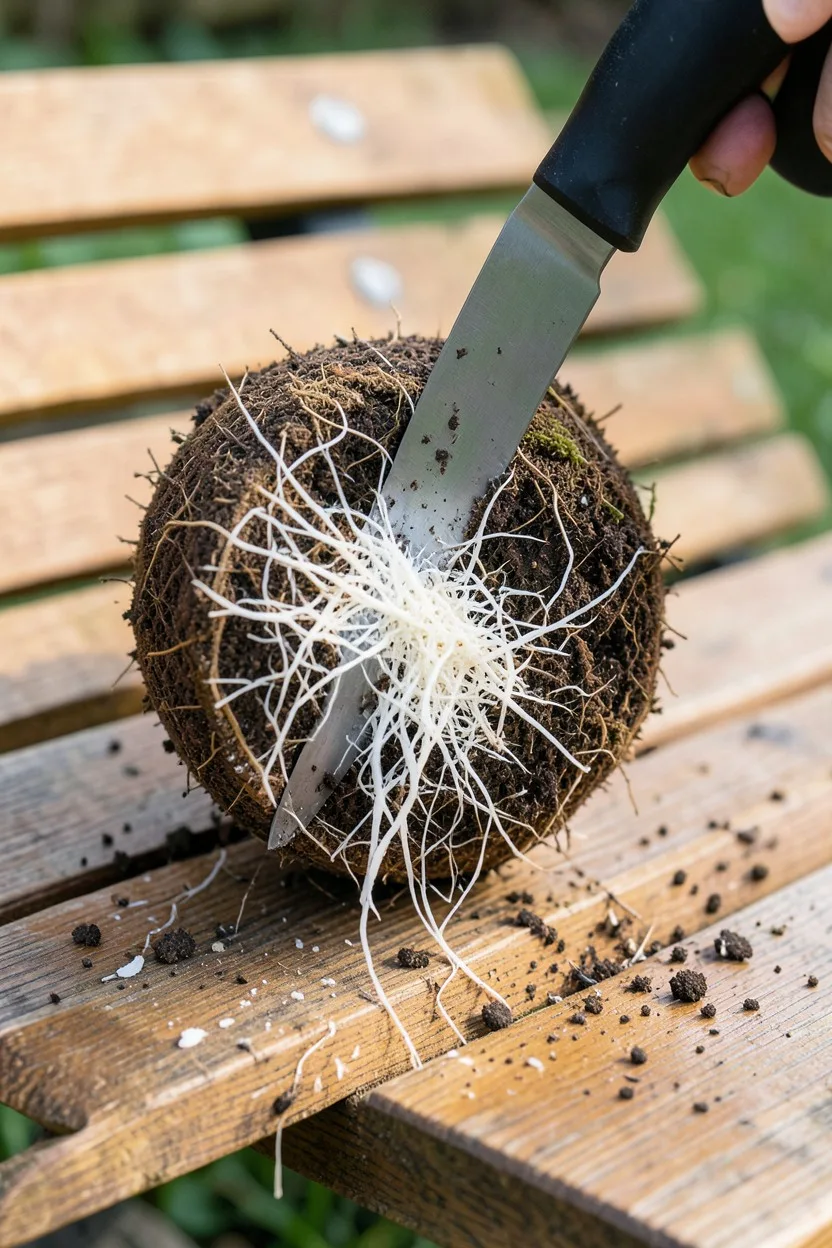
7. Make Vertical Incisions Around the Sides
Cut four evenly spaced vertical slits around the sides of the remaining root ball, moving from the top shoulder down to the base. Use your knife or shears to slice roughly one-half inch deep into the root mass. These vertical scores effectively sever the continuous circular growth pattern of the outer roots.
This mechanical disruption acts as a growth signal. When a root tip is cleanly cut, it branches out into multiple new tips right at the site of the incision, directing fresh growth outward into the new potting medium instead of continuing to wrap around itself.
Root Treatment Strategy
8. Tease Open the Exterior Root Wall
Insert your fingers, a handheld cultivator, or a sturdy wooden chopstick into the vertical cuts you just made and gently pry the roots outward. Work from the bottom up, pulling the matted fibers away from the central soil core until they hang loose like a shaggy fringe. Your goal is to make the root ball look messy and frayed.
Spread these loosened roots outward so they can establish immediate contact with the fresh soil layer. If you leave the root ball surface smooth and compacted, the roots will struggle to penetrate the boundary layer between old and new soil, stunting development.
9. Cover the New Drainage Hole Correctly
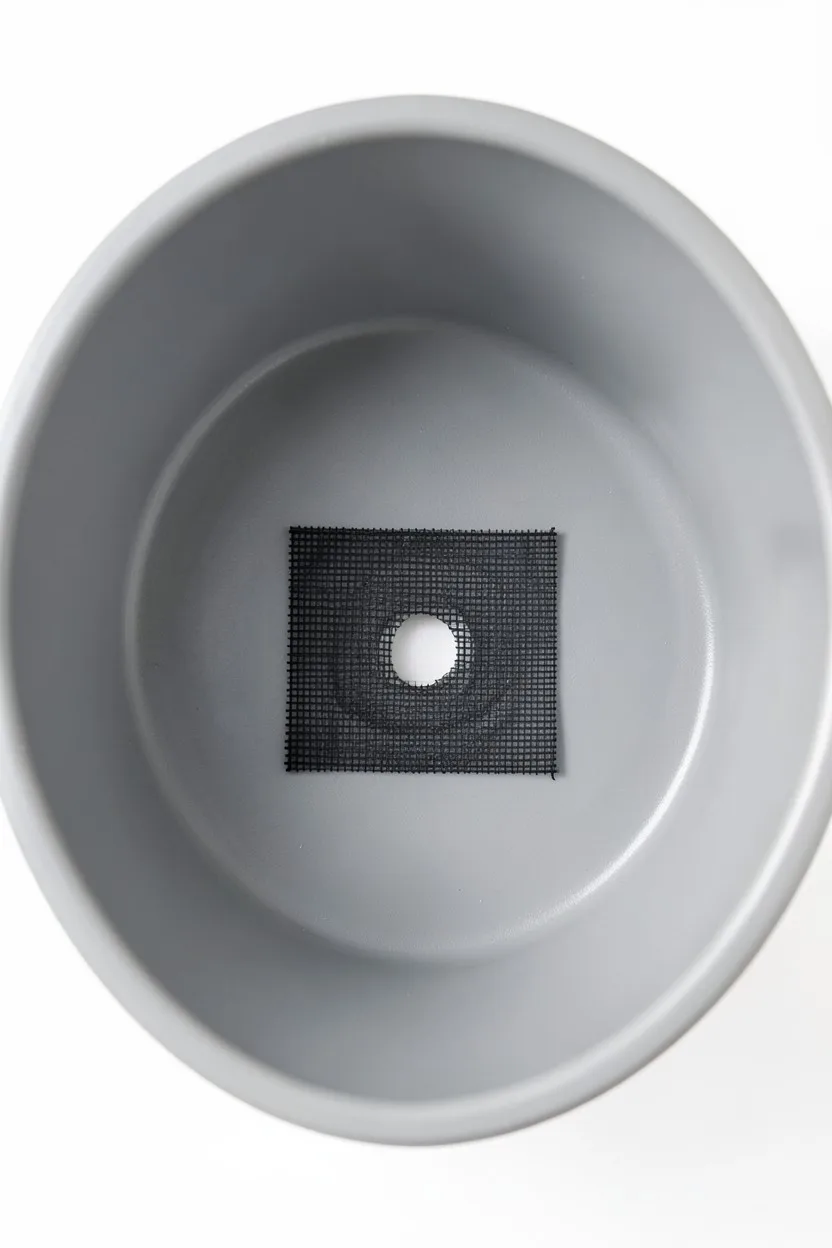
Place a small piece of flexible fiberglass window screening, a fine plastic mesh pad, or a large, curved piece of a broken terracotta pot directly over the central drainage hole of your new container. The barrier must completely cover the opening while remaining unsealed around the edges.
This step prevents your fresh, loose potting soil from washing out through the bottom hole every time you water the container. It also blocks pests like slugs, earwigs, and pillbugs from crawling up through the drainage hole into the warm root zone of your plant.
💡 Tip: Never add a thick layer of gravel or rocks to the bottom of the pot. This creates a perched water table that actually raises the moisture level up closer to the roots, increasing rot risk.
10. Add a Firm Foundation of Fresh Soil
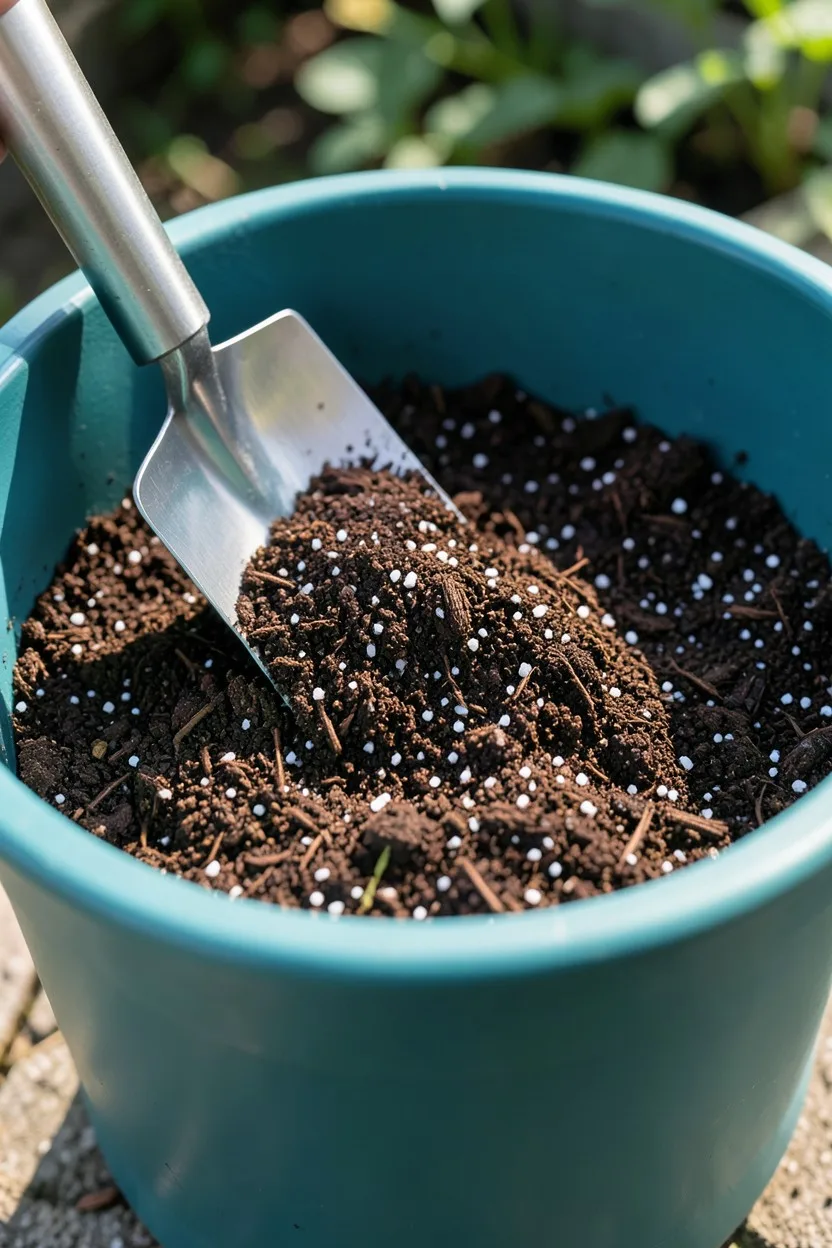
Pour a high-quality, well-draining outdoor potting mix into the bottom of the new container. Look for mixes containing standard ingredients like coarse peat moss, perlite, and aged pine bark. Lightly press the soil down with your knuckles to eliminate large, hidden air pockets at the base, but do not pack it tightly.
Add enough soil so that when the root ball sits on top of this layer, the original soil line of the plant rests exactly 1 to 2 inches below the rim of the new pot. Leaving this open space at the top provides a vital water basin during heavy irrigation.
11. Center the Plant and Align the Height
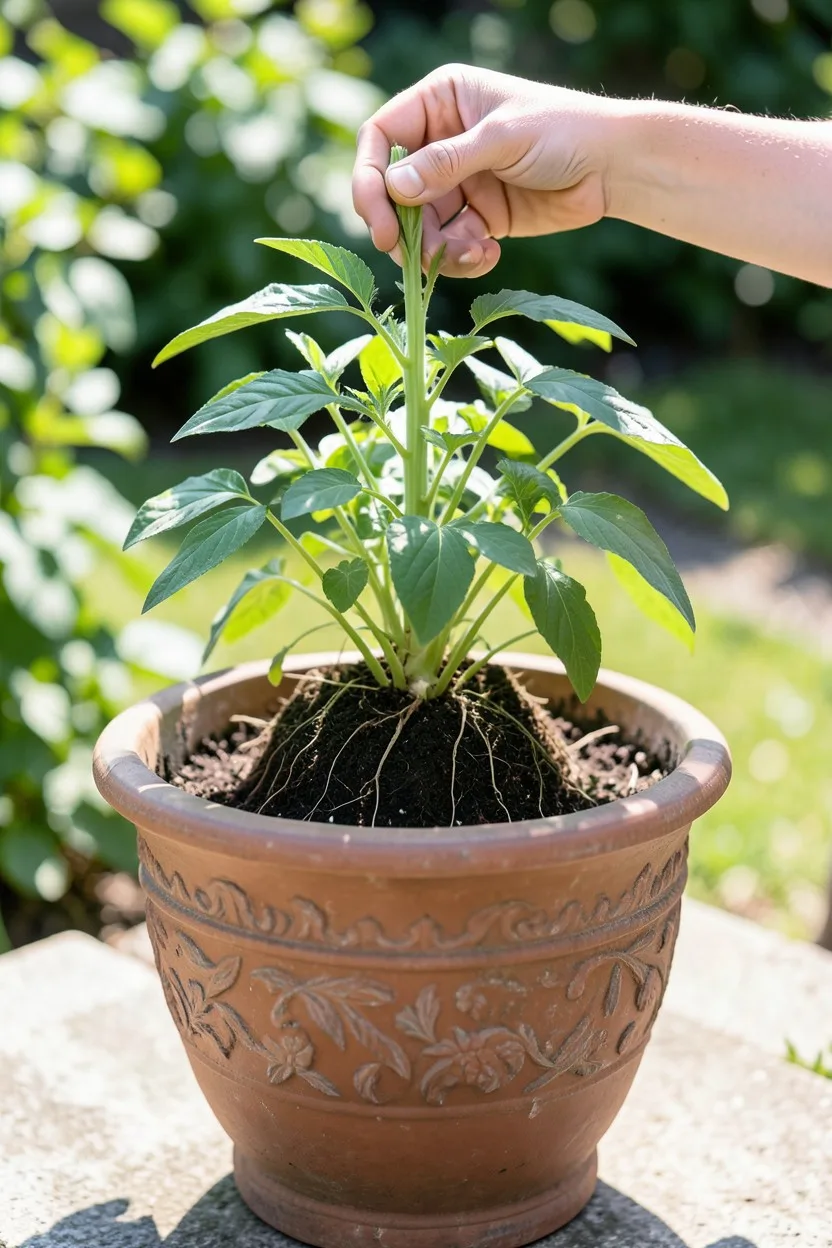
Lower the prepared, frayed root ball into the center of the new container. Step back and check the plant from multiple angles to ensure the main stem or trunk stands perfectly vertical and sits dead center within the rim. Adjust the soil layer underneath by adding or removing handfuls until the height is correct.
Verify that the top surface of the old root ball matches the depth of the new soil environment. Burying the stem deeper than its original growth line suffocates the bark and tissues at the crown, which introduces rot that can kill the plant within a single season.
12. Fill the Perimeter Void with Mix
Scoop fresh potting mix into the open ring of space surrounding the centered root ball. Work in layers, adding roughly 2 to 3 inches of soil at a time all the way around the pot. Use your fingers or a blunt wooden dowel to gently press the mix down into the gap, ensuring it fills completely from the bottom up.
Avoid shoving the soil down with extreme force, which crushes the aeration pores in the fresh mix. Your goal is simply to eliminate vertical empty voids so that the roots can seamlessly grow straight out into the new perimeter soil without hitting dead air pockets.
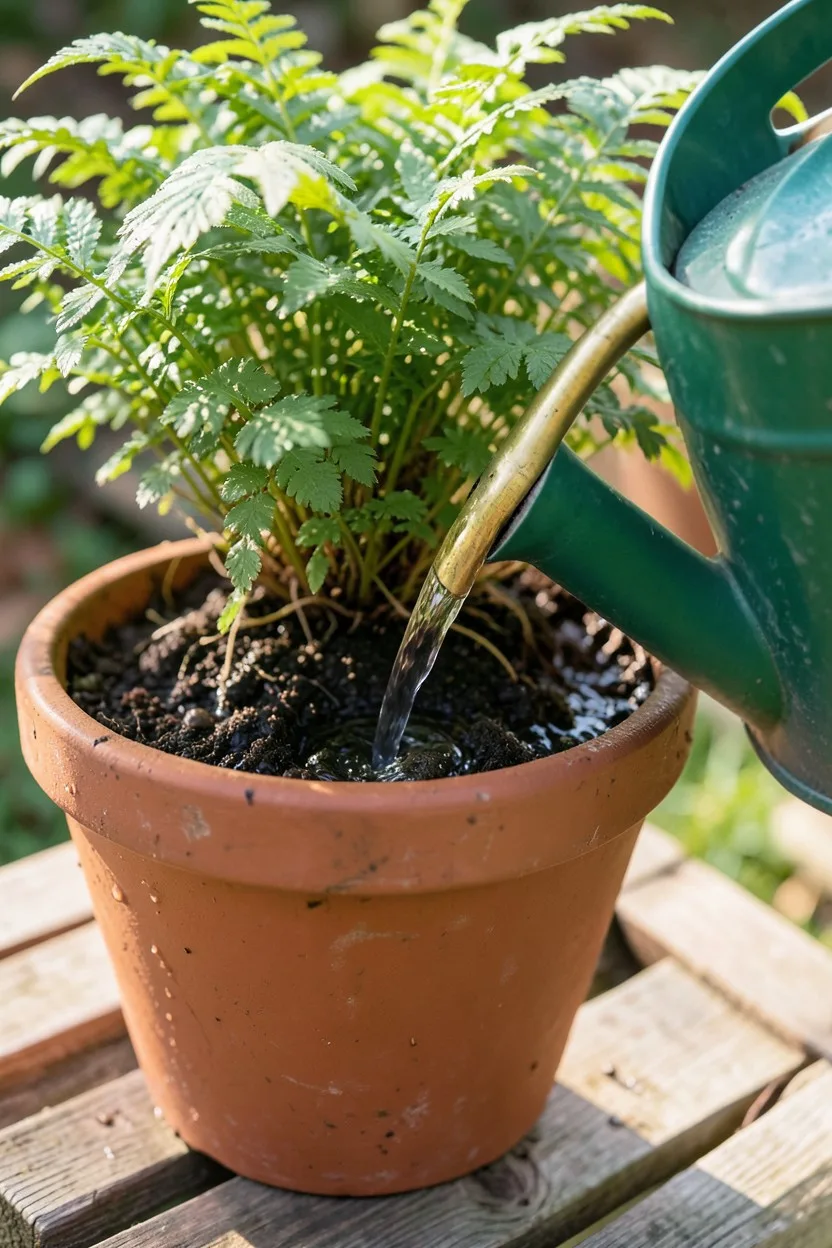
13. Settle the Soil with a Deep Water Treatment
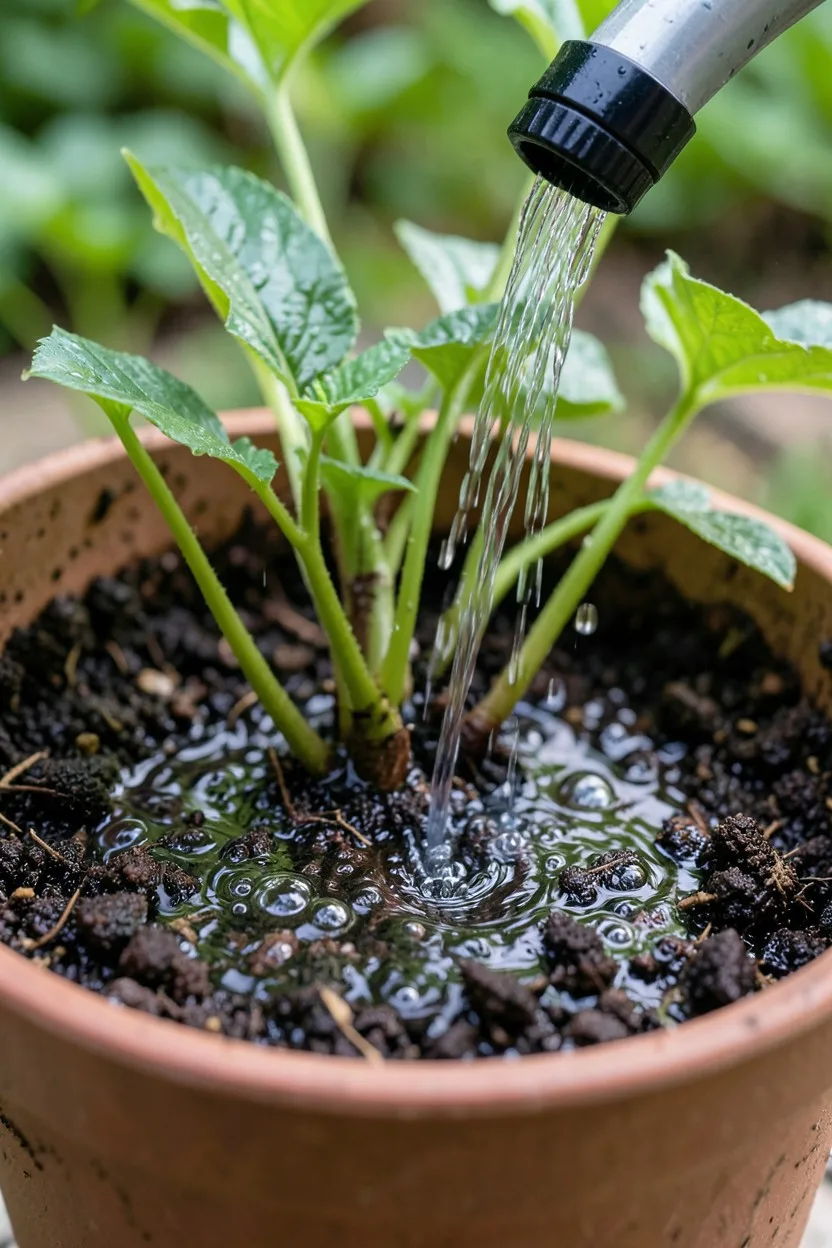
Apply a slow, steady stream of water directly to the fresh soil surface using a watering can fitted with a rose attachment or a hose set to a gentle shower mode. Keep pouring until water runs consistently out of the new bottom drainage holes. This initial watering is done to settle the medium mechanically.
As the water filters through, look for areas where the new soil sinks or drops significantly. If deep depressions form around the perimeter, add a few more scoops of dry potting mix to level the surface back up to the correct height, then moisten those additions lightly.
14. Apply a Thick Layer of Organic Mulch
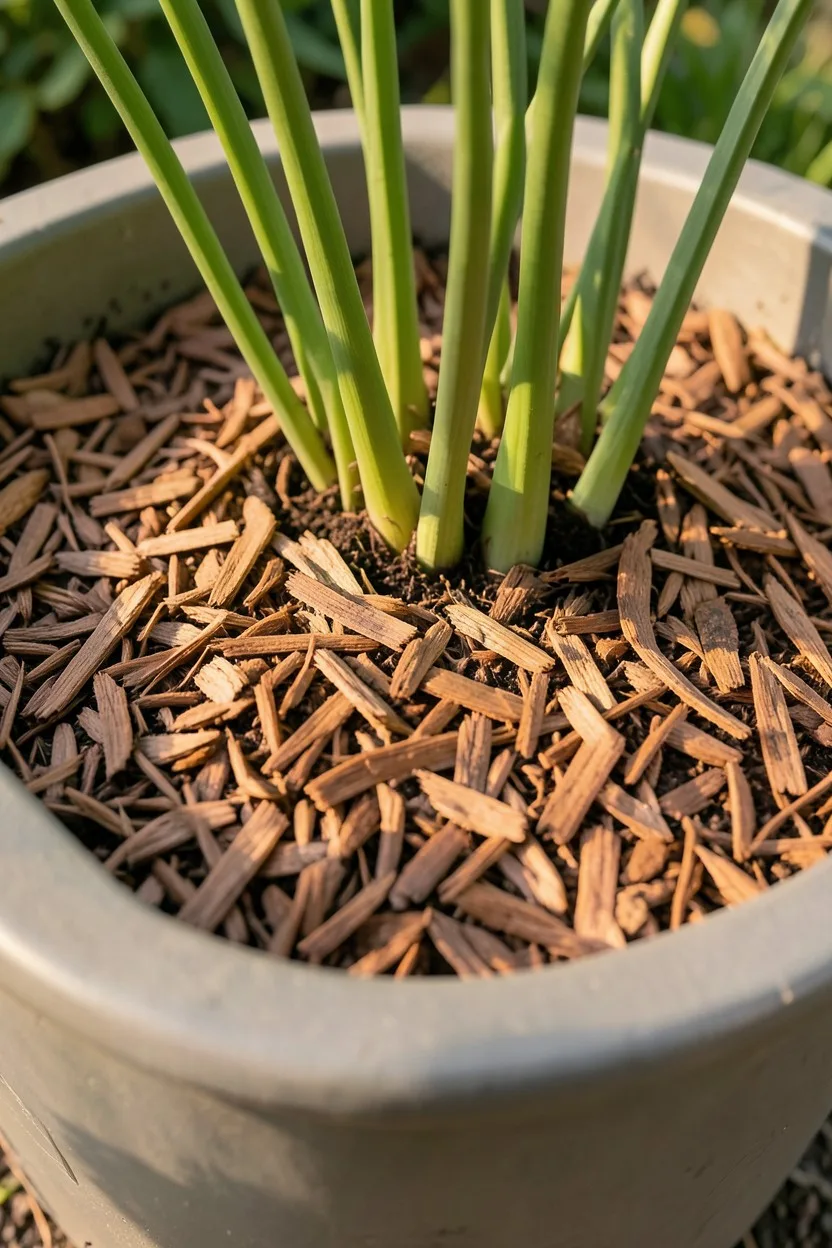
Spread a 1-inch layer of shredded cedar bark, pine straw, or clean pea gravel across the exposed soil surface, keeping the material roughly one inch away from the direct base of the plant stems. Mulching container plants stabilizes soil conditions dramatically.
Outdoor containers lose moisture rapidly due to wind and ambient heat heating the exterior walls of the pot. A proper layer of mulch prevents the top zone of fresh soil from baking into a hard, impermeable crust, ensuring that future water applications penetrate evenly down to the root system.
15. Shelter the Repotted Plant for One Week
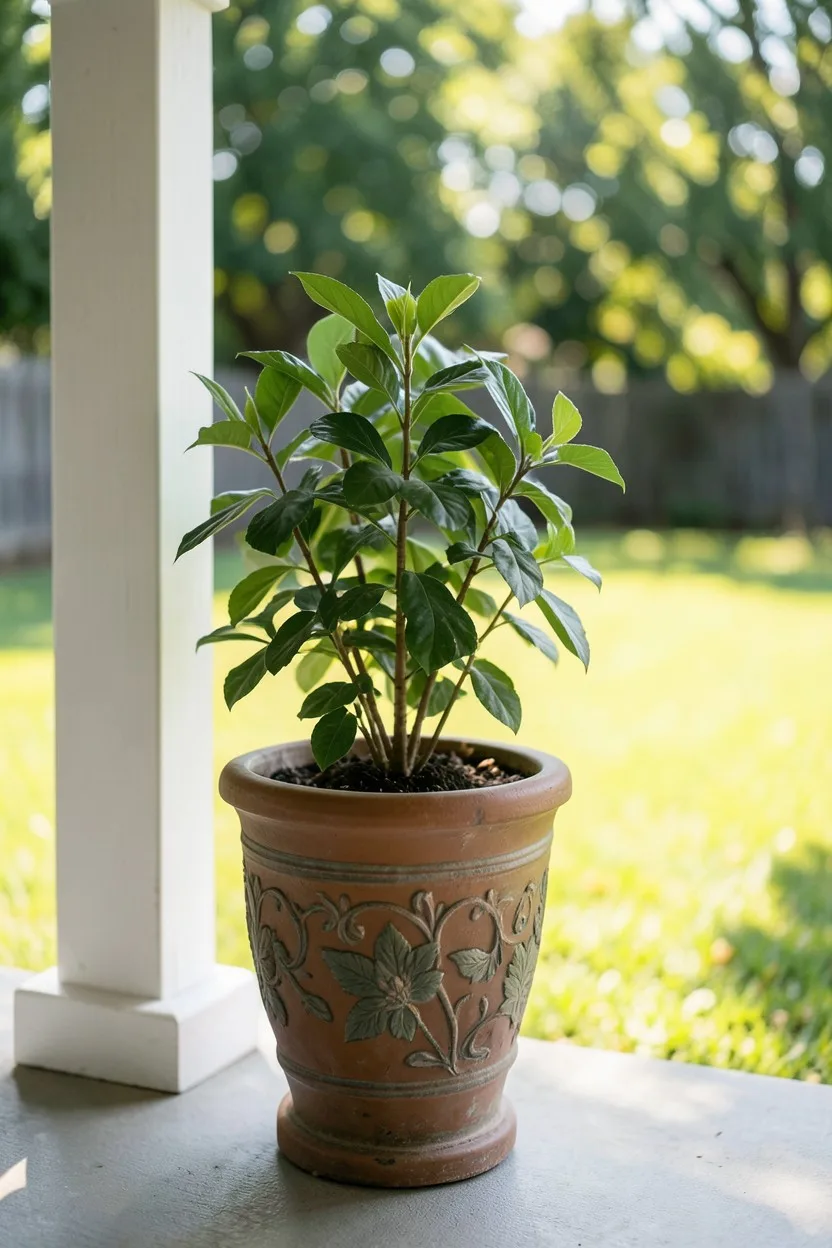
Move the newly potted container to a sheltered outdoor location that receives bright, indirect light or dappled shade for the next 7 to 10 days. Even tough, full-sun plants like lavender or citrus trees need a brief respite from harsh, direct midday afternoon sun while their severed roots begin to recover and draw water.
Monitor the soil moisture closely during this transition period. Because the new outer soil lacks roots, it will stay damp longer than the old center core; check the depth with your finger and water only when the top 2 inches feel dry to the touch.
Avoid These Common Repotting Mistakes
Final Thoughts
Your repotted container plant should now sit comfortably centered in its new vessel, with its roots freed from their old circular cage and surrounded by nutrient-dense, breathable potting soil. Check the moisture depth every three days over the next two weeks using your index finger to ensure the root ball establishes properly, and hold off on applying heavy chemical fertilizers until you see the first flush of vibrant new leaf growth.

John Smith is the founder and CEO of Karaoke Machines Guru. He is a karaoke tutor and karaoke enthusiast and has been passionate about karaoke since he was a child. He also writes about karaoke-related tips, guides, and product reviews on this website.
He overlooks the whole website and makes sure that everything is running smoothly. Learn more!