Creating a beautiful garden is a joy for many, but achieving that picture-perfect look requires more than just planting flowers. It has me thinking about how important it is to have well-defined borders around your flower beds. If you’re someone who loves to keep your garden looking pristine and organized, this post is for you. I’ve pulled together essential lawn edging tips that will help you create straight, clean lines for your flower beds, enhancing both their beauty and your curb appeal.
In this guide, you’ll learn everything from choosing the right metal edging material to regular maintenance practices that ensure longevity. You’ll also discover creative ways to style your borders, making your garden a true reflection of your personality. By the end of this post, you’ll have the knowledge and confidence to install metal lawn edging like a pro, transforming your outdoor space into a stunning sanctuary.
Key Takeaways
– Select the Right Material: Choosing quality metal edging is crucial for durability and aesthetic appeal. Options include aluminum, steel, and corten steel, each offering unique benefits for your garden.
– Prepare Your Area: Clear the flower bed area of weeds, rocks, and debris. This step ensures a smooth installation and a tidy look.
– Essential Tools: Gather the necessary tools, such as a hammer, shovel, and level. Having the right equipment makes the installation process much easier.
– Installation Steps: Follow a step-by-step approach to cut, install, and backfill the edging. Proper alignment will help create that perfect straight border you desire.
– Regular Maintenance: Maintain your metal edging by checking for rust and ensuring it stays firmly in place. Regular upkeep will keep your flower beds looking fresh and vibrant.
1. Choose the Right Metal Edging Material
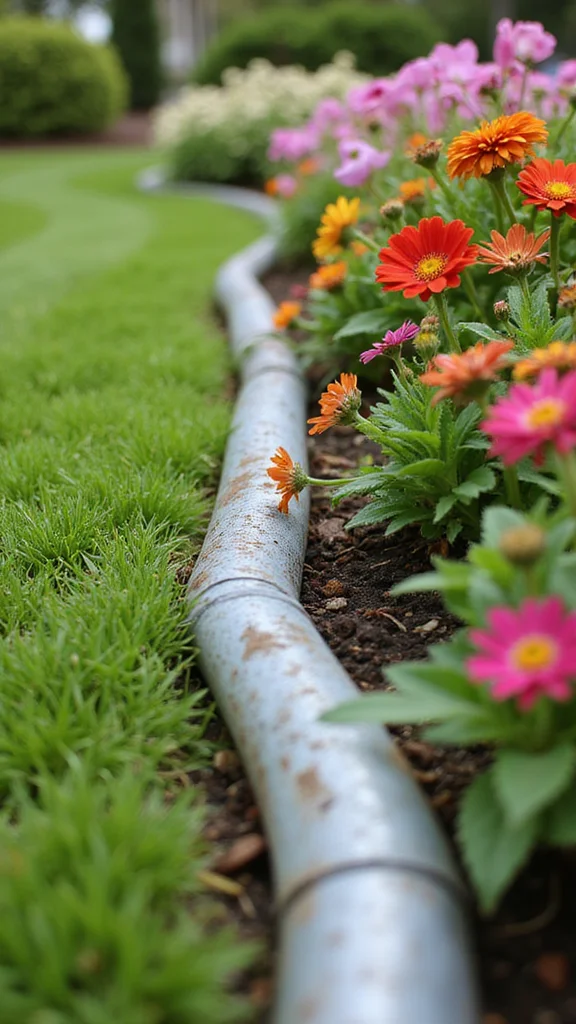
Finding the perfect metal edging material is essential for a beautiful and lasting flower bed. Options like aluminum, steel, and corten steel each offer unique benefits. Aluminum is lightweight and resistant to rust, making it a favorite among many gardeners. Steel is sturdier but may require more upkeep to keep it rust-free.
On the other hand, corten steel develops a lovely, rustic patina that enhances the natural beauty of your garden. When selecting your material, think about durability, visual appeal, and the climate in your area. Check local garden centers or online shops for a variety of styles and finishes that suit your design needs.
Key considerations for choosing material:
– Select a material that complements your home’s aesthetic.
– Keep your local climate in mind for material longevity.
– Look for complete DIY kits that simplify installation.
2. Prepare Your Flower Bed Area
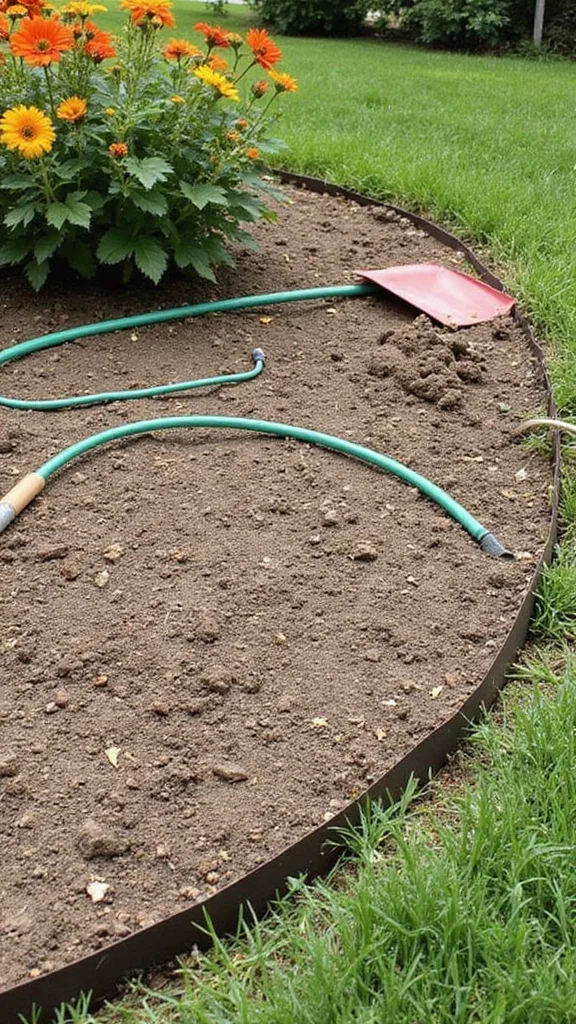
Getting your flower bed ready is vital for a successful edging project. Start by outlining where you want your metal edging to be. Use a garden hose or string to create the desired shape, giving you a clear visual guide for digging.
Next, remove any grass or weeds from your chosen area. You can either dig out the sod manually or use a sod cutter for larger sections. Level and smooth the soil to ensure your edging fits perfectly, enhancing both the appearance and functionality of your flower beds.
Preparation tips to follow:
– Avoid sharp curves; smooth edges are easier to install.
– Ensure the ground is level to promote proper drainage.
– Take your time; thorough preparation makes installation easier.
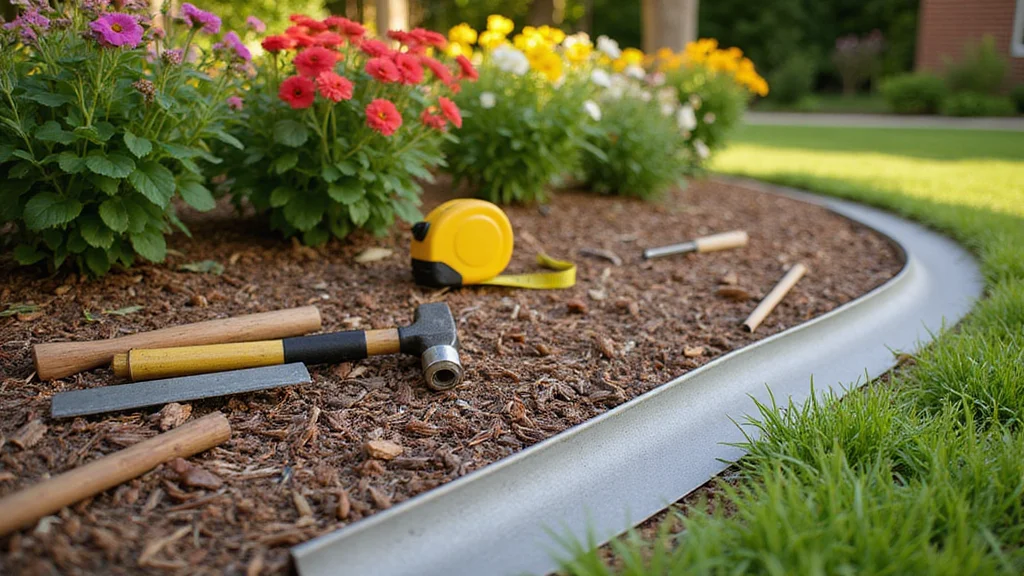
3. Gather Your Tools
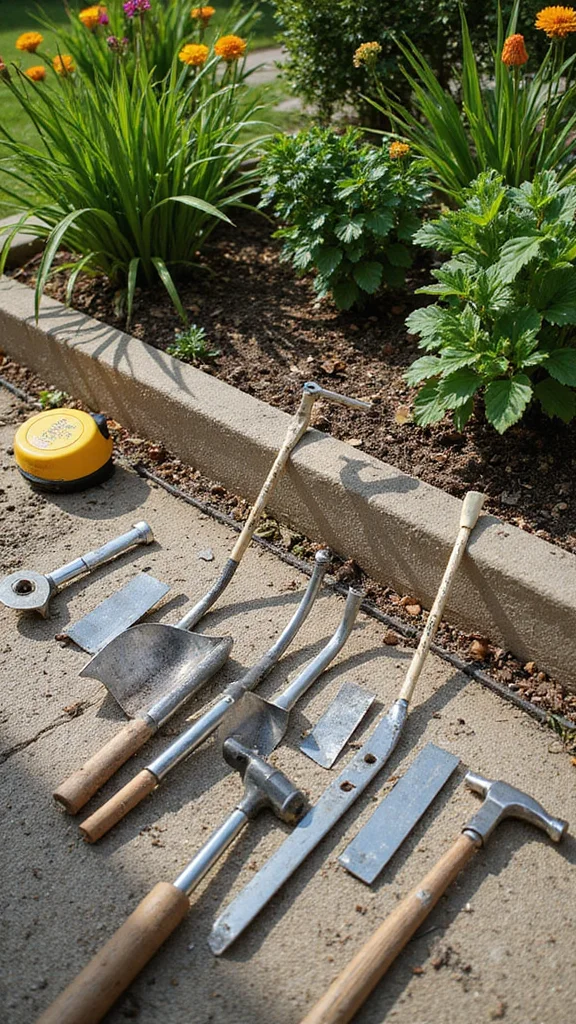
Before starting your installation, gather all the essential tools you’ll need. Here’s what to prepare:
– Metal lawn edging strips
– Stakes or anchors if not included
– A hammer or mallet
– A measuring tape
– A level for straight edges
– A shovel or spade
– Work gloves for hand protection
Having your tools organized will streamline your work process and enhance your experience. Ensure your metal edging kit includes all necessary components, such as connectors or brackets.
Tool gathering tips:
– Organize your tools to minimize searching time during installation.
– Consider using a portable toolbox to keep everything in one place.
– Look for online tutorials for any extra tools based on your edging style.
You Might Also Like
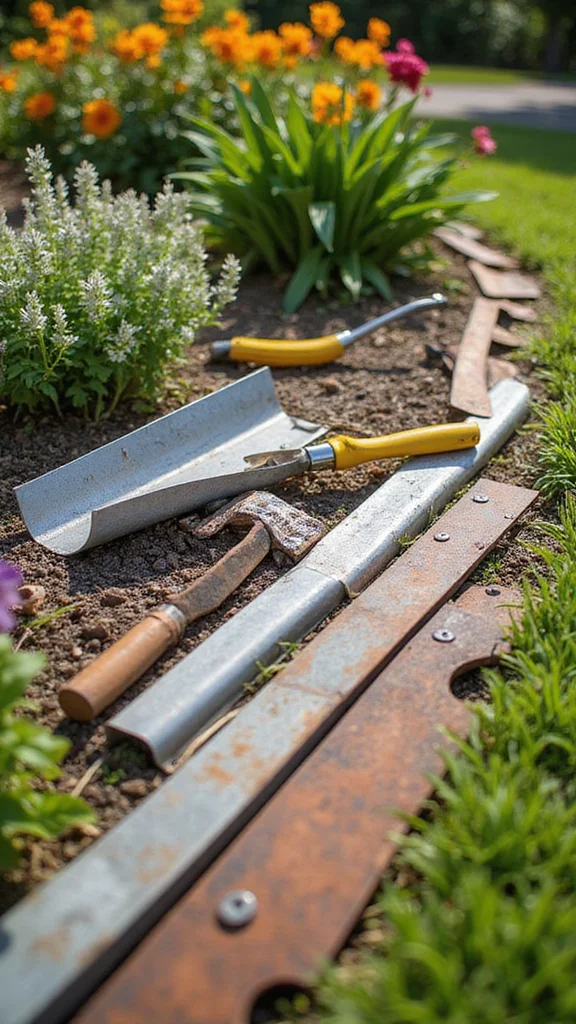
4. Cut the Edging to Size
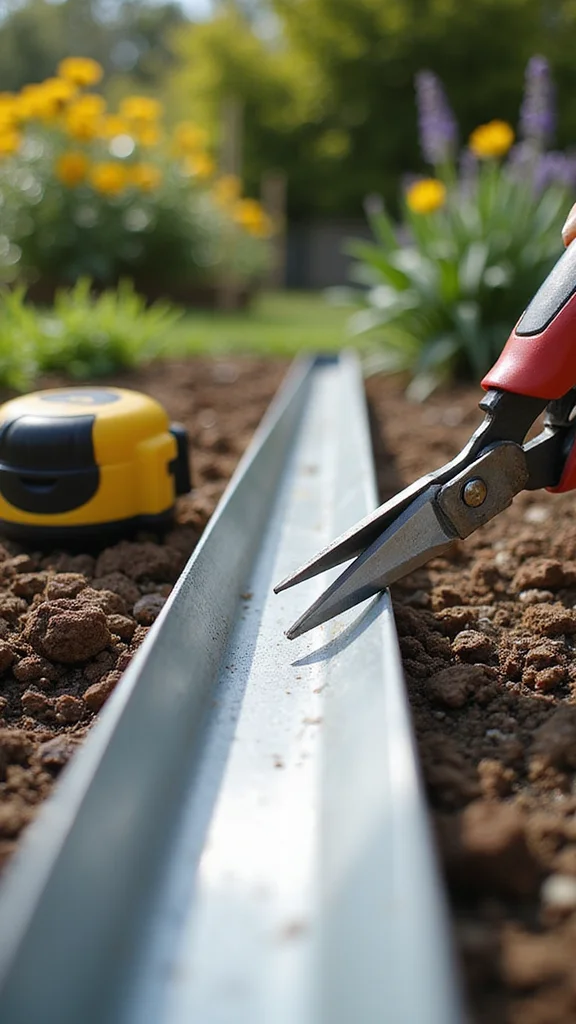
With your area prepared and tools ready, it’s time to cut the metal edging to the appropriate lengths. Use metal snips for aluminum and a saw for steel. Carefully measure each section, accounting for any curves or angles in your flower bed design.
Safety is crucial; always wear gloves when handling metal to avoid cuts. Work on a stable surface when cutting and smooth any sharp edges afterward with a metal file to ensure safety and a polished look.
Cutting tips:
– Double-check measurements before making cuts; measure twice, cut once!
– Keep cut pieces organized for easy installation.
– If you’re unsure about cutting, seek help at your local hardware store.
5. Install the Edging
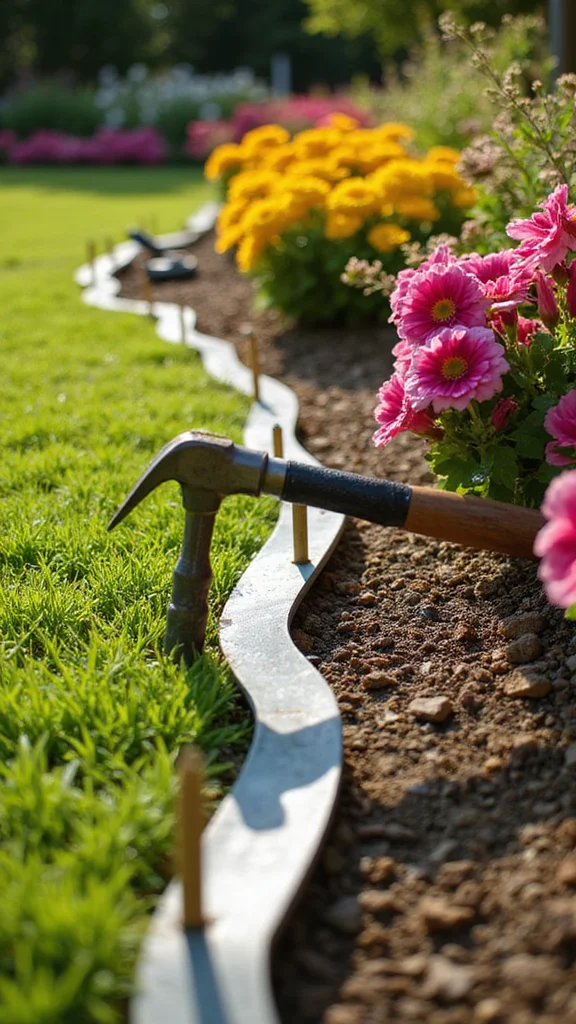
Now for the exciting part—installing your metal edging! Position the first piece along your flower bed outline, ensuring it sits level with the ground. Use a hammer or mallet to drive stakes into the ground every few feet for stability.
Continue adding pieces, connecting them as needed. Some edging types interlock, while others require connectors or brackets. Regularly check for straightness with a level to ensure neat lines; this attention to detail pays off.
Installation tips:
– Work in small sections for precise placement.
– Take breaks as needed; this work can be physically demanding.
– Secure each piece firmly to prevent shifting later.
You might also like

6. Backfill Around the Edging
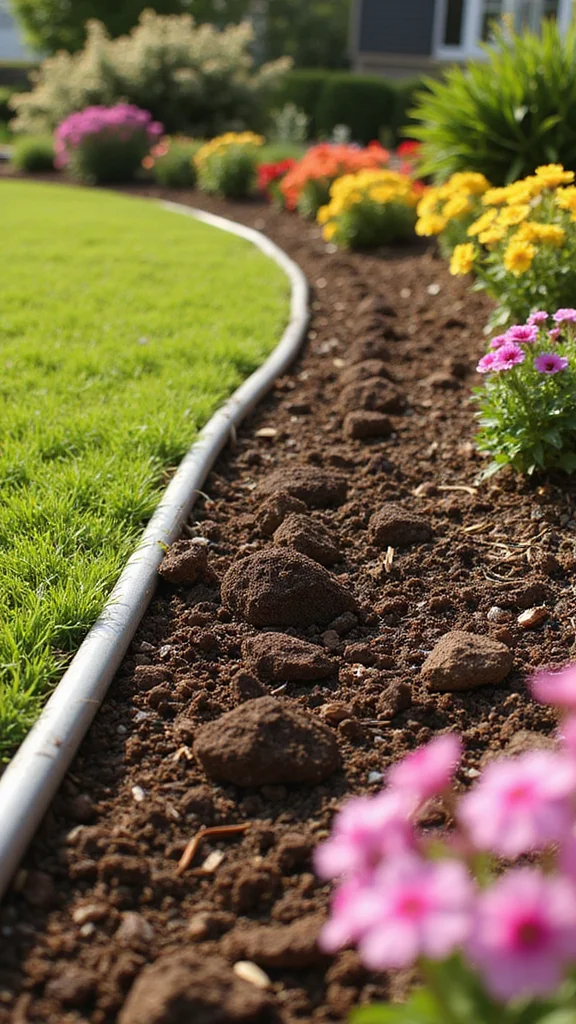
After installing the edging, backfill around it with soil or mulch to stabilize it and create a neat finish. Fill in the gaps between the edging and the soil, packing it firmly without disturbing the edging’s position.
Add mulch around your flower beds for a polished look and to suppress weed growth. This not only enhances your garden’s appearance but also keeps it well-maintained.
Backfilling tips:
– Use a trowel to fill tight spaces between the edging and soil.
– Regularly check the edging’s stability while backfilling; adjust if needed.
– Consider decorative rock or gravel for an added aesthetic touch.
7. Landscape Around the Edging
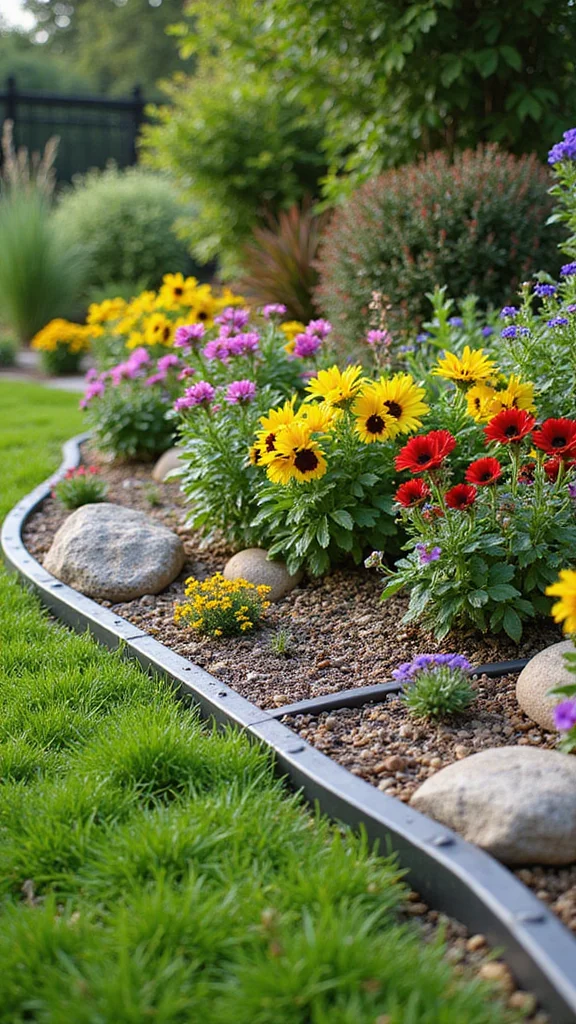
Once your metal edging is in place and backfilled, it’s time to landscape around it. You can plant additional flowers, decorative grasses, or even add unique features like garden ornaments. Choose plants with varying heights and colors for depth and interest.
Opt for flowers that harmonize in color and bloom time for beauty year-round. Adding landscape fabric beneath mulch or gravel can help prevent weeds, giving you more time to enjoy your beautiful garden.
Landscaping tips:
– Position taller plants towards the back or center for visual depth.
– Consider each plant’s sun exposure requirements.
– Regularly check plant health and replace any underperformers.
8. Regular Maintenance for Longevity
Routine maintenance is crucial for keeping your metal edging looking its best. Regularly check for rust, particularly if using steel. If rust appears, sand it down and repaint with rust-resistant paint to extend its lifespan.
Clear debris and leaves from around the edging to maintain its neat appearance and prevent unwanted growth. Also, periodically recheck the stability of the edging, especially after heavy rainfall, to ensure it remains securely in place.
Maintenance tips:
– Schedule seasonal checks to keep your flower beds vibrant.
– Use a soft brush to clean dirt off the edging.
– Consider specialized garden tools for optimal edging care.
You Might Also Like
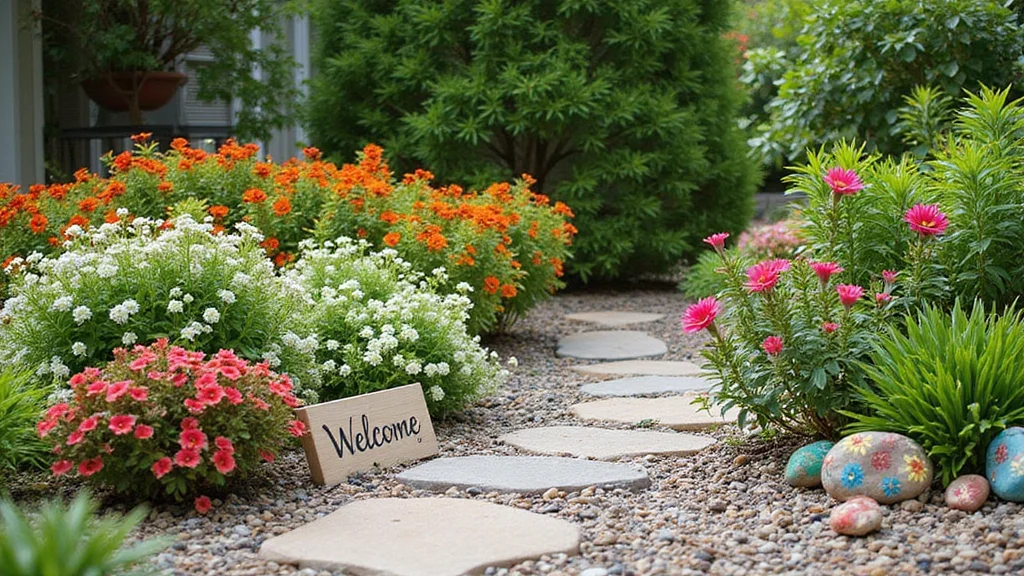
9. Enhance Curb Appeal
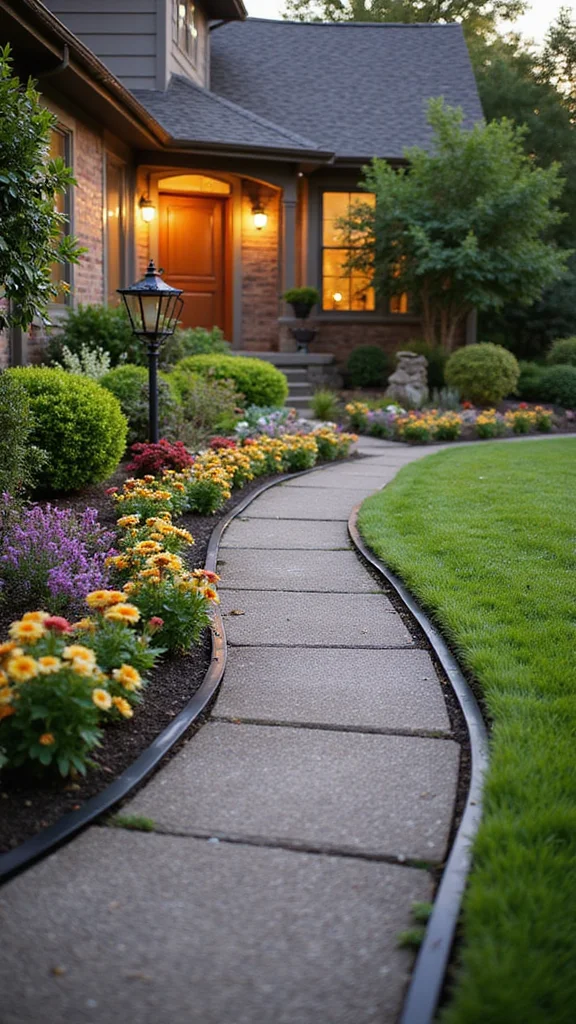
Installing metal lawn edging boosts your home’s curb appeal significantly. A well-defined border around your flower beds reflects your commitment to garden aesthetics and can even increase your property value. Straight, neat lines create a sense of order and beauty in your garden.
Pair your metal edging with other landscaping elements, such as pathways or lighting, to create an inviting outdoor space that welcomes visitors and enhances your living experience.
Curb appeal tips:
– Use reflective edging for a nighttime glow.
– Add accent lighting to highlight the flower beds.
– Keep your garden tidy to complement the stunning edging.
Difficulty Rating & Requirements
Overall Difficulty Rating: Medium
Installing metal lawn edging is rated as medium difficulty. This project requires some physical labor and basic DIY skills, making it suitable for homeowners with moderate gardening experience. If you’ve done outdoor projects before, you’ll likely find this task manageable. However, beginners may need extra guidance or assistance to ensure a polished finish.
Time Estimate:
⏱ Estimated time: 4-6 hours
1. Preparation of the flower bed area: 1-2 hours
2. Cutting and installing the edging: 2-3 hours
3. Backfilling and landscaping: 1 hour
Skill Requirements:
– Required skills: Basic gardening knowledge, measuring, cutting, and physical endurance
– Beginner-friendly: No, but with proper instructions, beginners can learn as they go
– Skills that can be learned: Measuring and cutting the edging
– Skills requiring experience: Understanding how to create visually appealing borders and ensuring proper placement
Tools & Materials Needed:
🧰 Essential items checklist:
– Metal edging strips (required)
– Measuring tape (required)
– Hammer or mallet (required)
– Landscape fabric (optional, for weed control)
– Shovel (required)
– Level (optional, but helps with alignment)
– Stakes or anchors (required)
– Gardening gloves (required)
Step-by-Step Overview:
1. Prepare Your Flower Bed Area (1-2 hours): Start by clearing the area of weeds, grass, and debris. Decide on the desired shape and outline it using a garden hose or string.
2. Cut the Edging to Size (1 hour): Measure the length needed and use metal shears or a saw to cut the edging to the correct size.
3. Install the Edging (1-2 hours): Place the edging into the ground along your outline. Use a hammer to drive stakes into the ground for stability. Make sure it’s level and securely in place.
4. Backfill Around the Edging (1 hour): Fill in dirt around the edging to hold it in place. Ensure it is packed tightly to prevent shifting.
5. Landscape Around the Edging (1 hour): Finish the flower bed with mulch, plants, or decorative stones to enhance the overall look.
Professional vs DIY: Hiring a landscaping professional for this project can cost anywhere from $200 to $500, depending on your location and the extent of the work. If you choose the DIY route, expect to spend around $100-$200 on materials and tools. If you’re handy and motivated, tackling this project yourself can save you money and provide a sense of accomplishment.
10. Get Creative with Edging Designs
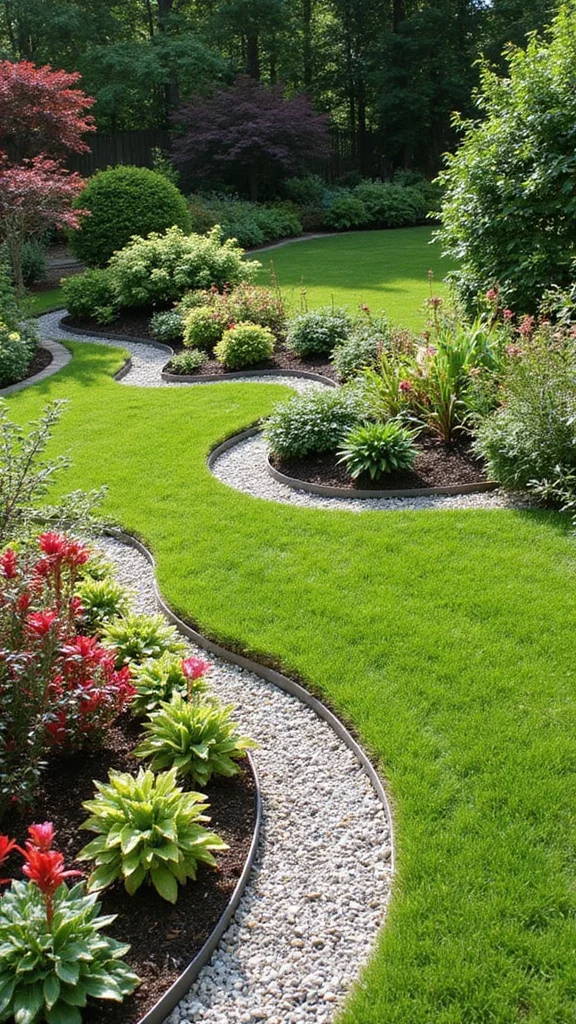
While straight edges are classic, don’t forget the creative possibilities with metal edging. Experiment with shapes, curves, and patterns to give your garden a unique flair. Use the edging to form circular or wavy flower beds that harmonize with your landscaping.
Mix different types of metal edging or combine other materials, like wood or stone, for an eclectic look. A bit of creativity can turn your garden into a personal oasis that showcases your style.
Creative design tips:
– Sketch out ideas on paper before finalizing your design.
– Incorporate seasonal plants for year-round interest.
– Explore landscape design resources for fresh inspiration.
Conclusion
With these lawn edging tips, you can master the art of installing metal edging around your flower beds for a polished look that enhances your outdoor living space. Remember, the journey doesn’t end with installation; regular maintenance and creativity in design will keep your garden thriving and beautiful.
So, roll up your sleeves, grab those tools, and get ready to transform your garden into a stunning masterpiece that you can enjoy year-round!
Frequently Asked Questions
What are the best types of metal lawn edging for perfectly straight flower bed borders?
For perfectly straight borders, choose metal edging designed for rigidity and a clean look. Options include galvanized steel, stainless steel, and aluminum with a powder coating. Galvanized steel is strong and affordable; stainless steel resists rust; aluminum is lighter and easier to bend for gentle curves if needed. The key is a solid, jointed setup that stays flush with the soil. A quick set of lawn edging tips is to install straight sections along a taut string line, stake every 3-5 feet, and bury a portion of the edging to anchor it. This setup boosts curb appeal and keeps flower beds neat.
How should I prepare the ground before installing metal lawn edging to keep borders ultra straight?
Start by measuring the line and laying out a string line. Mark the path, remove turf, and clear debris. Dig a trench deep enough to bury part of the edging (usually 4-6 inches) and wide enough to seat it. Place a level on the edging to ensure it sits flat. Install stakes to hold position while you backfill, then backfill with soil and firm gently. Run a final check with a straightedge and adjust if needed. This foundation helps crisp borders around your flower beds and enhances curb appeal.
What tools and setup do I need for a clean, straight install of metal lawn edging?
Here is a practical toolbox: a tape measure, string line, stakes, a level, a rubber mallet, hacksaw or metal snips, gloves, and a trenching spade. If your edging has joints, carry joint connectors and a small tool for securing them. Work slowly along the line, keeping the edging level and flush with the soil. With these tools and a steady pace, you’ll turn lawn edging tips into action and keep your flower beds neatly framed, boosting curb appeal.
How do I maintain metal edging to keep borders looking crisp and curb appeal high?
Keep the edging clean and inspect for damage after mowing. Wipe away dirt, treat rust spots early with a rust converter or paint, and repaint or recoat powder-coated finishes as needed. Re-seat any loose sections, tighten anchors, and trim grass away from the edge to prevent encroachment. In winter, protect against salt and freeze-thaw cycles. Regular maintenance preserves the crisp line and preserves curb appeal around your flower beds.
Can metal edging be used for curved borders, or is it mainly for straight borders?
Metal edging can follow curves, but it requires planning. For gentle curves, use pre-curved sections or a flexible edging option with careful bending and a tight turning radius. Map the arc with a string line, cut only at joints, and use a rubber mallet to seat along curves. For dramatic bends, switch to a smaller radius or combine straight sections with curved pieces. Either way, metal edging delivers crisp lines that enhance your flower beds and curb appeal.

John Smith is the founder and CEO of Karaoke Machines Guru. He is a karaoke tutor and karaoke enthusiast and has been passionate about karaoke since he was a child. He also writes about karaoke-related tips, guides, and product reviews on this website.
He overlooks the whole website and makes sure that everything is running smoothly. Learn more!