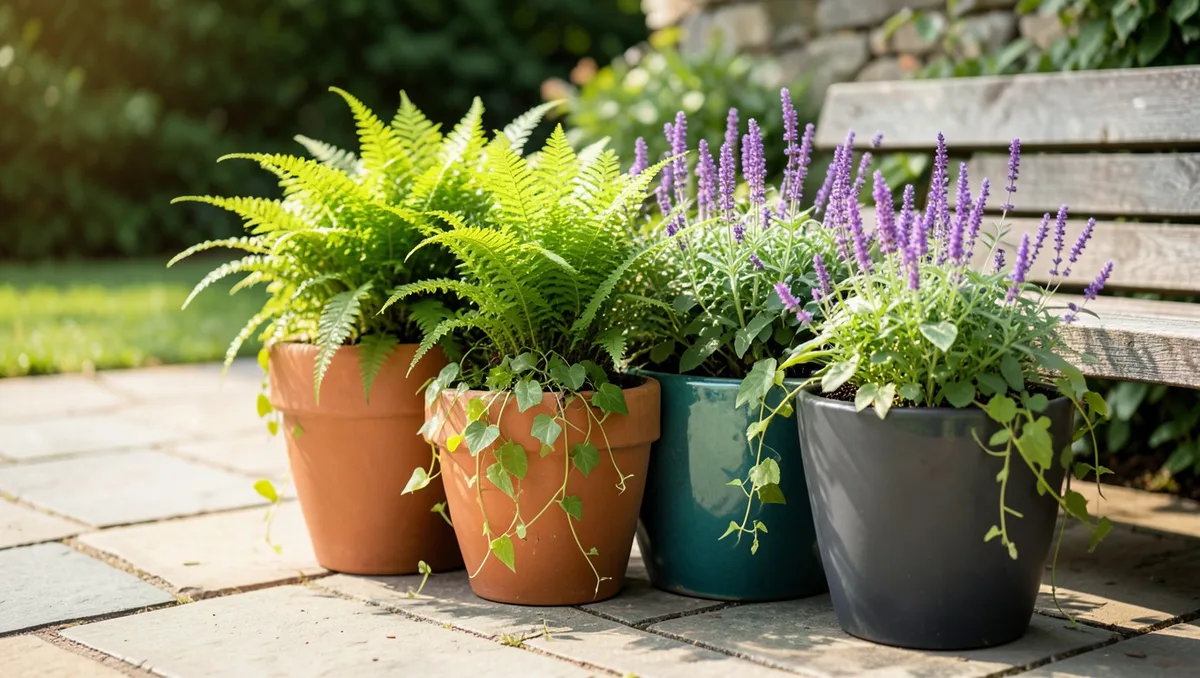
Summer heat waves turn container gardens into miniature ovens. When afternoon temperatures skyrocket, the material of your flowerpot dictates whether your plants thrive or cook from the roots outward. Many gardeners blame their brown thumbs for wilted tomatoes and crispy petunias when the real culprit is a poor mismatch between the pot material and the summer sun.
Choosing the right planter requires looking past aesthetics to evaluate insulation, moisture retention, and UV durability. Standard unglazed clay behaves entirely differently than thick glazed ceramic or modern industrial plastic. This guide breaks down exactly how each material performs under intense solar stress so you can protect your root systems and keep your patio lush through the highest temperature spikes.
Summer Pot Performance at a Glance
1. Assess the Porosity of Thick Terracotta
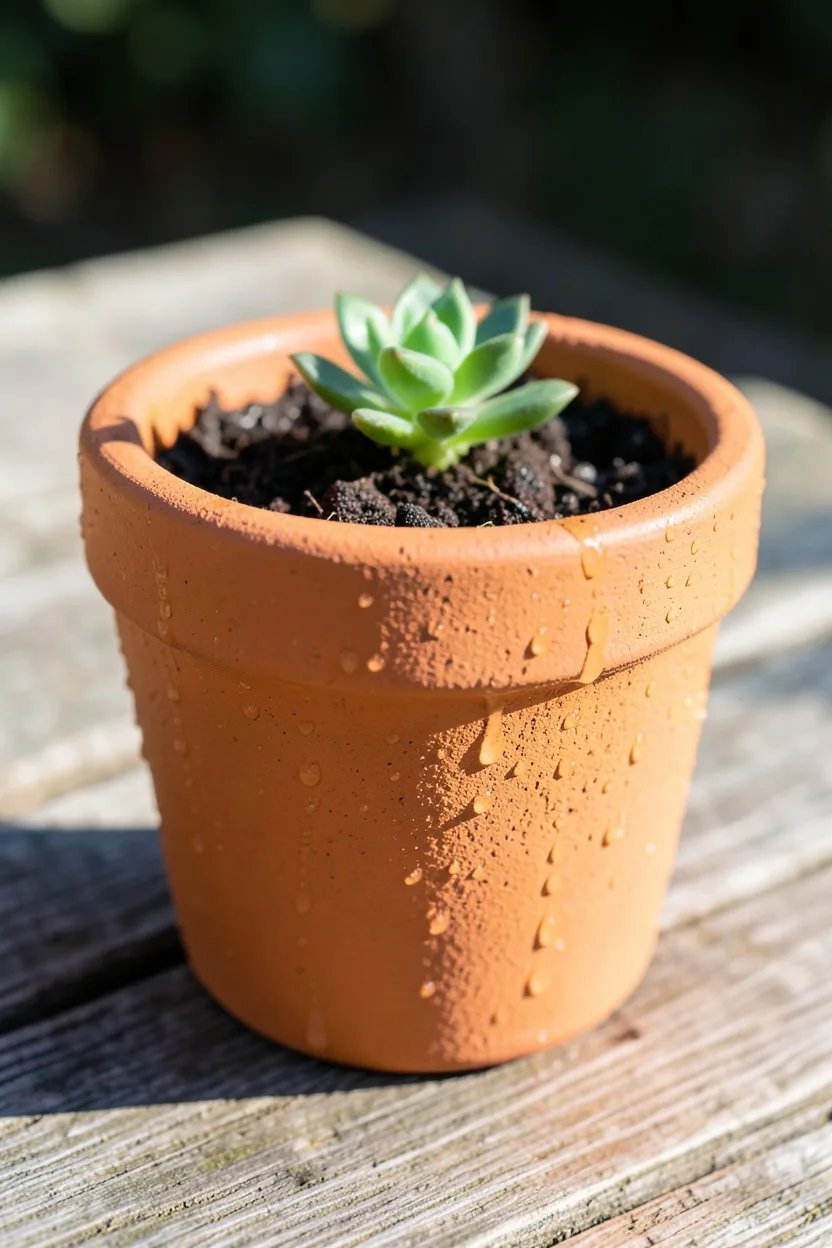
Standard unglazed terracotta acts like a natural evaporative cooling system for plant roots. The highly porous clay allows water vapor and oxygen to pass freely through the walls of the pot. When the sun hits the container, moisture evaporates from the outside surface, dropping the soil temperature inside by several degrees.
This breathability prevents root rot by ensuring the soil never stays waterlogged or stagnant. However, this same cooling mechanism means water escapes at an accelerated rate. During a July heatwave, a 10-inch terracotta pot can dry out completely within 4 to 6 hours, requiring twice-daily watering to keep moisture-loving plants alive.
💡 Tip: Tap the side of the terracotta pot with a wooden trowel; a high-pitched ring means it is dry, while a dull thud indicates moisture remains.
2. Deploy Glazed Ceramic for Heat Insulation
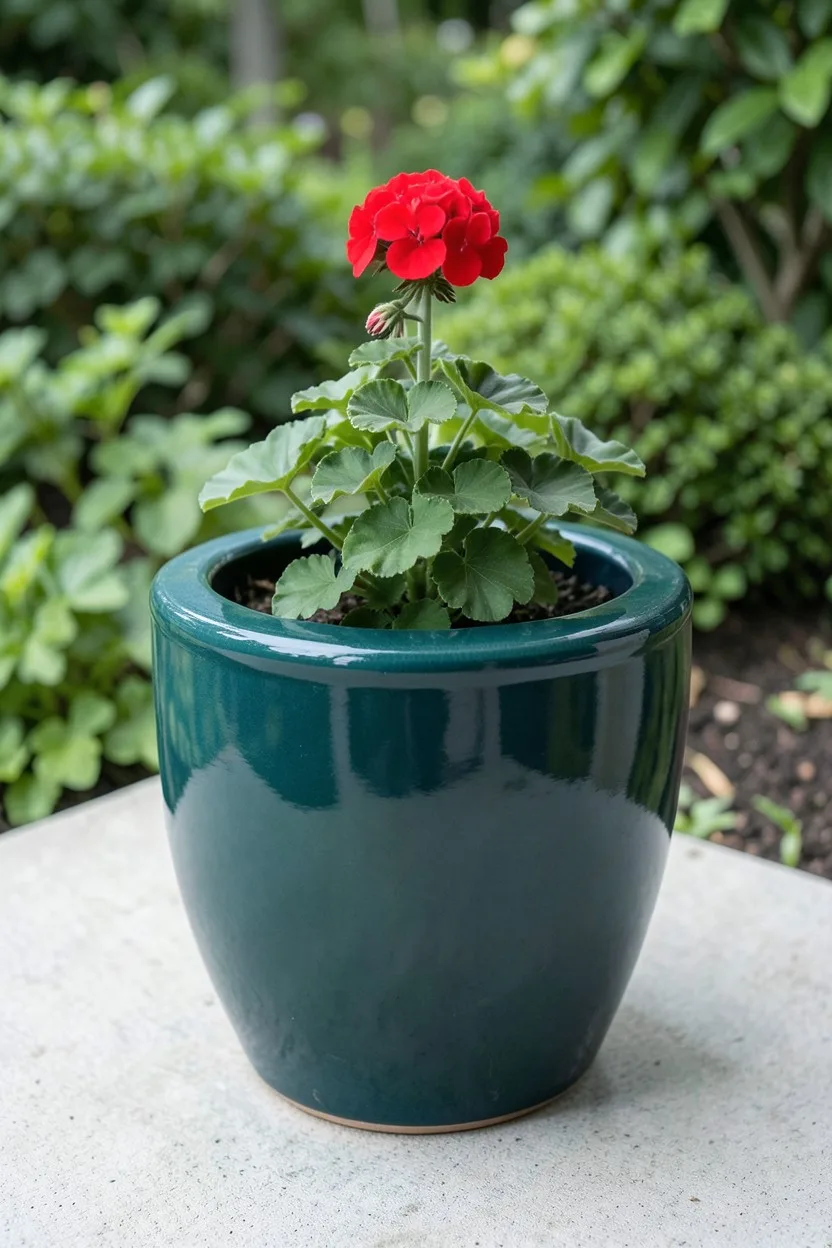
Glazed ceramic pots provide the best thermal mass protection for sensitive root systems. The thick, dense clay walls act as a heavy barrier against rapid temperature fluctuations, absorbing heat slowly throughout the day and releasing it gradually at night. This keeps soil temperatures stable instead of spiking erratically at noon.
The vitreous glaze fired onto the exterior seals the clay completely, stopping the lateral evaporation seen in raw terracotta. Water stays locked within the soil profile, which keeps moisture levels consistent. The trade-off is immense weight; a glazed 16-inch ceramic pot filled with wet soil can easily top 50 pounds, making it difficult to reposition.
3. Select High-Density Plastic to Trap Moisture
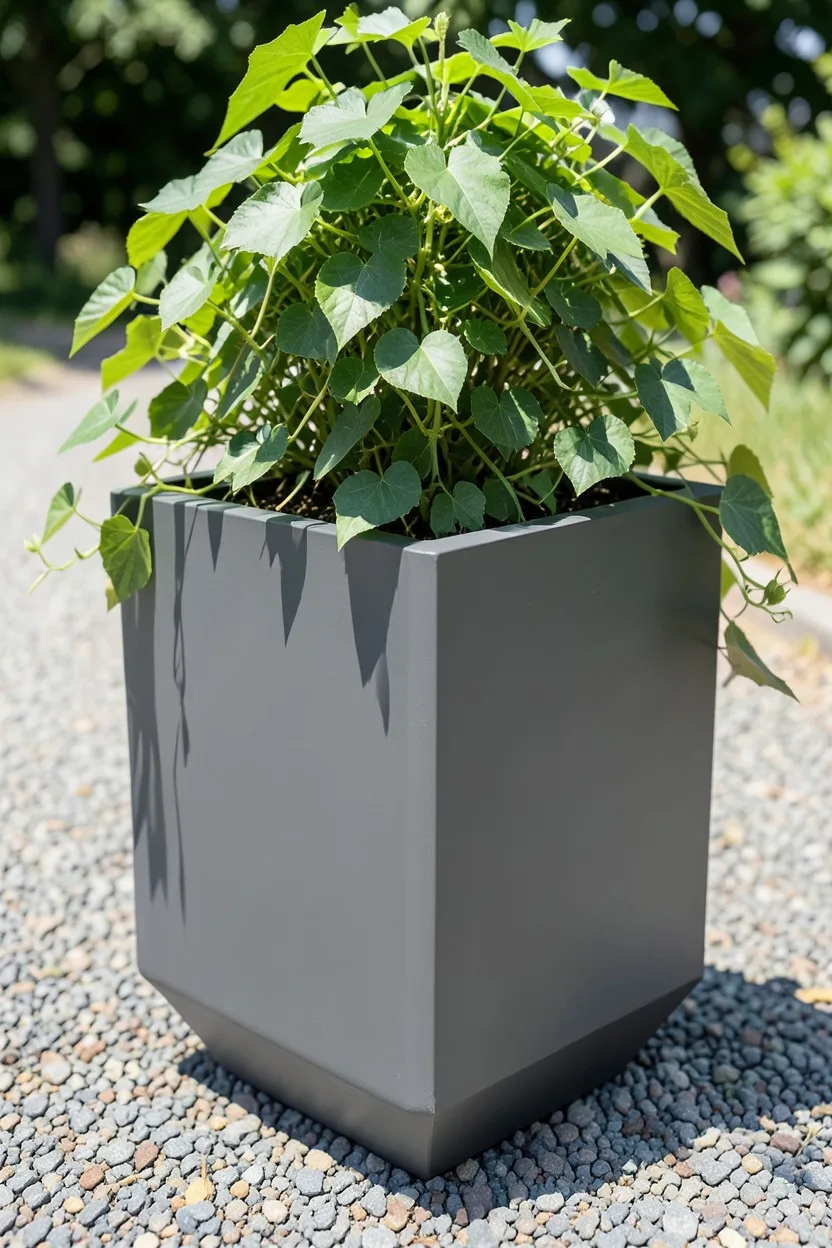
Modern high-density polyethylene or resin plastic containers are completely non-porous, meaning zero water escapes through the walls. Every ounce of water you pour into the pot stays in the soil until the plant drinks it or top-level evaporation claims it. This makes plastic highly efficient for water conservation in arid zones.
Plastic is exceptionally lightweight and durable, resisting cracks if bumped or dropped. The critical failure point is heat conduction; thin plastic pots offer virtually no insulation. When exposed to direct sunlight, thin-walled dark plastic absorbs thermal energy rapidly, heating the interior soil to over 45°C and baking the fine root hairs.
Summer Potting Readiness Checklist
-
Verify drainage holes Ensure plastic pots have at least three 1/2-inch holes drilled out
-
Pre-soak unglazed terracotta Submerge clay pots in a bucket of water for 30 minutes before planting
-
Apply UV-protectant spray Coat cheap plastic pots with a clear UV-inhibitor spray to prevent cracking
-
Weigh the empty container Confirm your balcony structural limits before filling heavy glazed ceramics
4. Match Plant Water Needs to Container Type

Pairing the water habits of your plants with the right pot material prevents chronic underwatering or root rot. Mediterranean herbs like rosemary, thyme, and lavender, alongside sedums and cacti, flourish in unglazed terracotta because they require rapid drainage and highly aerated soil that dries quickly between waterings.
Conversely, moisture-hungry varieties like hydrangeas, canna lilies, elephant ears, and container tomatoes fail quickly in raw clay during July. Put these high-transpiration plants into glazed ceramic or thick-walled plastic containers where the moisture is held tightly within the root ball, reducing structural wilting.
5. Insulate Thin Plastic Pots with Double-Potting
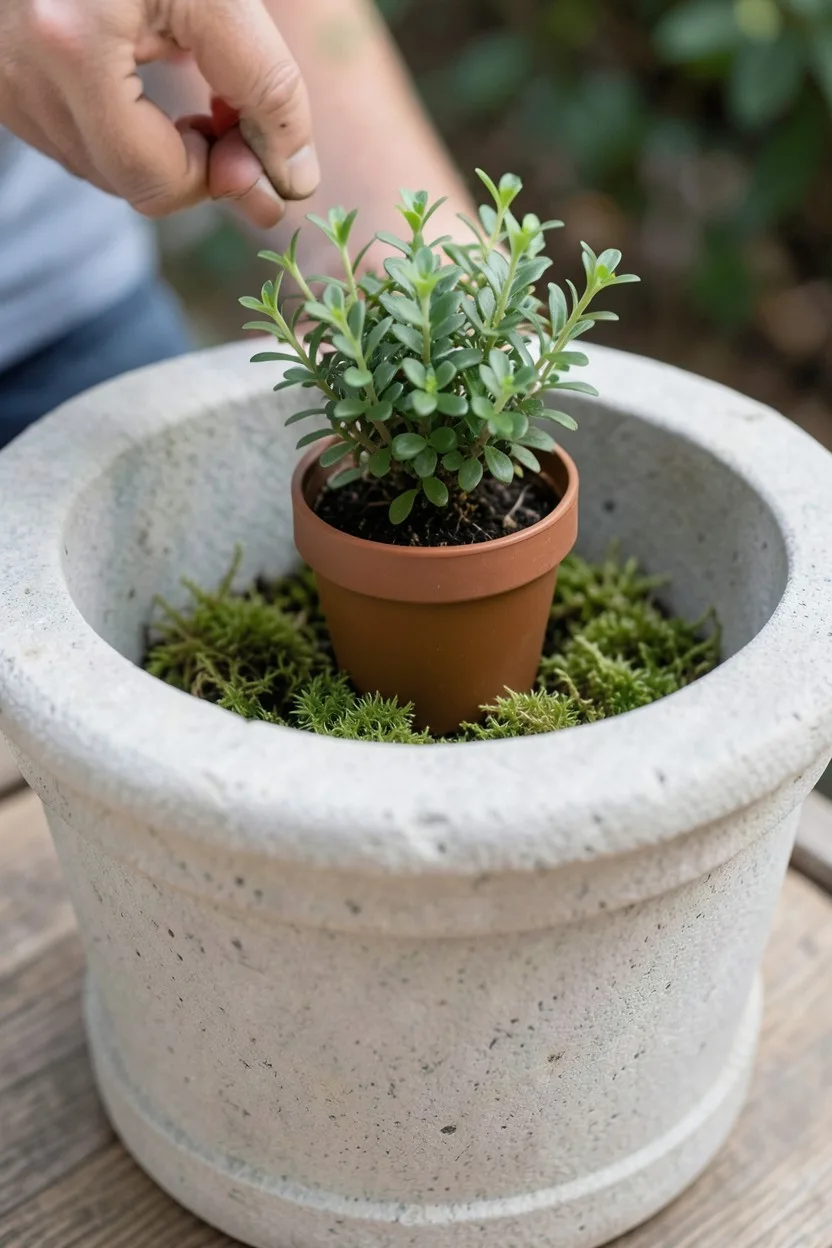
If you must use cheap, thin plastic pots for budget reasons, protect them from solar radiation by using the double-potting technique. Place your plant inside the utilitarian plastic liner pot, then drop that entire assembly inside a slightly larger terracotta or stone decorative container.
The outer pot shields the inner plastic wall from direct sunlight, preventing the plastic from absorbing heat. The air gap created between the two pots acts as a thermal break, keeping the internal soil temperatures stable. Fill the empty space between the pots with damp sphagnum moss to provide extra cooling insulation.
💡 Tip: Keep the outer pot at least two inches wider in diameter than the inner pot to maintain a functional insulating air barrier.
6. Pre-Treat Raw Clay Pots to Prevent Shock
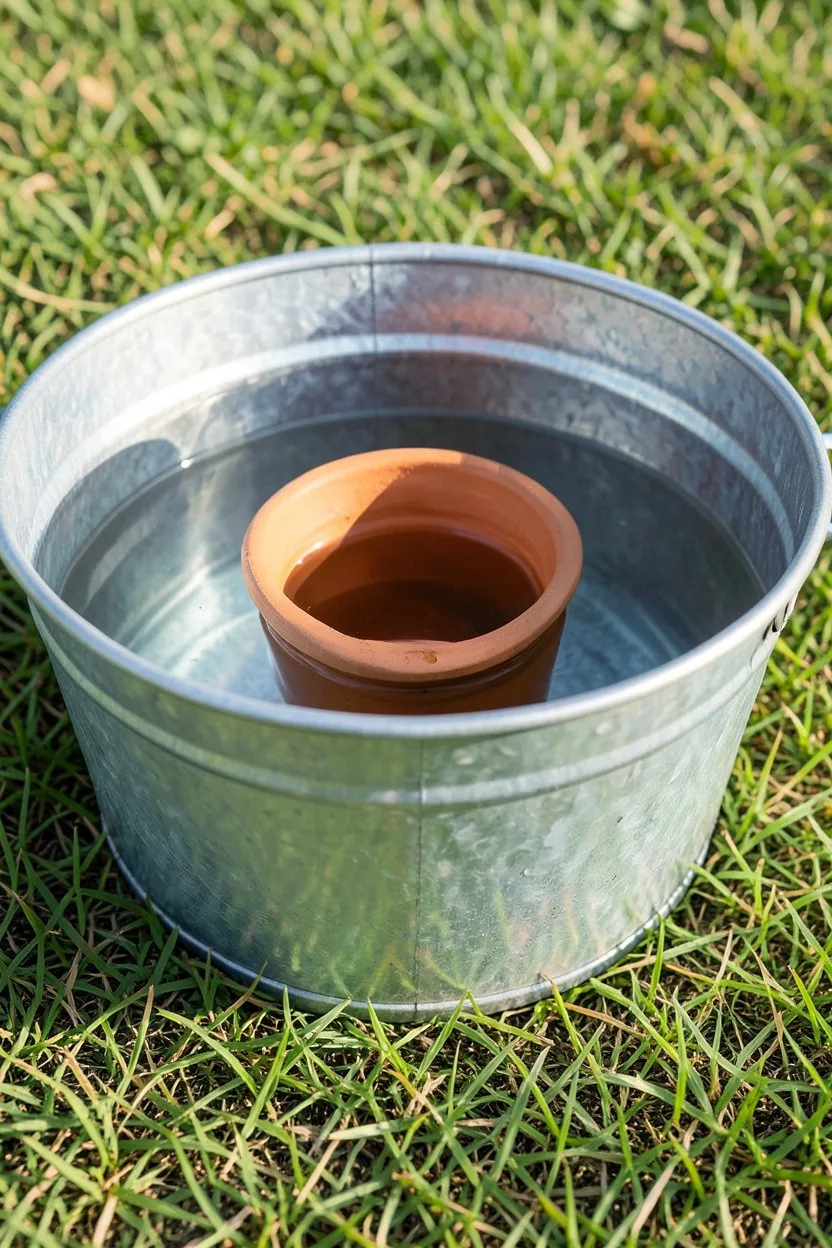
Dry unglazed terracotta is highly hydrophobic and behaves like a sponge when dry soil is introduced. If you put dry potting mix into a dry clay pot and water it, the clay draws water away from the soil, leaving the plant roots parched despite your watering efforts.
Always submerge raw terracotta pots completely in a tub of clean water for 24 hours before planting. The clay absorbs moisture until it saturates, turning a deep, dark orange color. This ensures that when you finalise the potting layout, every drop of water applied goes directly to wetting the potting soil and nurturing the roots.
7. Drill Extra Drainage into Resin Pots

Many decorative plastic and resin pots sold in big-box stores feature cheap punch-out plugs or single, undersized central drainage channels. In heavy summer downpours or overzealous daily watering schedules, these small openings clog easily with fine soil particles, turning the bottom of the pot into a stagnant swamp.
Take a power drill equipped with a 1/2-inch spade bit or step bit and create four additional holes around the perimeter of the base, roughly one inch from the outer edge. This allows water to exit freely from all sides of the root ball, ensuring proper aeration and preventing the fungal pathogens that cause root rot.
💡 Tip: Run your drill at low speed with light downward pressure on plastic pots to prevent the brittle resin material from cracking along the seam.
Which Pot Material Fits Your Setup?
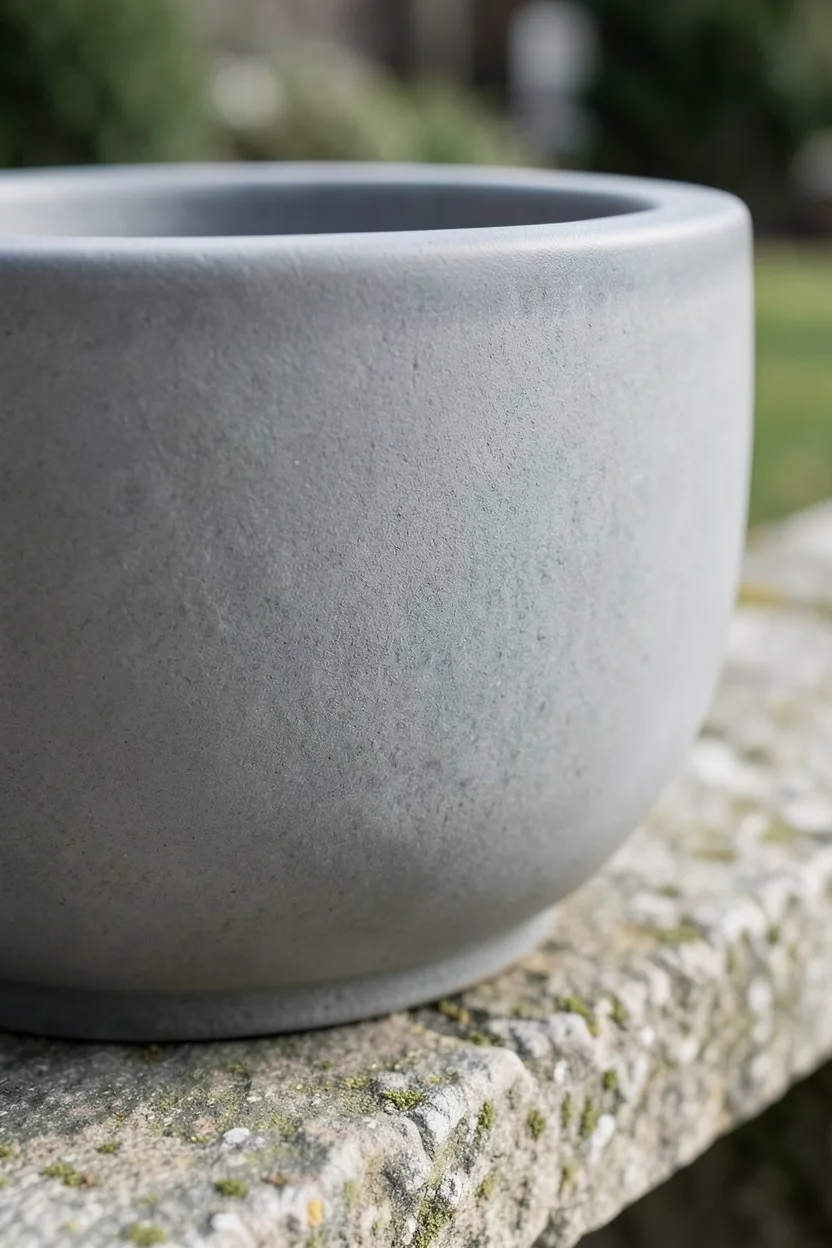
8. Choose Light Colors to Reflect Solar Radiation
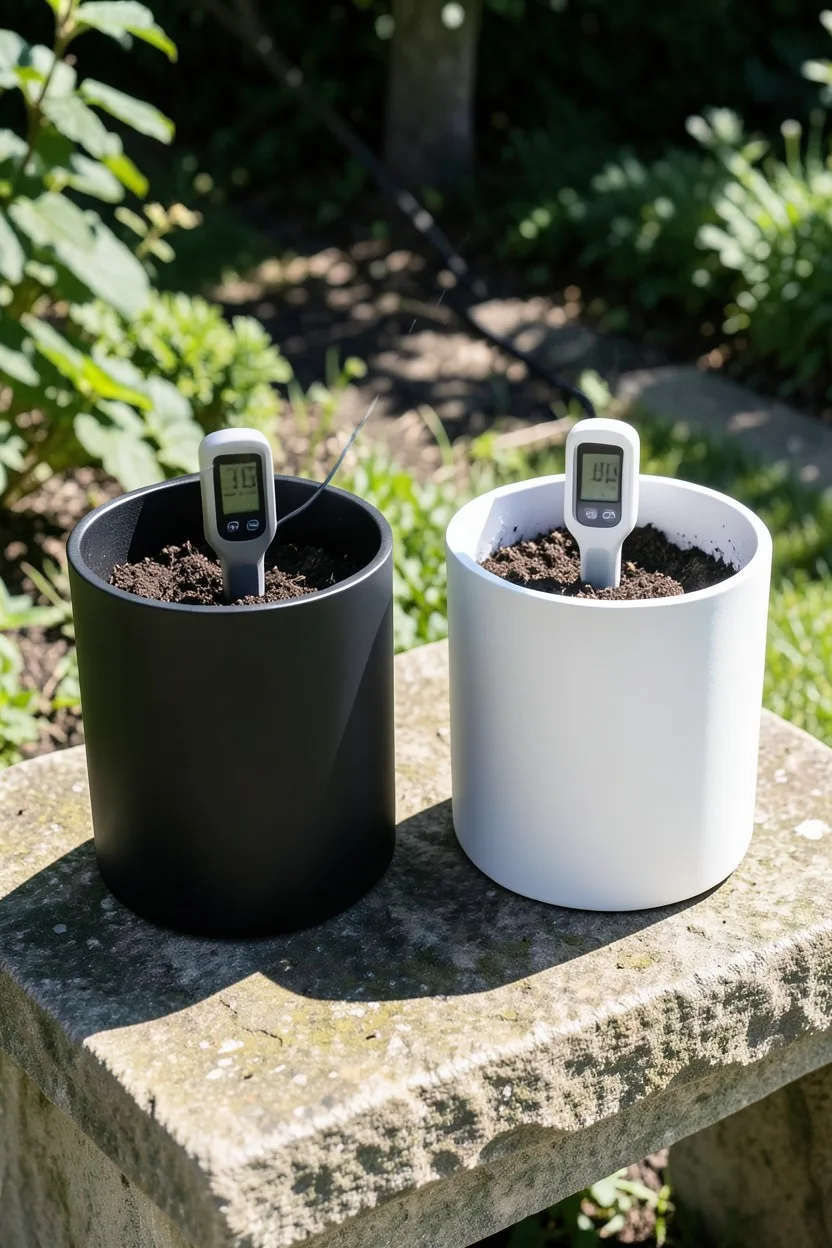
The exterior color of your planters directly impacts the internal root temperature. Dark colors like charcoal black, deep espresso brown, and dark forest green behave as heat sinks, absorbing up to 90% of visible light energy and transferring it directly into the potting soil.
Select containers in shades of white, cream, tan, pale grey, or unglazed buff clay. These lighter pigments reflect a significant portion of the sun's rays away from the pot, keeping the interior root environment up to 8°C cooler than dark identical containers sitting on the exact same sun-drenched surface.
9. Line Terracotta Interiors with Plastic Film
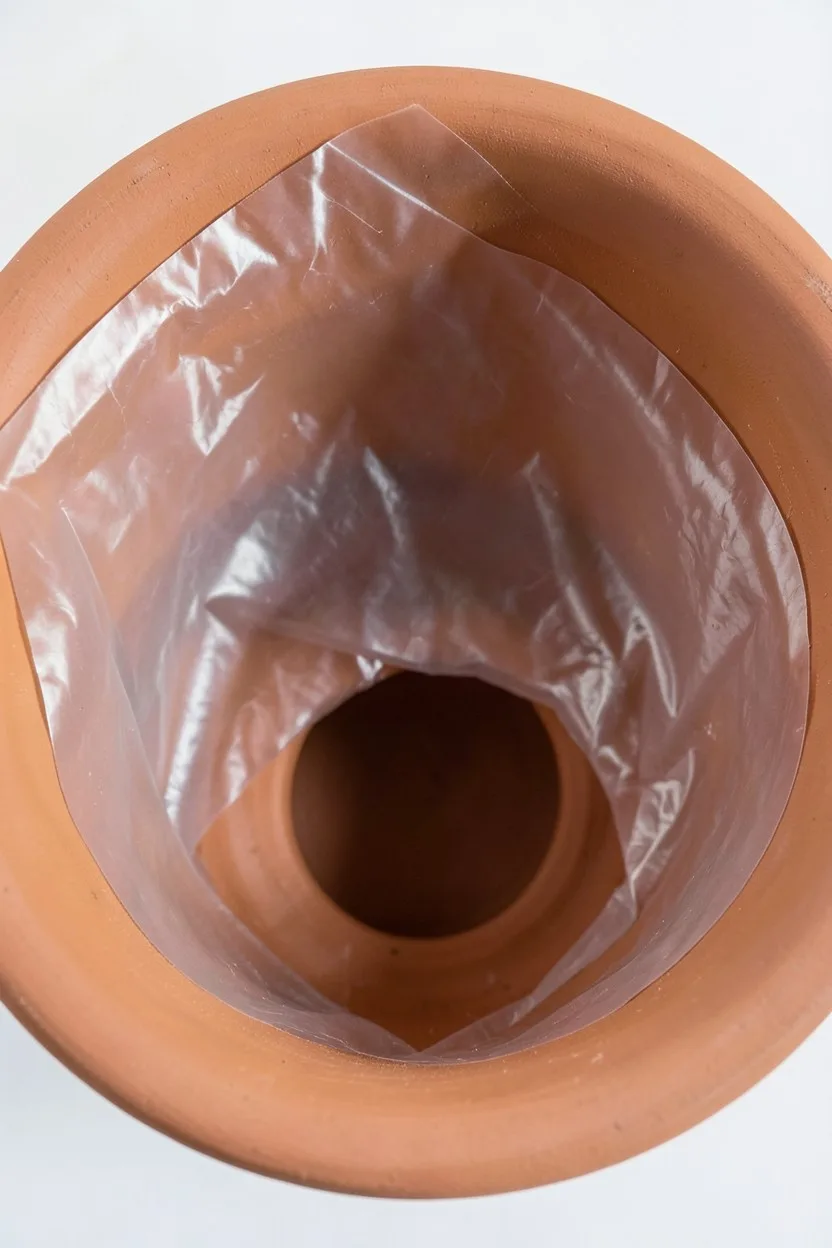
If you prefer the timeless aesthetic of raw terracotta but want to grow thirsty plants like petunias or mint, modify the pot interior to balance performance. Cut a piece of heavy-duty clear plastic sheeting or recycle a plastic soil bag to line the inner walls before filling the pot.
Cut out the bottom of the plastic liner completely to leave the main terracotta drainage hole unobstructed. The plastic barrier blocks lateral water movement through the middle and upper clay walls, retaining essential moisture within the soil core while preserving the classic weathered clay look on the outside of the container.
10. Elevate Planters to Prevent Thermal Conduction
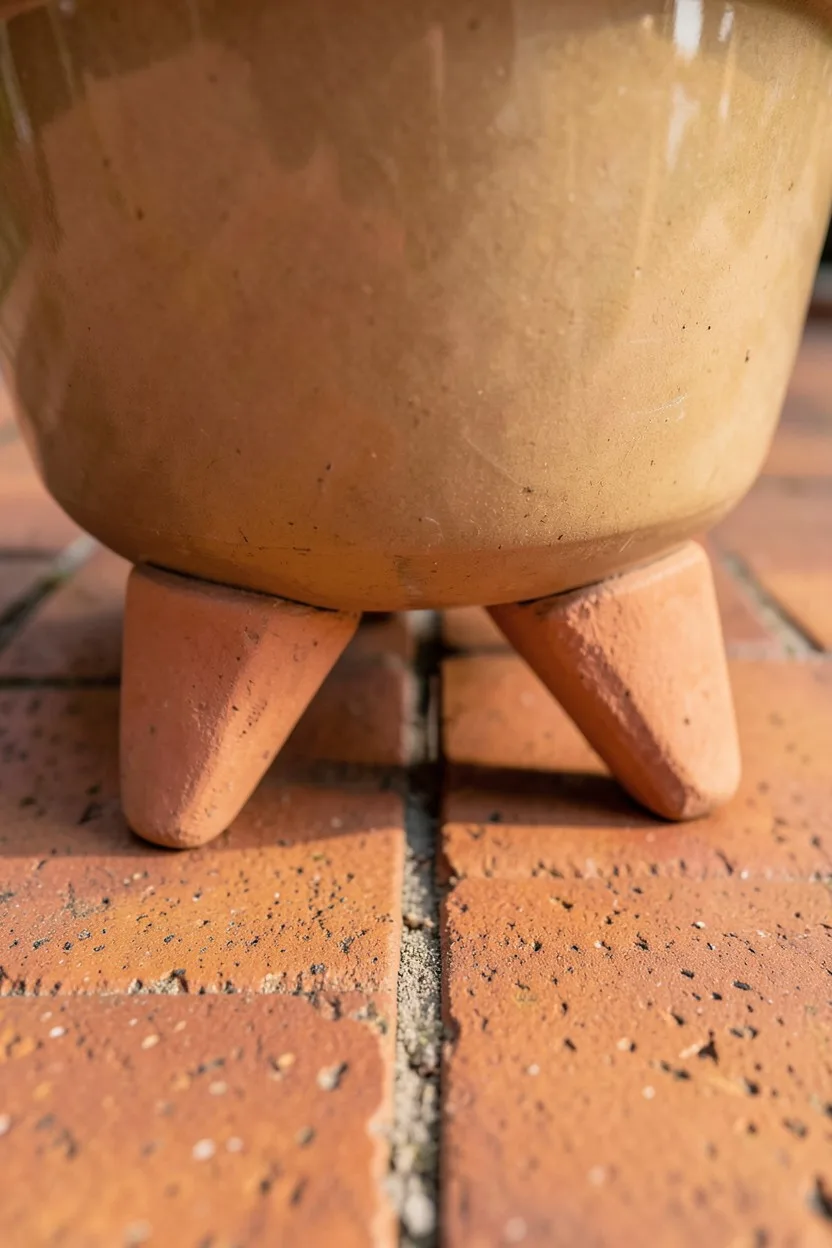
Sitting containers flat against concrete patios, dark asphalt, or wooden decks creates direct thermal conduction. The sun bakes the surface material, which transfers that stored energy straight through the base of the pot, boiling the bottom layer of delicate roots.
Slide three ceramic pot feet, bricks, or low-profile plastic risers under the base of every container to lift it roughly one inch off the ground. This elevation introduces a continuous layer of moving air beneath the pot, breaking the conductive path and cooling the base of the container via natural cross-ventilation.
💡 Tip: Elevating your containers also prevents staining on wooden decks and stops pests like pillbugs from colonizing the damp space under the pot.
11. Inspect Thin Plastic for UV Degradation
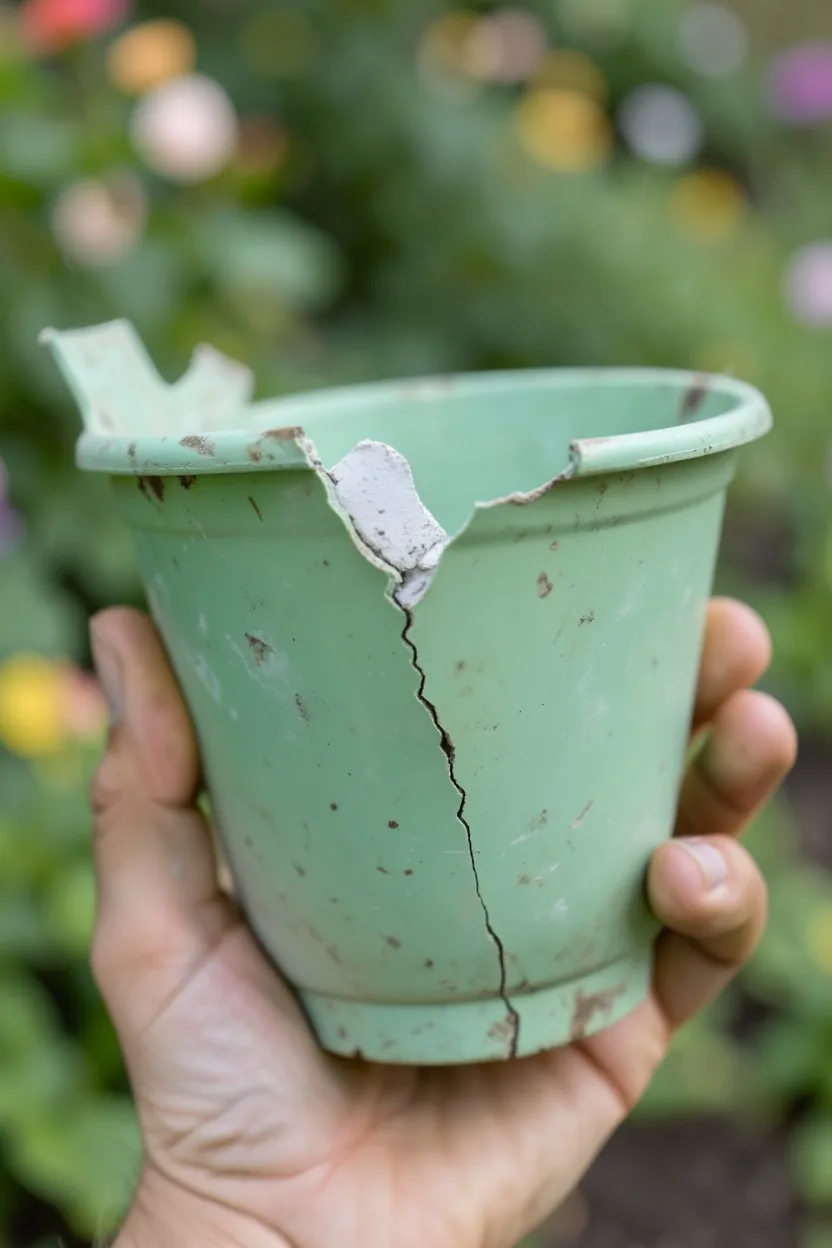
Standard, non-UV-stabilized plastic pots fail structural integrity tests after one or two seasons of intense summer exposure. The sun's ultraviolet rays break down the polymer chains within the plastic, making the material incredibly brittle, faded, and prone to sudden structural failure.
Check your plastic pots by gently squeezing the top rim. If the plastic groans, shows pale stress fractures, or flakes off in your fingers, recycle the pot immediately. Upgrade to heavy-duty injection-molded polypropylene pots or high-grade resin planters, which feature integrated chemical UV inhibitors built to withstand decades of sun exposure.
12. Apply Mulch Layers to Reduce Soil Baking
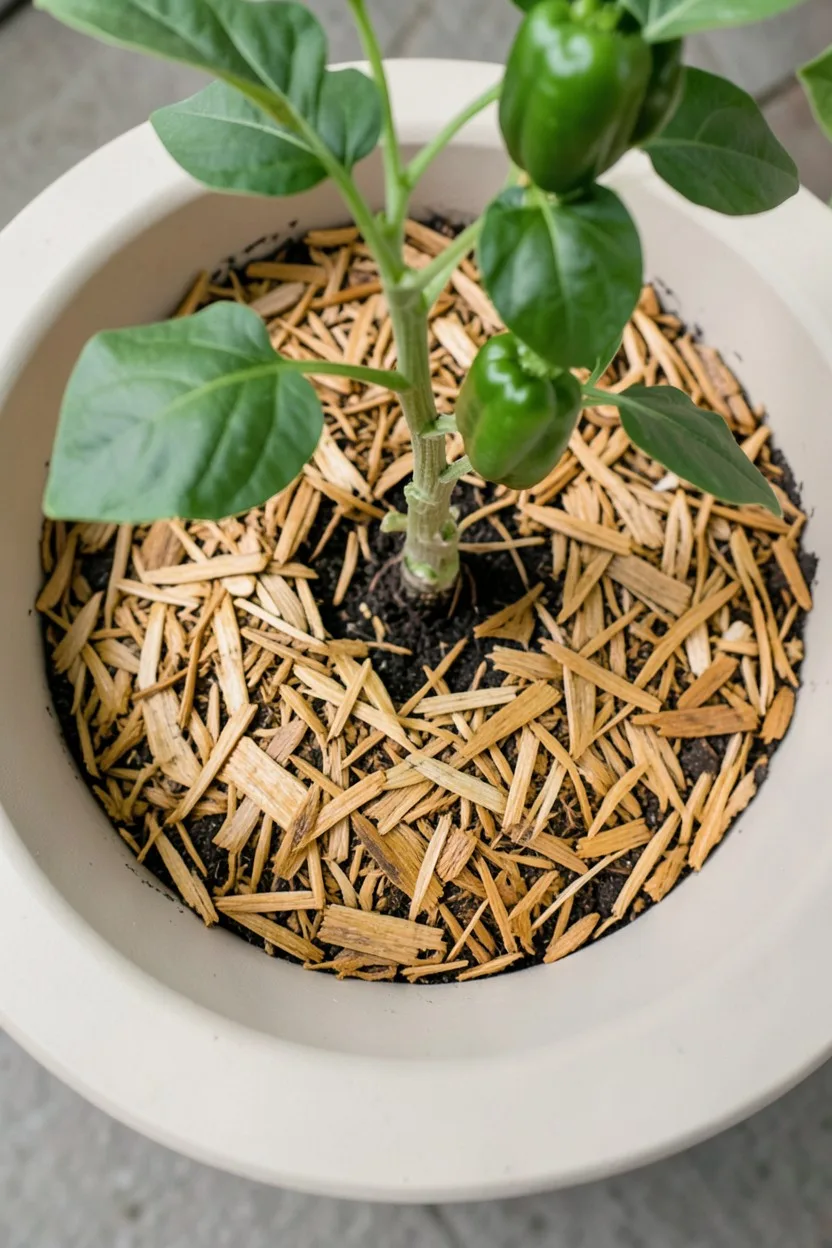
Regardless of whether you choose clay, ceramic, or plastic, the top surface of exposed soil remains highly vulnerable to direct solar drying. Uncovered potting soil forms a hard, impermeable crust under intense heat, which sheds water toward the pot edges rather than absorbing it into the center.
Spread a strict two-inch layer of shredded cedar bark, pine mini-nuggets, or clean pea gravel across the surface of the soil, keeping the material one inch away from the plant stems. This organic blanket insulates the top layer of soil, cuts surface evaporation by up to 70%, and prevents hot sun rays from drying out shallow roots.
13. Watch for Frost Cracking in Glazed Ceramics
While glazed ceramic performs beautifully during hot summer days, its long-term durability is tied to seasonal transitions. Low-fired ceramic pots absorb small amounts of water through their unglazed bottom rims and internal walls. If left outside during freezing winters, that trapped water expands, popping the glossy glaze right off.
Buy only high-fired stoneware or porcelain ceramic pots if you live in a northern climate with harsh winter freezes. These dense containers are vitrified at extreme temperatures, making them completely impervious to water penetration and ensuring they won't crack or flake apart when winter arrives after a hot summer season.
14. Utilize Saucers Wisely to Provide Hydration
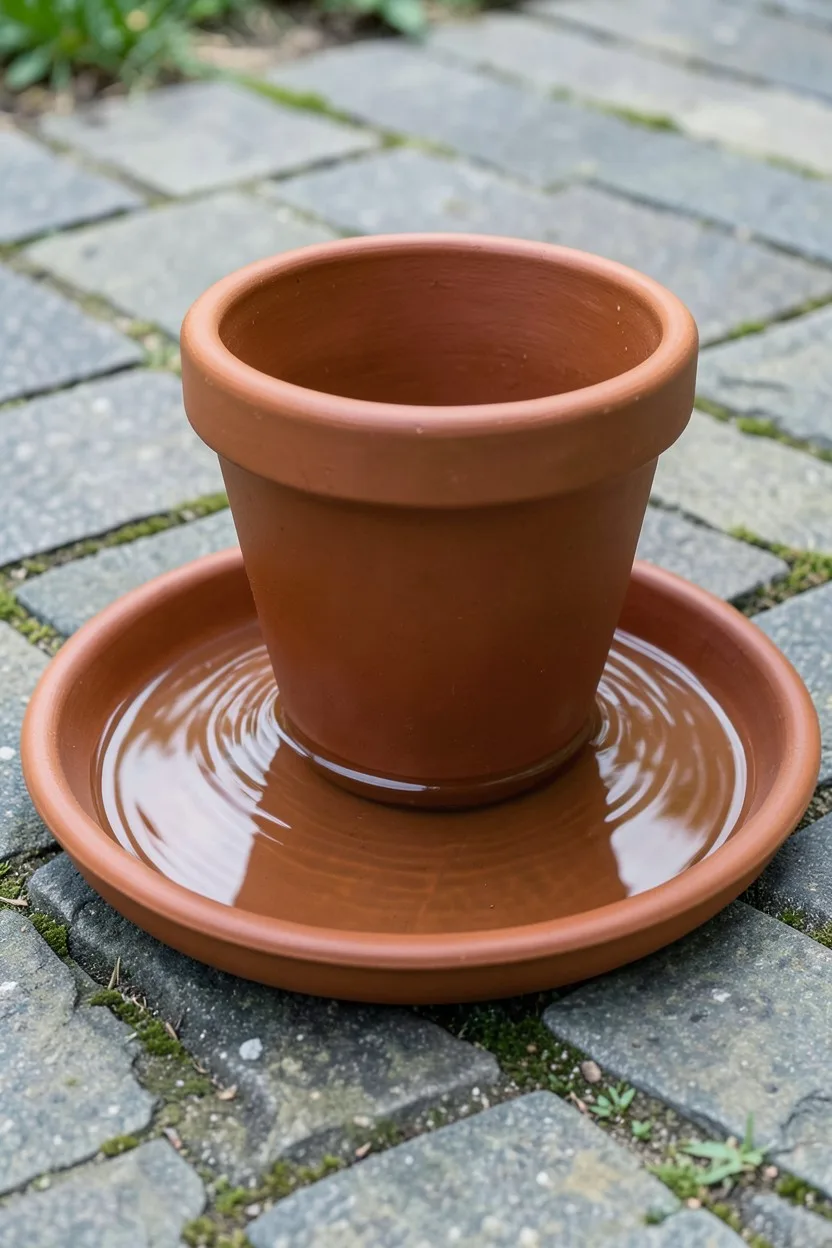
Placing deep saucers underneath your containers is mandatory during heatwaves, but managing the water level requires strict discipline. For plastic and glazed ceramic pots, fill the saucer during morning waterings so the soil can wick up moisture via capillary action throughout the hottest parts of the day.
Never allow pots to sit in stagnant saucer water for more than 24 hours straight, as this rots the root tips from oxygen starvation. For unglazed terracotta, a filled saucer is excellent because the bottom clay absorbs the water directly, distributing moisture upward through the walls to prolong the evaporative cooling effect.
💡 Tip: Drop a quarter of a mosquito dunce puck into outdoor saucers to prevent female mosquitoes from using the standing water as a breeding site.
15. Group Pots to Create a Cool Microclimate

Standalone pots sitting isolated on a hot deck are exposed to wind and solar heat from all 360 degrees. This causes rapid evaporation and high thermal stress. Group your containers tightly together in clusters of three or more, placing the tallest pots in the back and the shortest pots in front.
This grouping strategy creates a shared microclimate where the plants collectively shade each other's pots from direct afternoon sun. The moisture evaporating from the foliage and the porous clay surfaces increases local humidity levels, dropping ambient air temperatures immediately around the cluster by several degrees.
Pot Material Trade-offs for Hot Weather
Unglazed Terracotta Pros & Cons
- Cools soil through wall evaporation
- Prevents root rot via excellent aeration
- Dries out incredibly fast in July heat
- Heavy and fragile to drop or move
Thick Resin Plastic Pros & Cons
- Locks in moisture for many days
- Lightweight and simple to transport
- Thin walls can cook delicate root systems
- Lower-quality options crack under UV rays
Avoid These Container Gardening Mistakes
| Material Type | Moisture Retention | Root Insulation | UV Longevity | Best Plant Partner |
|---|---|---|---|---|
| Unglazed Clay | Low (Evaporative) | Moderate | Excellent | Rosemary, Thyme, Succulents |
| Glazed Ceramic | High | Excellent | Excellent | Tomatoes, Hydrangeas, Ferns |
| Standard Plastic | High | Poor | Poor (Brittle) | Annuals (in partial shade) |
| Heavy Resin | High | Moderate | Good | Caladiums, Elephant Ears |
Final Thoughts
Your container plants should now sit securely in materials that match their hydration needs, keeping their root zones well within safe summer temperature limits. Take ten minutes today to walk your patio with a wooden trowel, tap your clay pots to check their resonance, and lift any flat-bottomed containers onto risers before the next afternoon heat spike hits your garden.

John Smith is the founder and CEO of Karaoke Machines Guru. He is a karaoke tutor and karaoke enthusiast and has been passionate about karaoke since he was a child. He also writes about karaoke-related tips, guides, and product reviews on this website.
He overlooks the whole website and makes sure that everything is running smoothly. Learn more!